Home
User Guides
Developer Onboarding
Developer App Management
Account Information Service (AIS) flow
MTLS - Certificate Addition
Letter Of Guarantee flow
PIS - Payments flow
PIS - Refunds flow
PIS - Request To Pay flow
Core Bank - Reference Bank to simulate Core Banking
Consent Module
Admin Module for Bank administrator users
FAPI Conformance Test Suite
Testing Guides
Standards
Certifications
FAQs
Prerequisite
Open-Banking Base URL
Well-Known URL
To test the Open Banking APIs, it is necessary to obtain two different registrations
- Third Party Registration (TPP via Developer Portal)
- Customer Registration (PSU via Core Bank)
To obtain the above user registrations refer to the below links:
- Third Party Registration : Learn more at Developer Onboarding
- Customer Registration: Learn more at Core Bank to simulate Core Banking
- Third Party must create an app to test : Learn more at Developer App Management
- Preferred Postman version is v10.23
Postman Setup
After all the pre-requisites are completed, APIs can be tested using the Postman.
- Download and Import the below Collection and Environment files into Postman

- Open the Environment KSAOB-SIT and update the Client_ID and Client_Secret values for AISP/PISP/LGSP, as per the TPP that needs to be validated. Save the Changes.
- Open the Collection KSA-OB and Select the Environment KSAOB-SIT
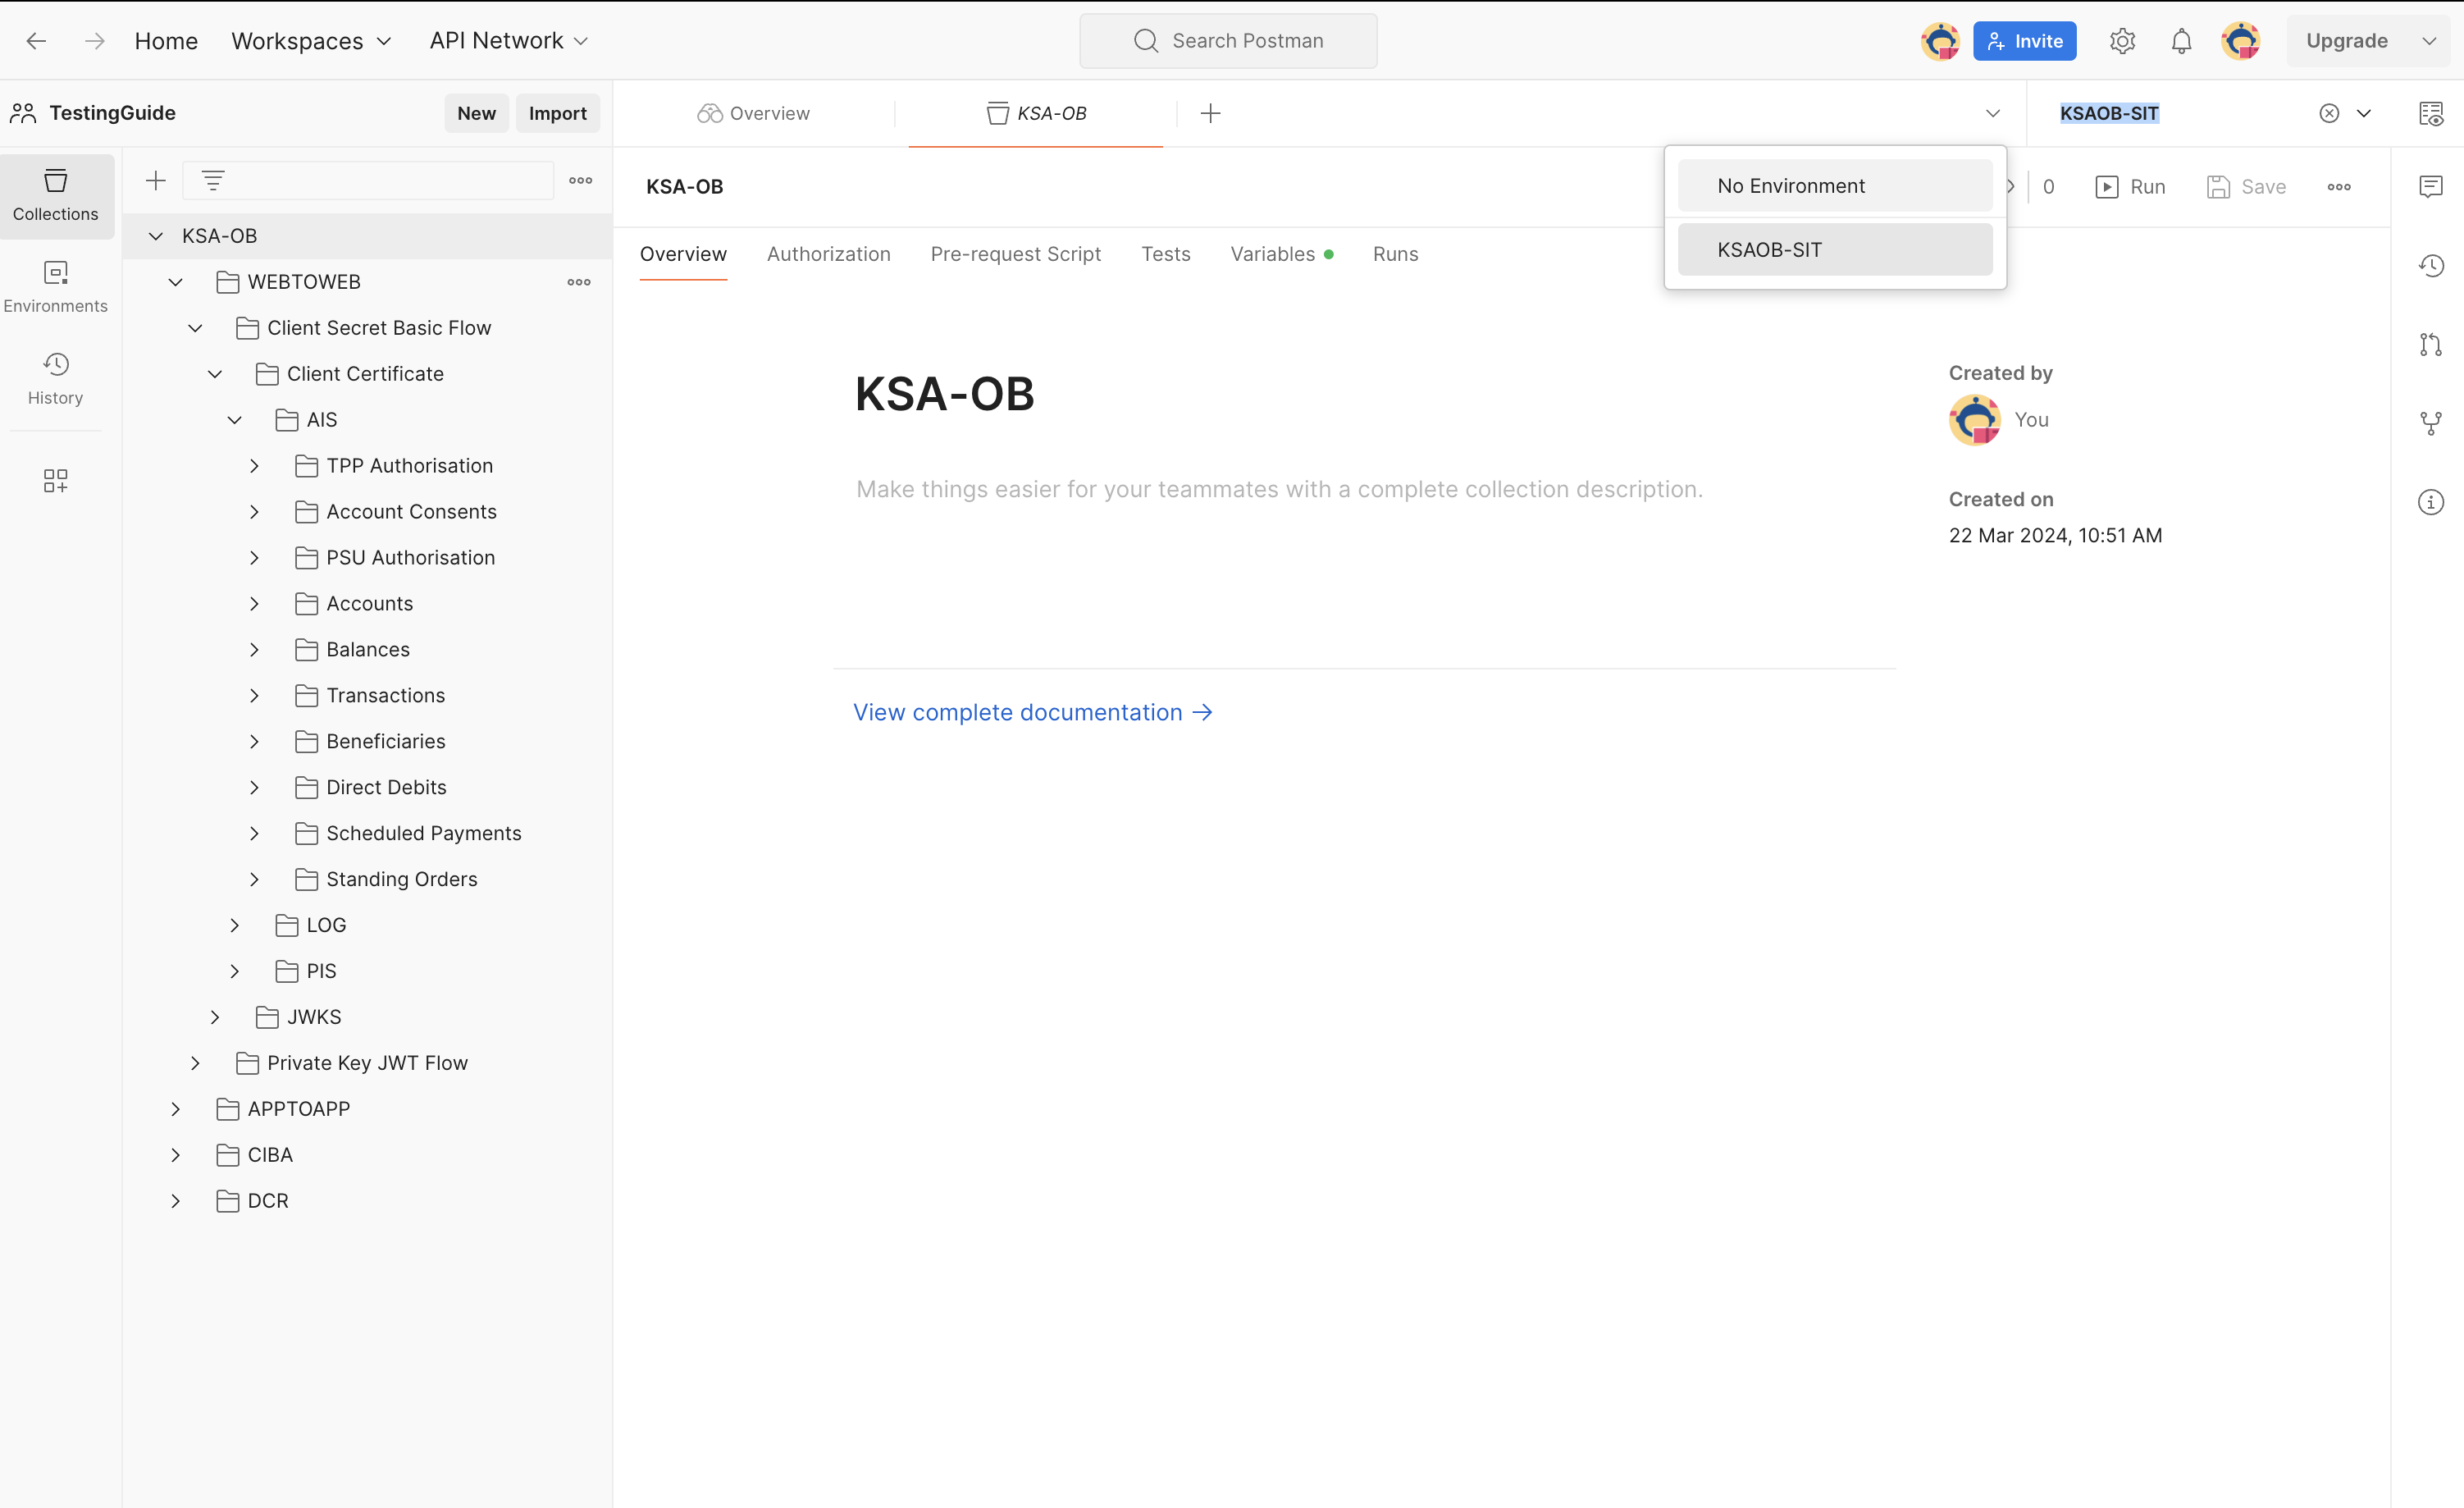
Currently supported type of flows:
- Web to Web Redirect Flow - This is be tested with different client authentication flows like client_secret_basic or private_key_jwt using client_certificate or JWKS
- App-to-App Redirect Flow
- CIBA Flow
- Dynamic Client Registration
Web to Web Redirect Flow
Account Information Service Flow
- Execute the Token request endpoint present within the TPP Authorisation folder under AISP.
- Execute the Create Accounts Access Consentendpoint present within Account consents folder. Now the ConsentId will be generated. You can check the Consent status using theGet Accounts Access Consentendpoint.
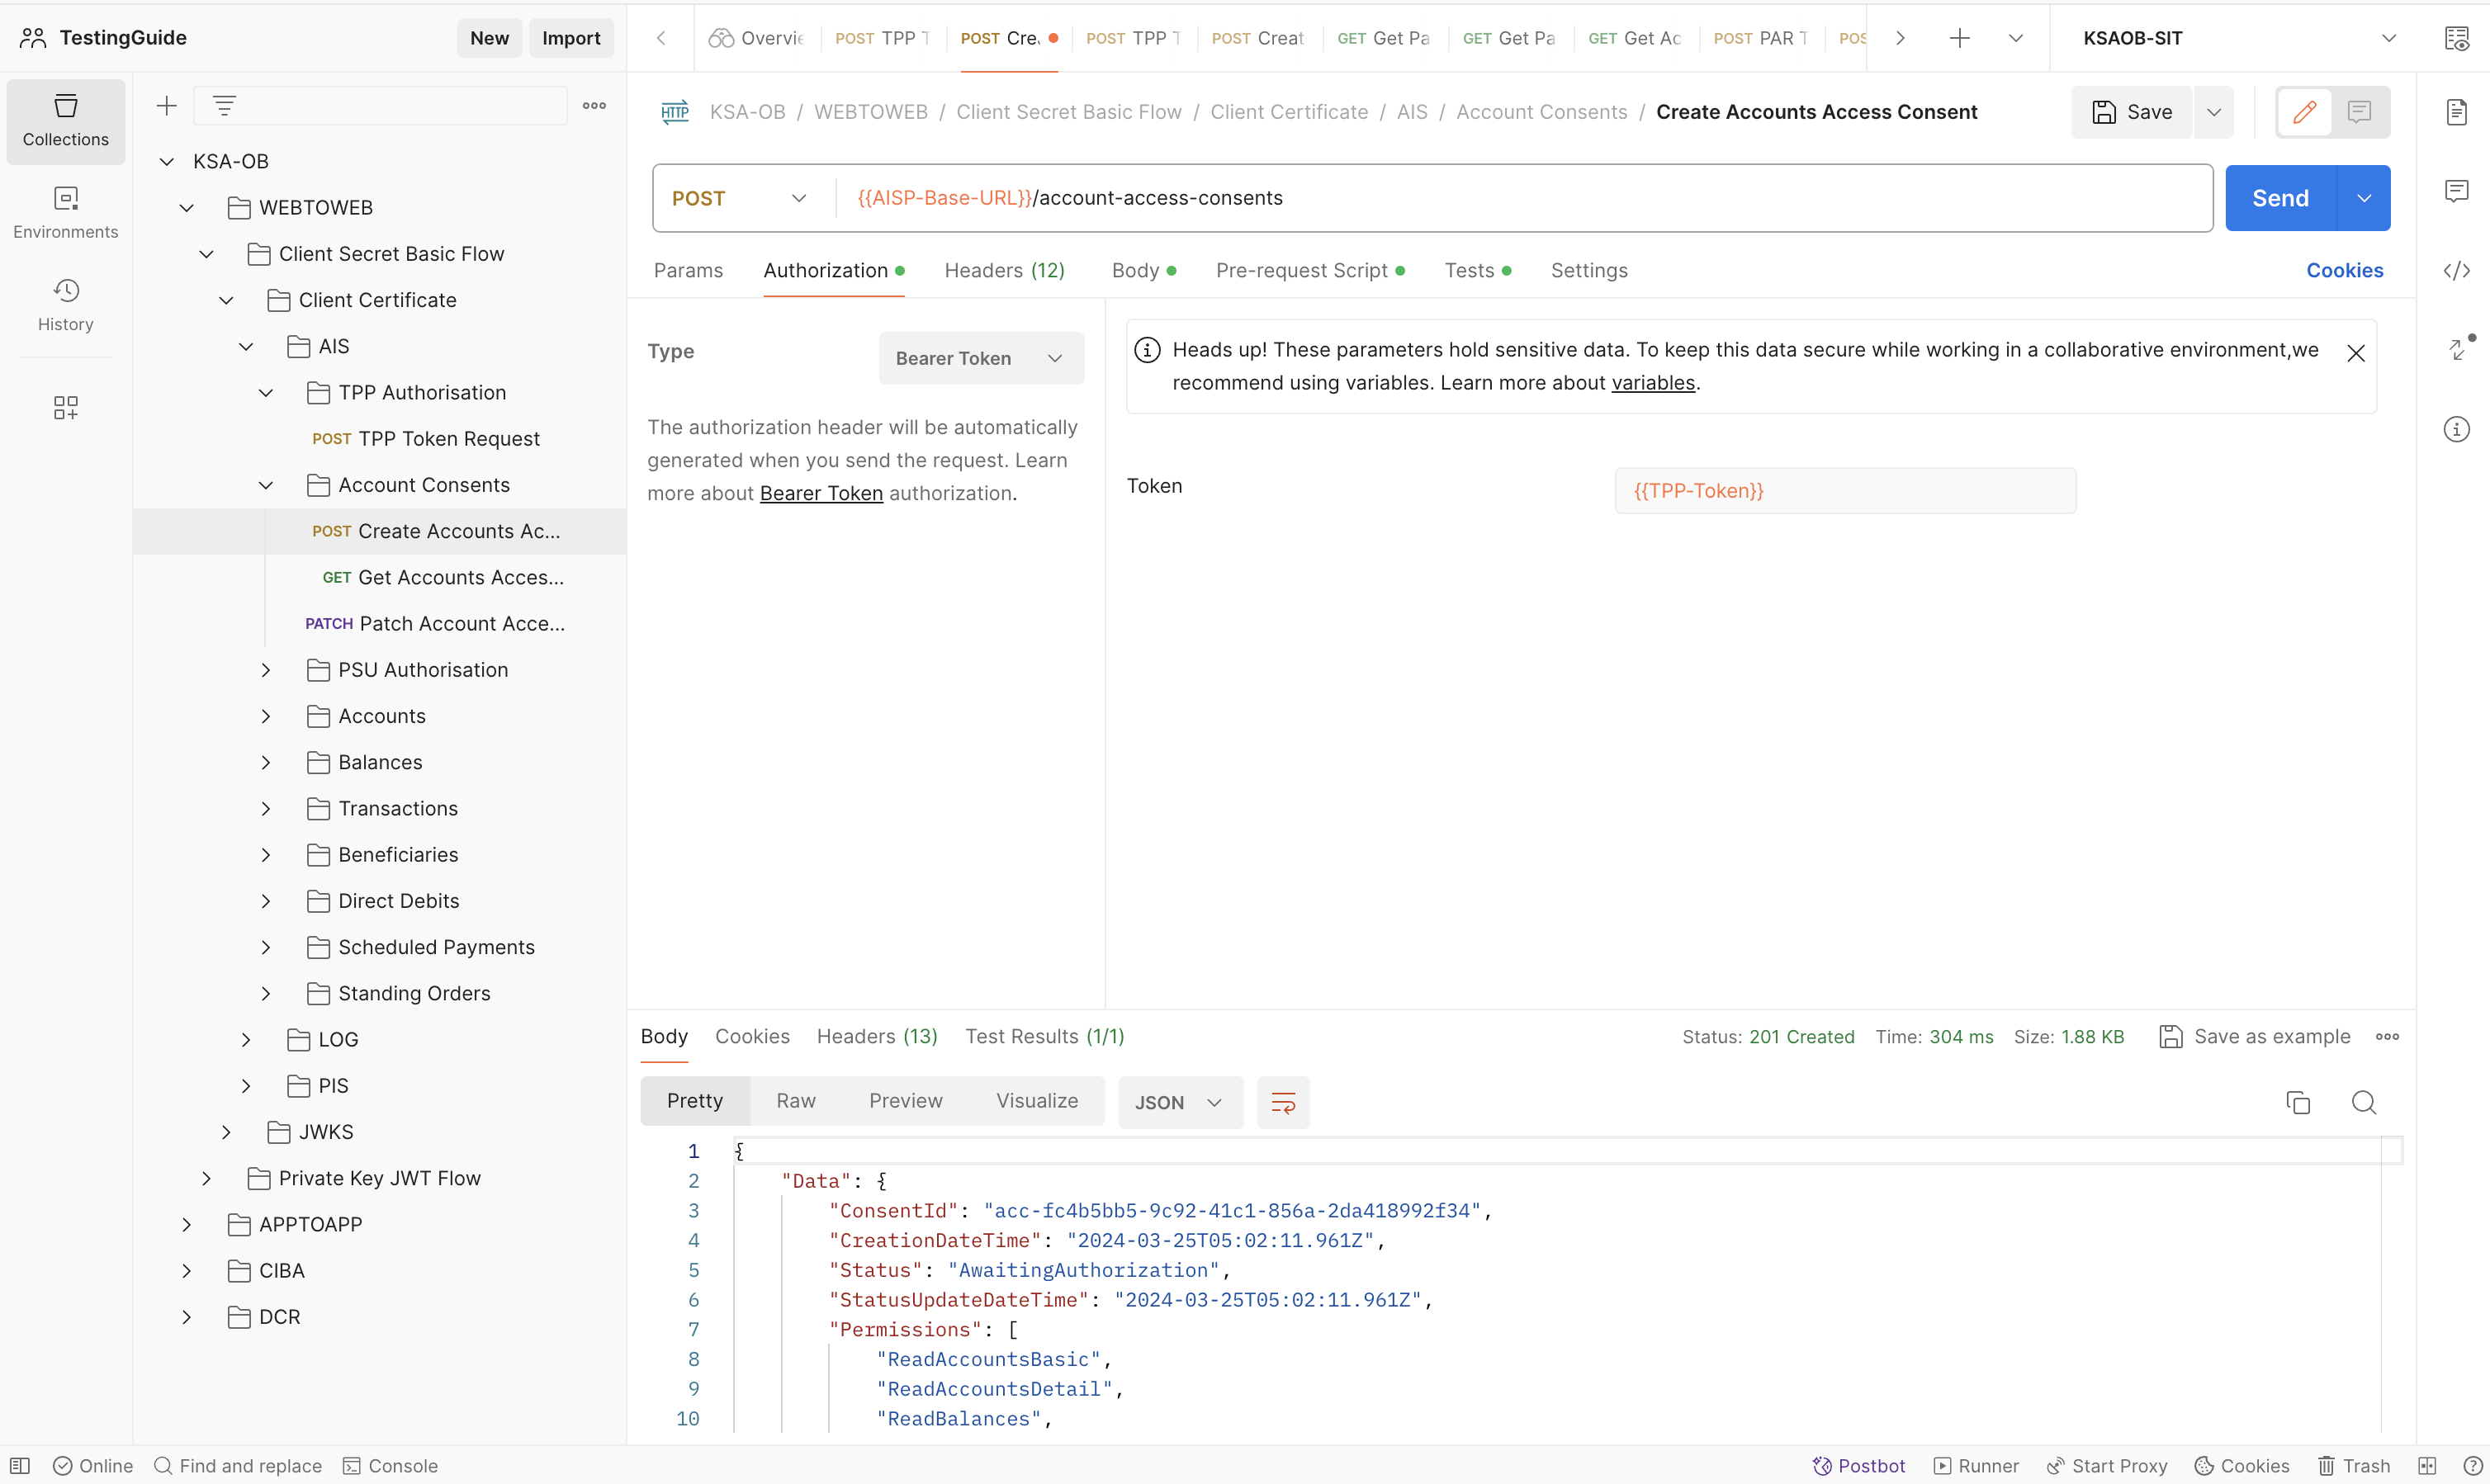
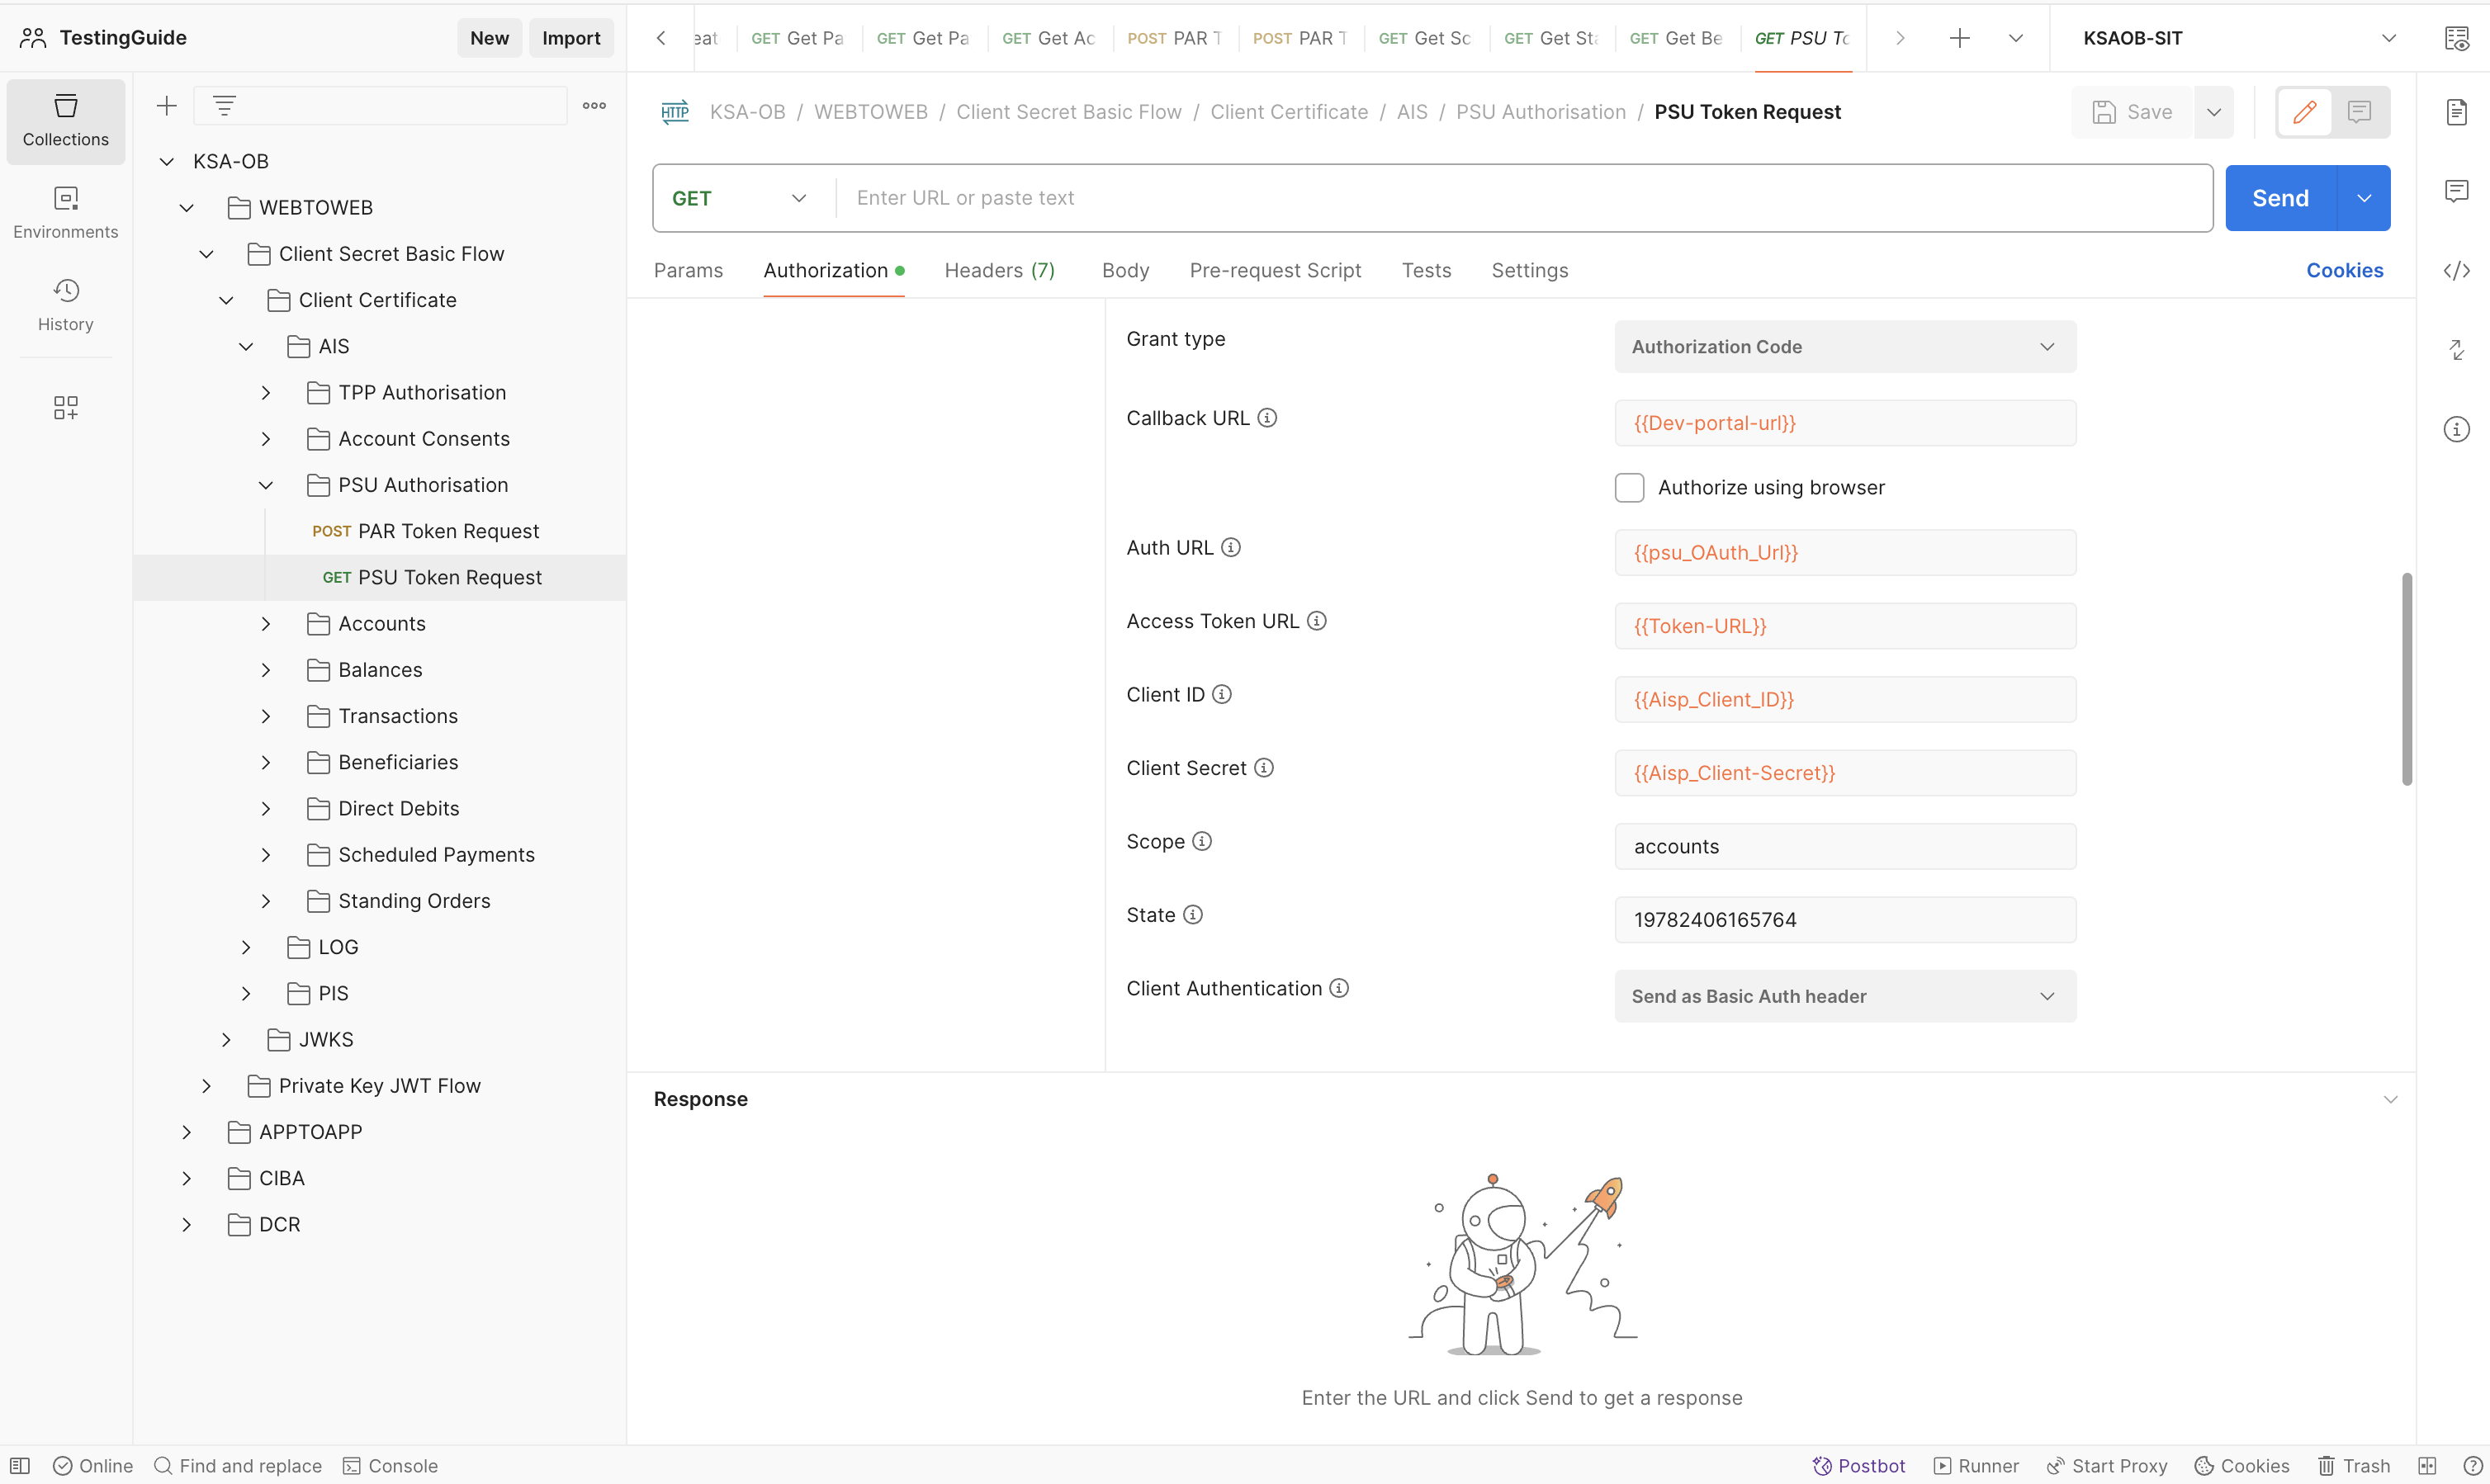
- Navigate to “Authorization” tab of PSU Authorization folder > “PSU Token Request” endpoint. Scroll down and click the “Get new Access Token” button.
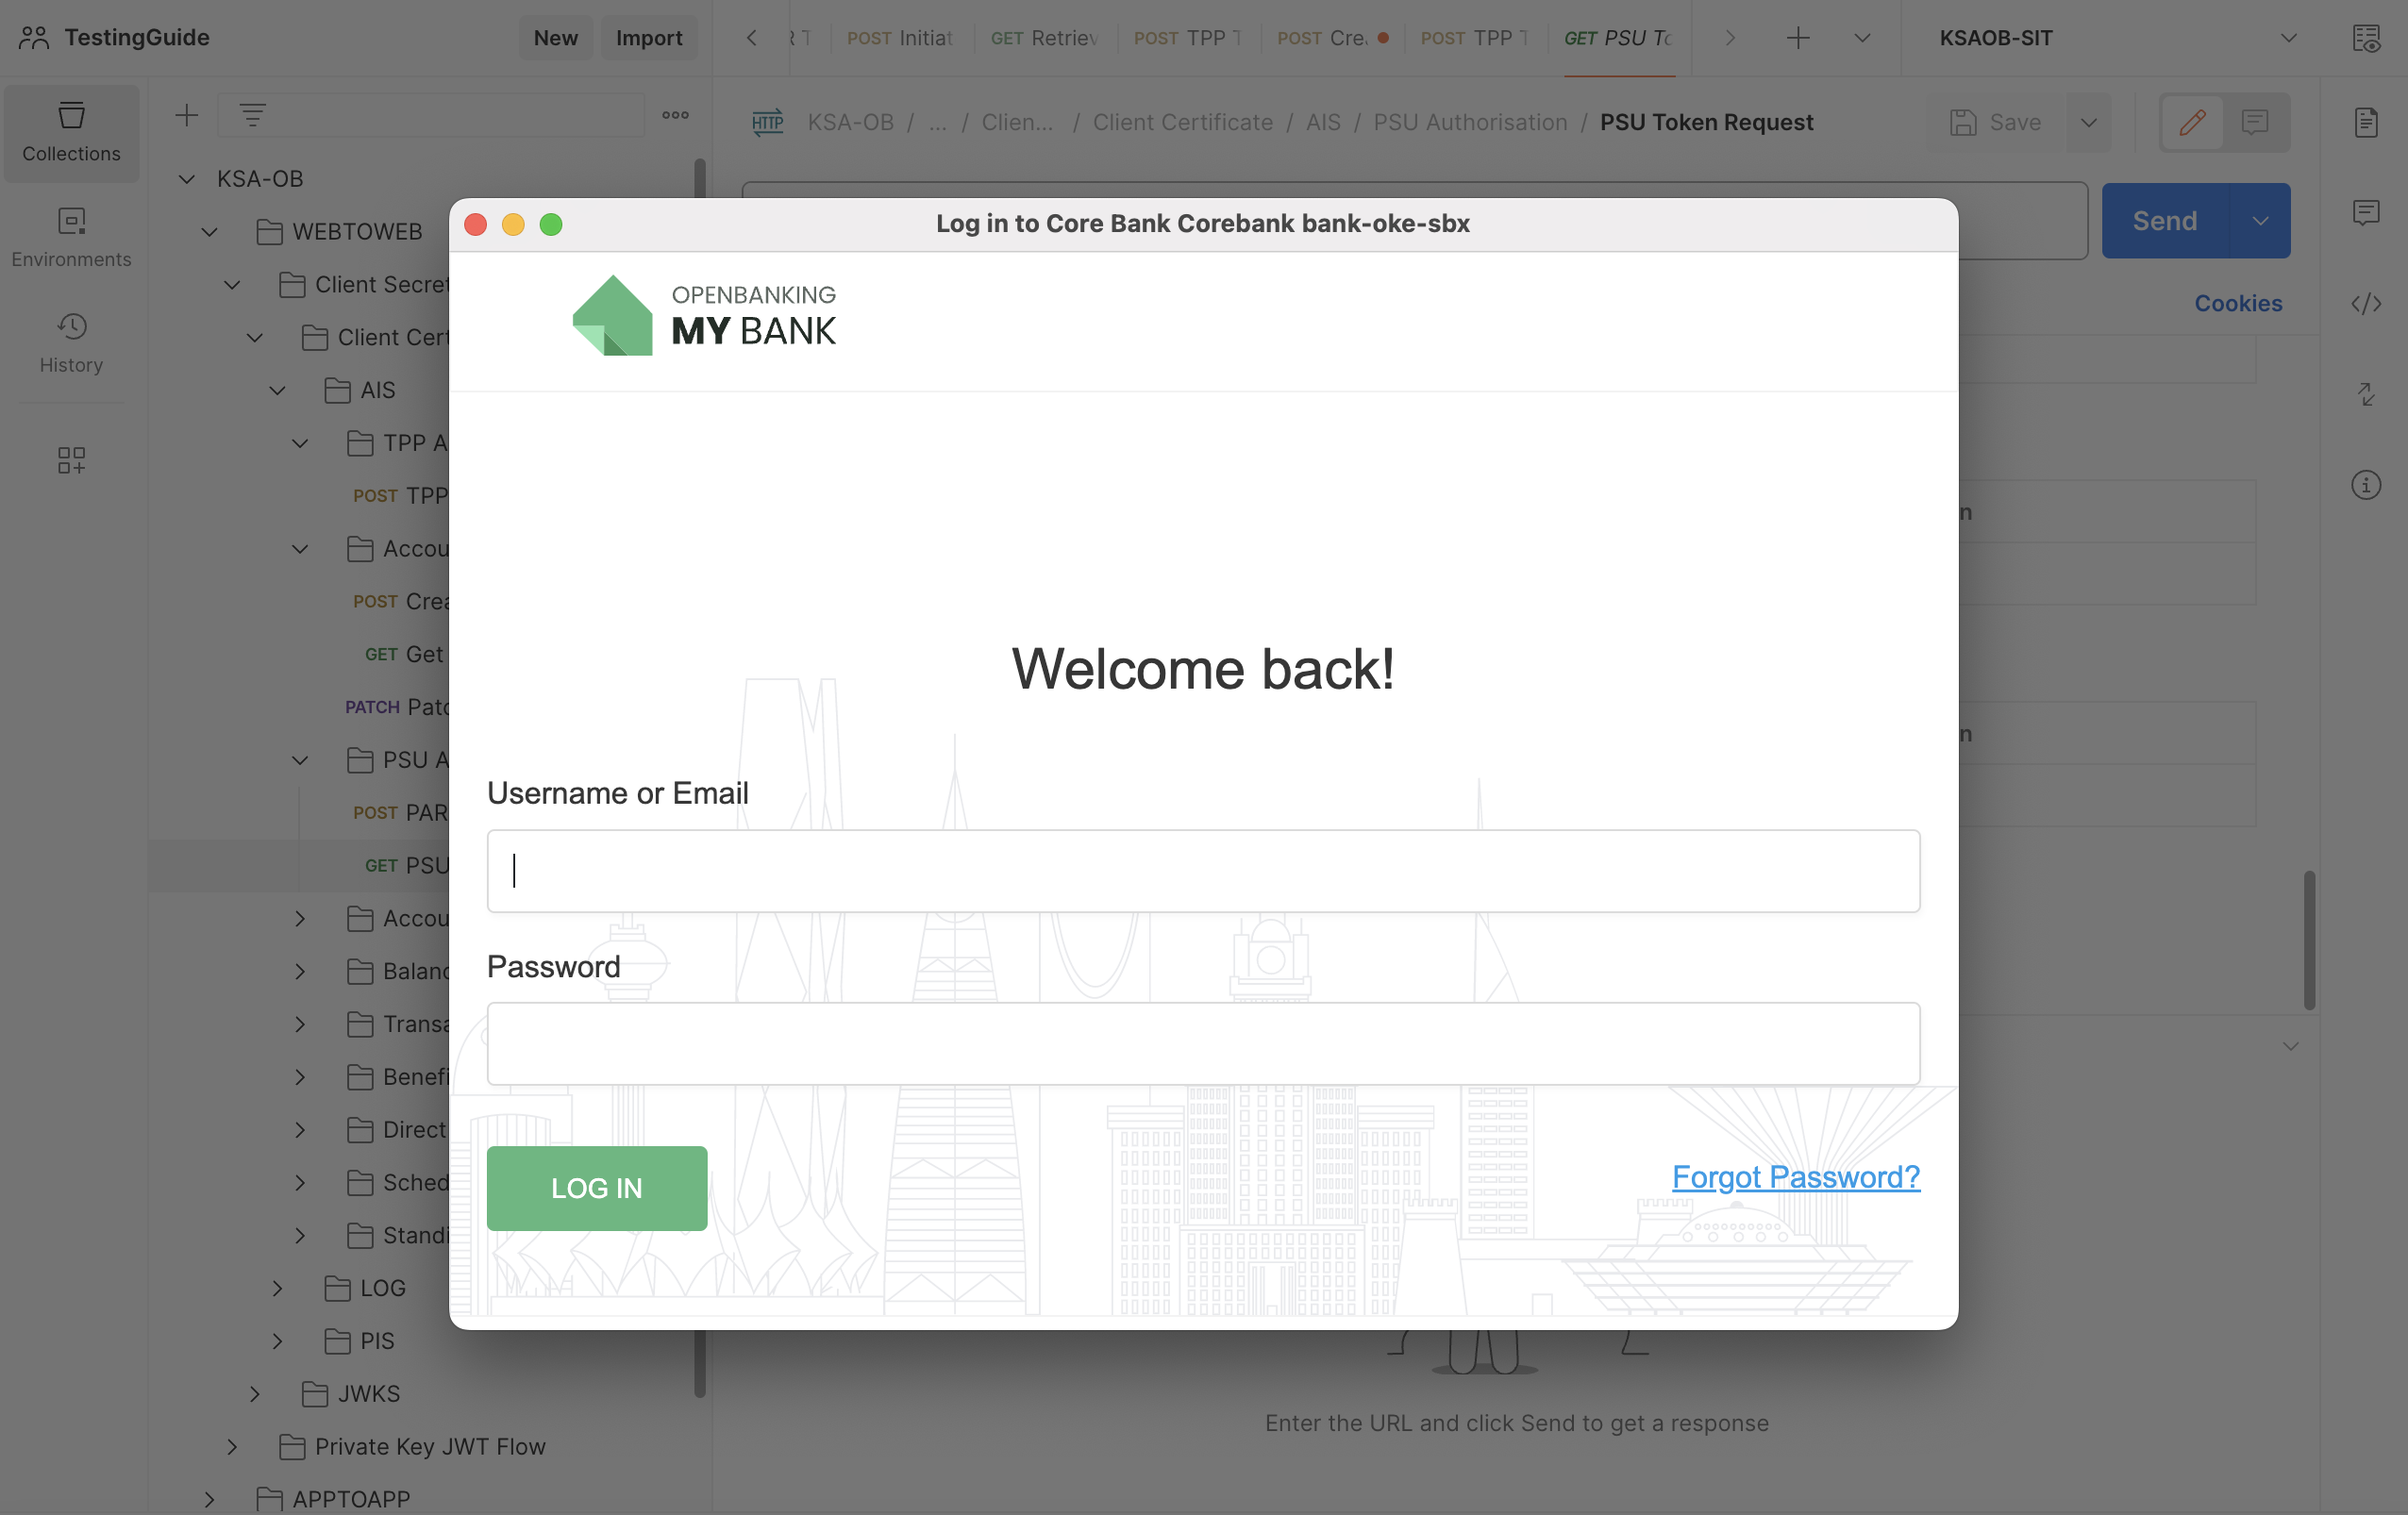
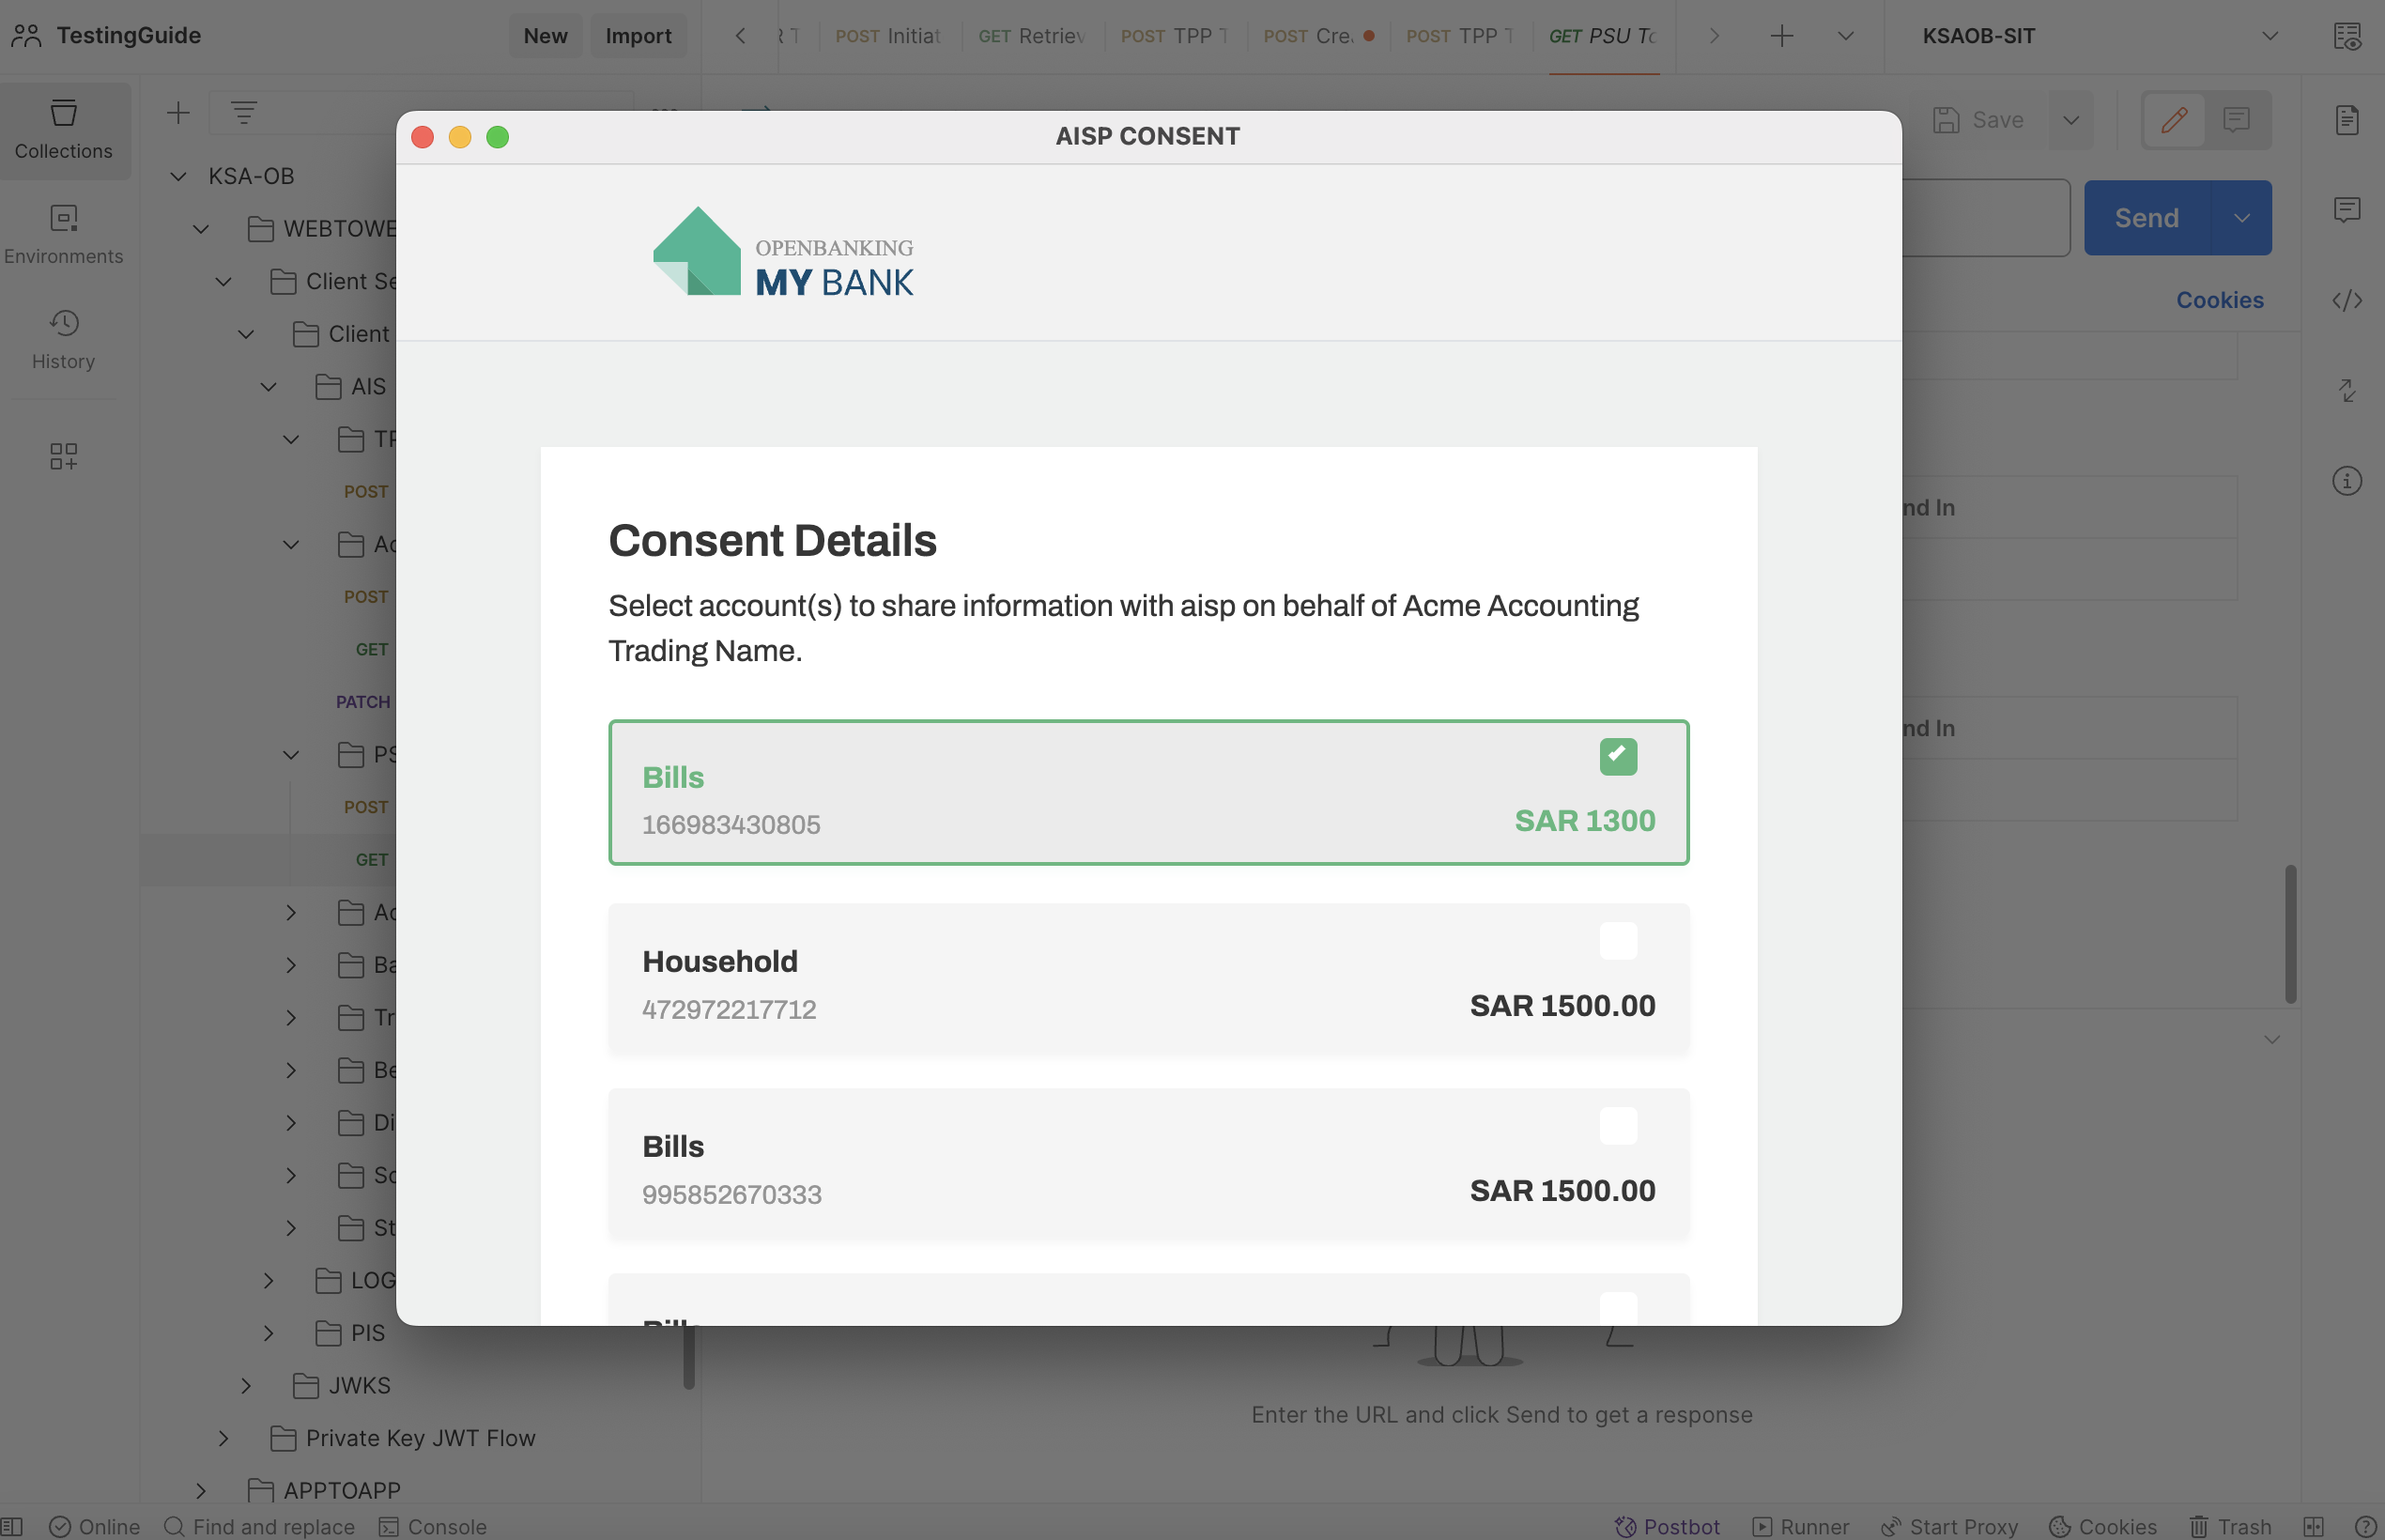
- A Popup appears, where the PSU flow can be performed. Enter the PSU credentials, Click LOG IN, Select the Accounts and Click CONFIRM Button.
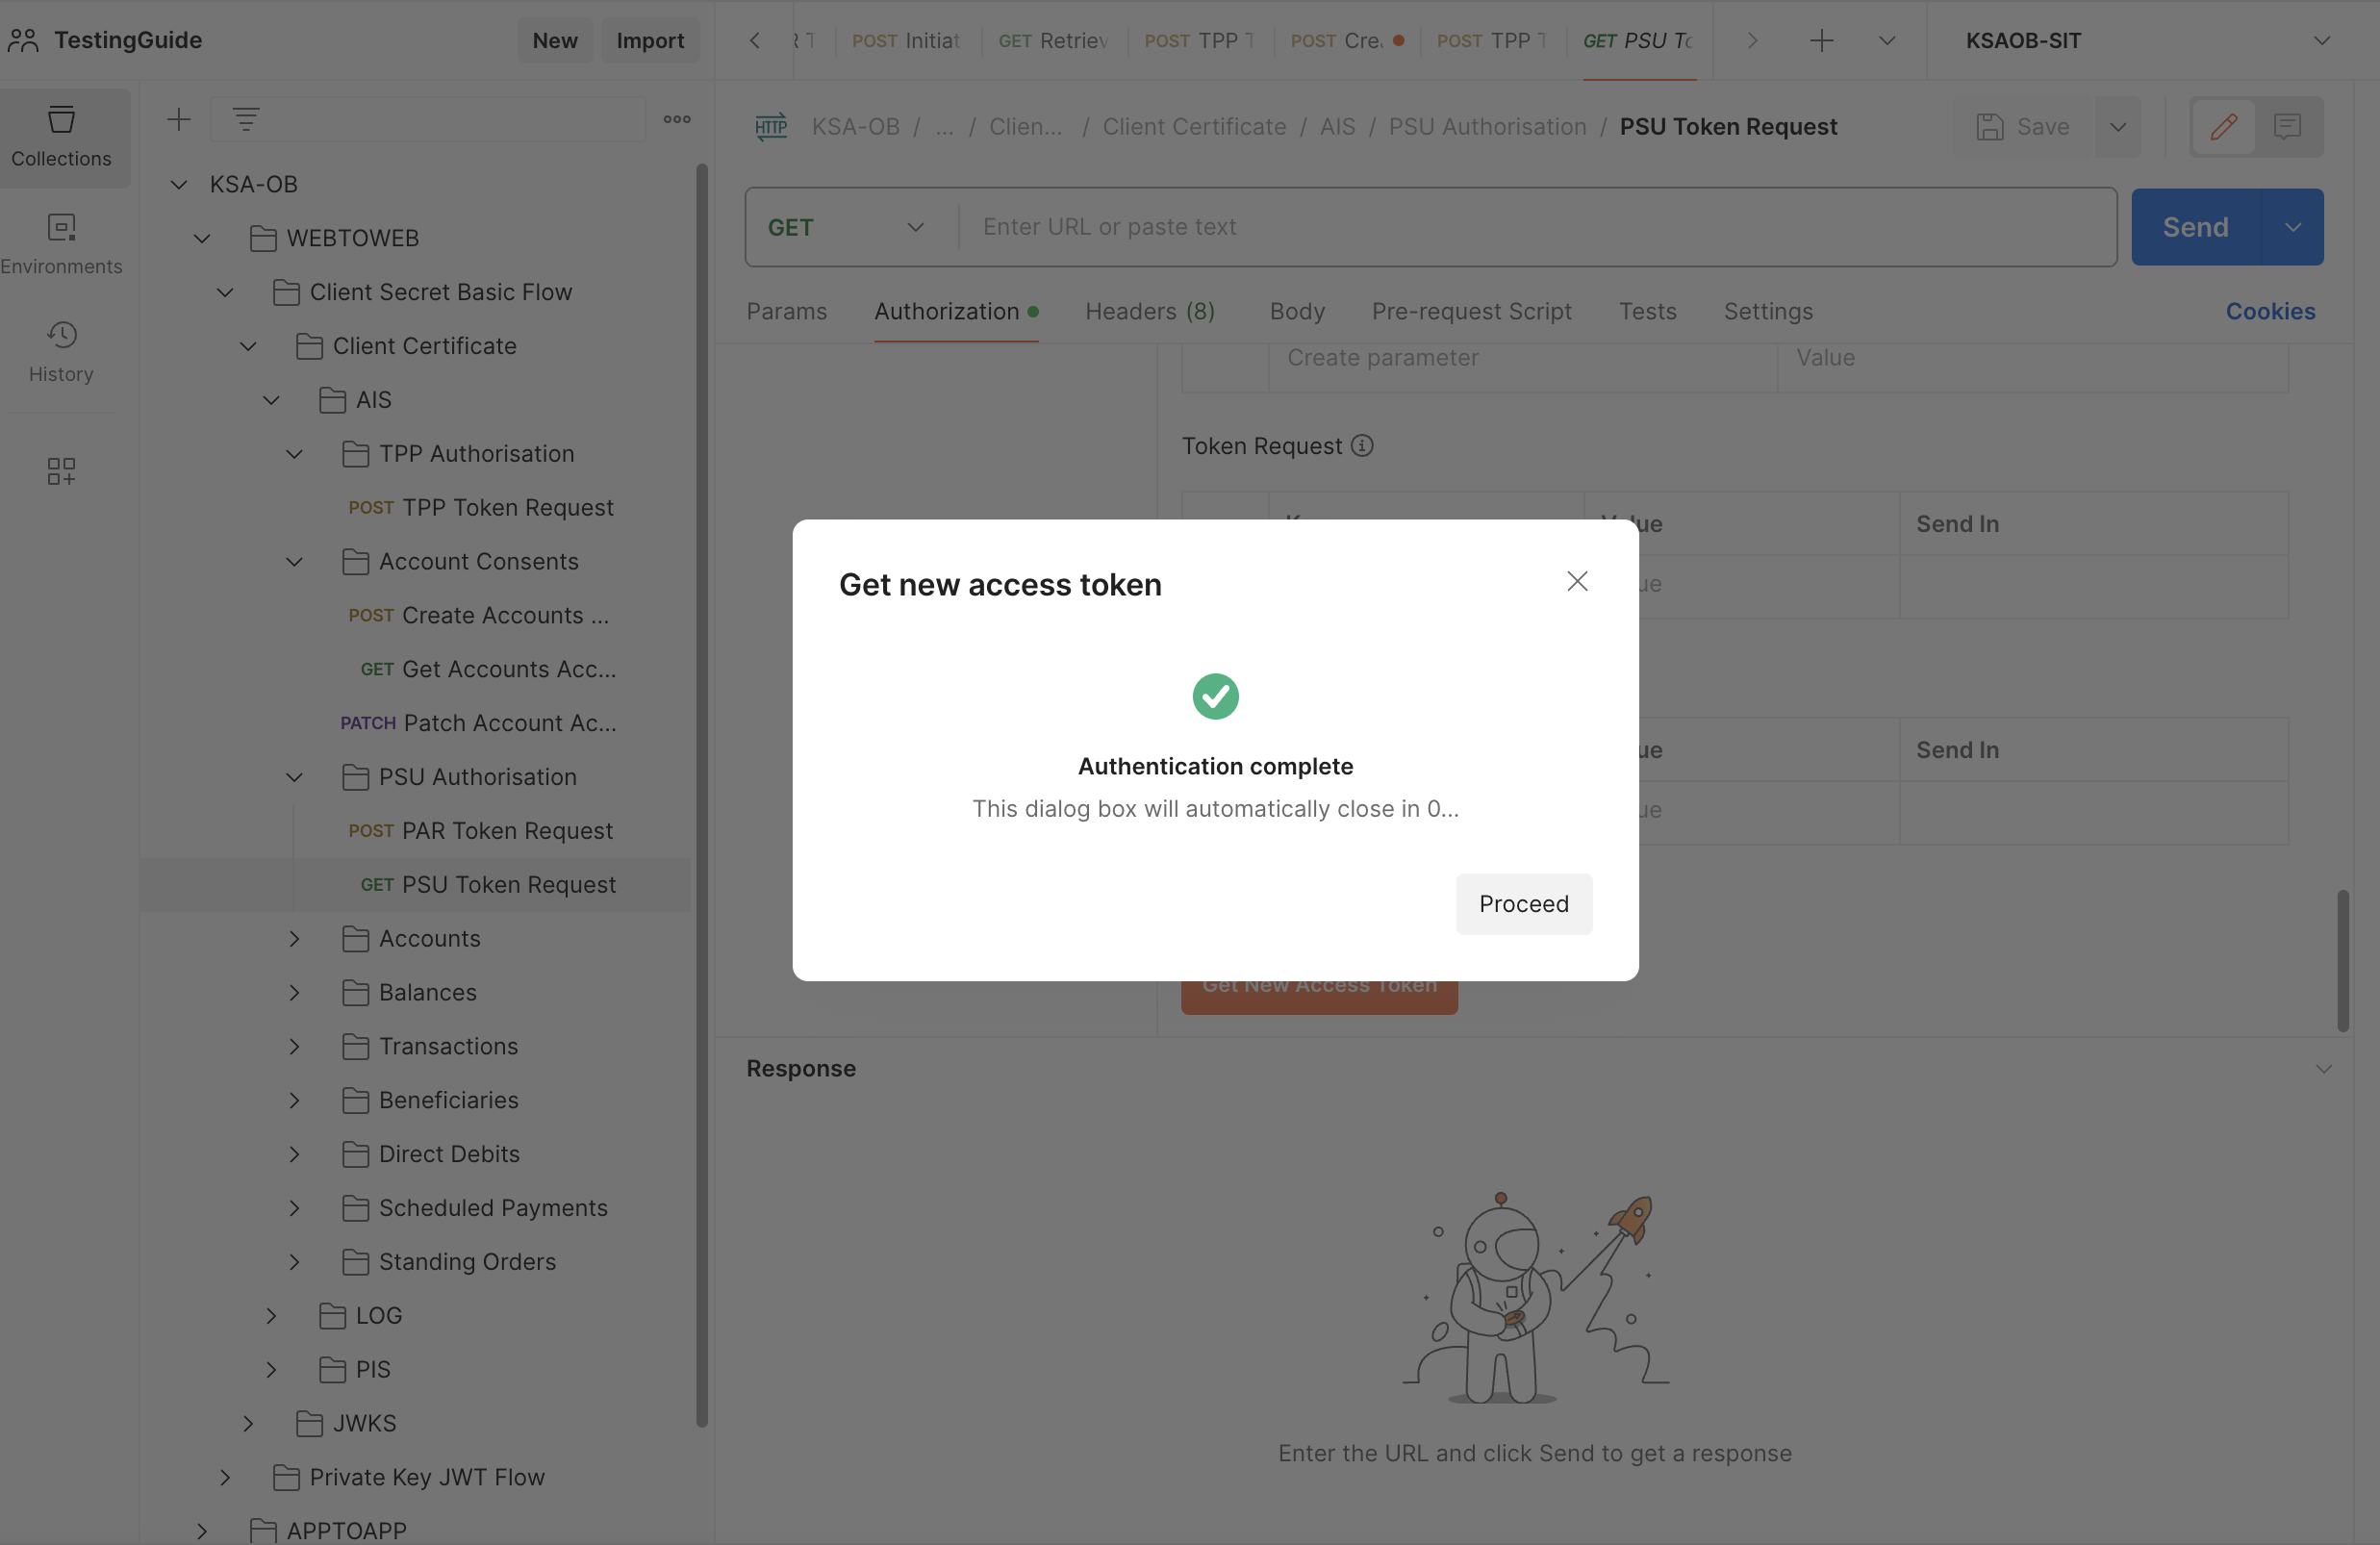
- Authentication will get completed successfully and the PSU Token will be generated.
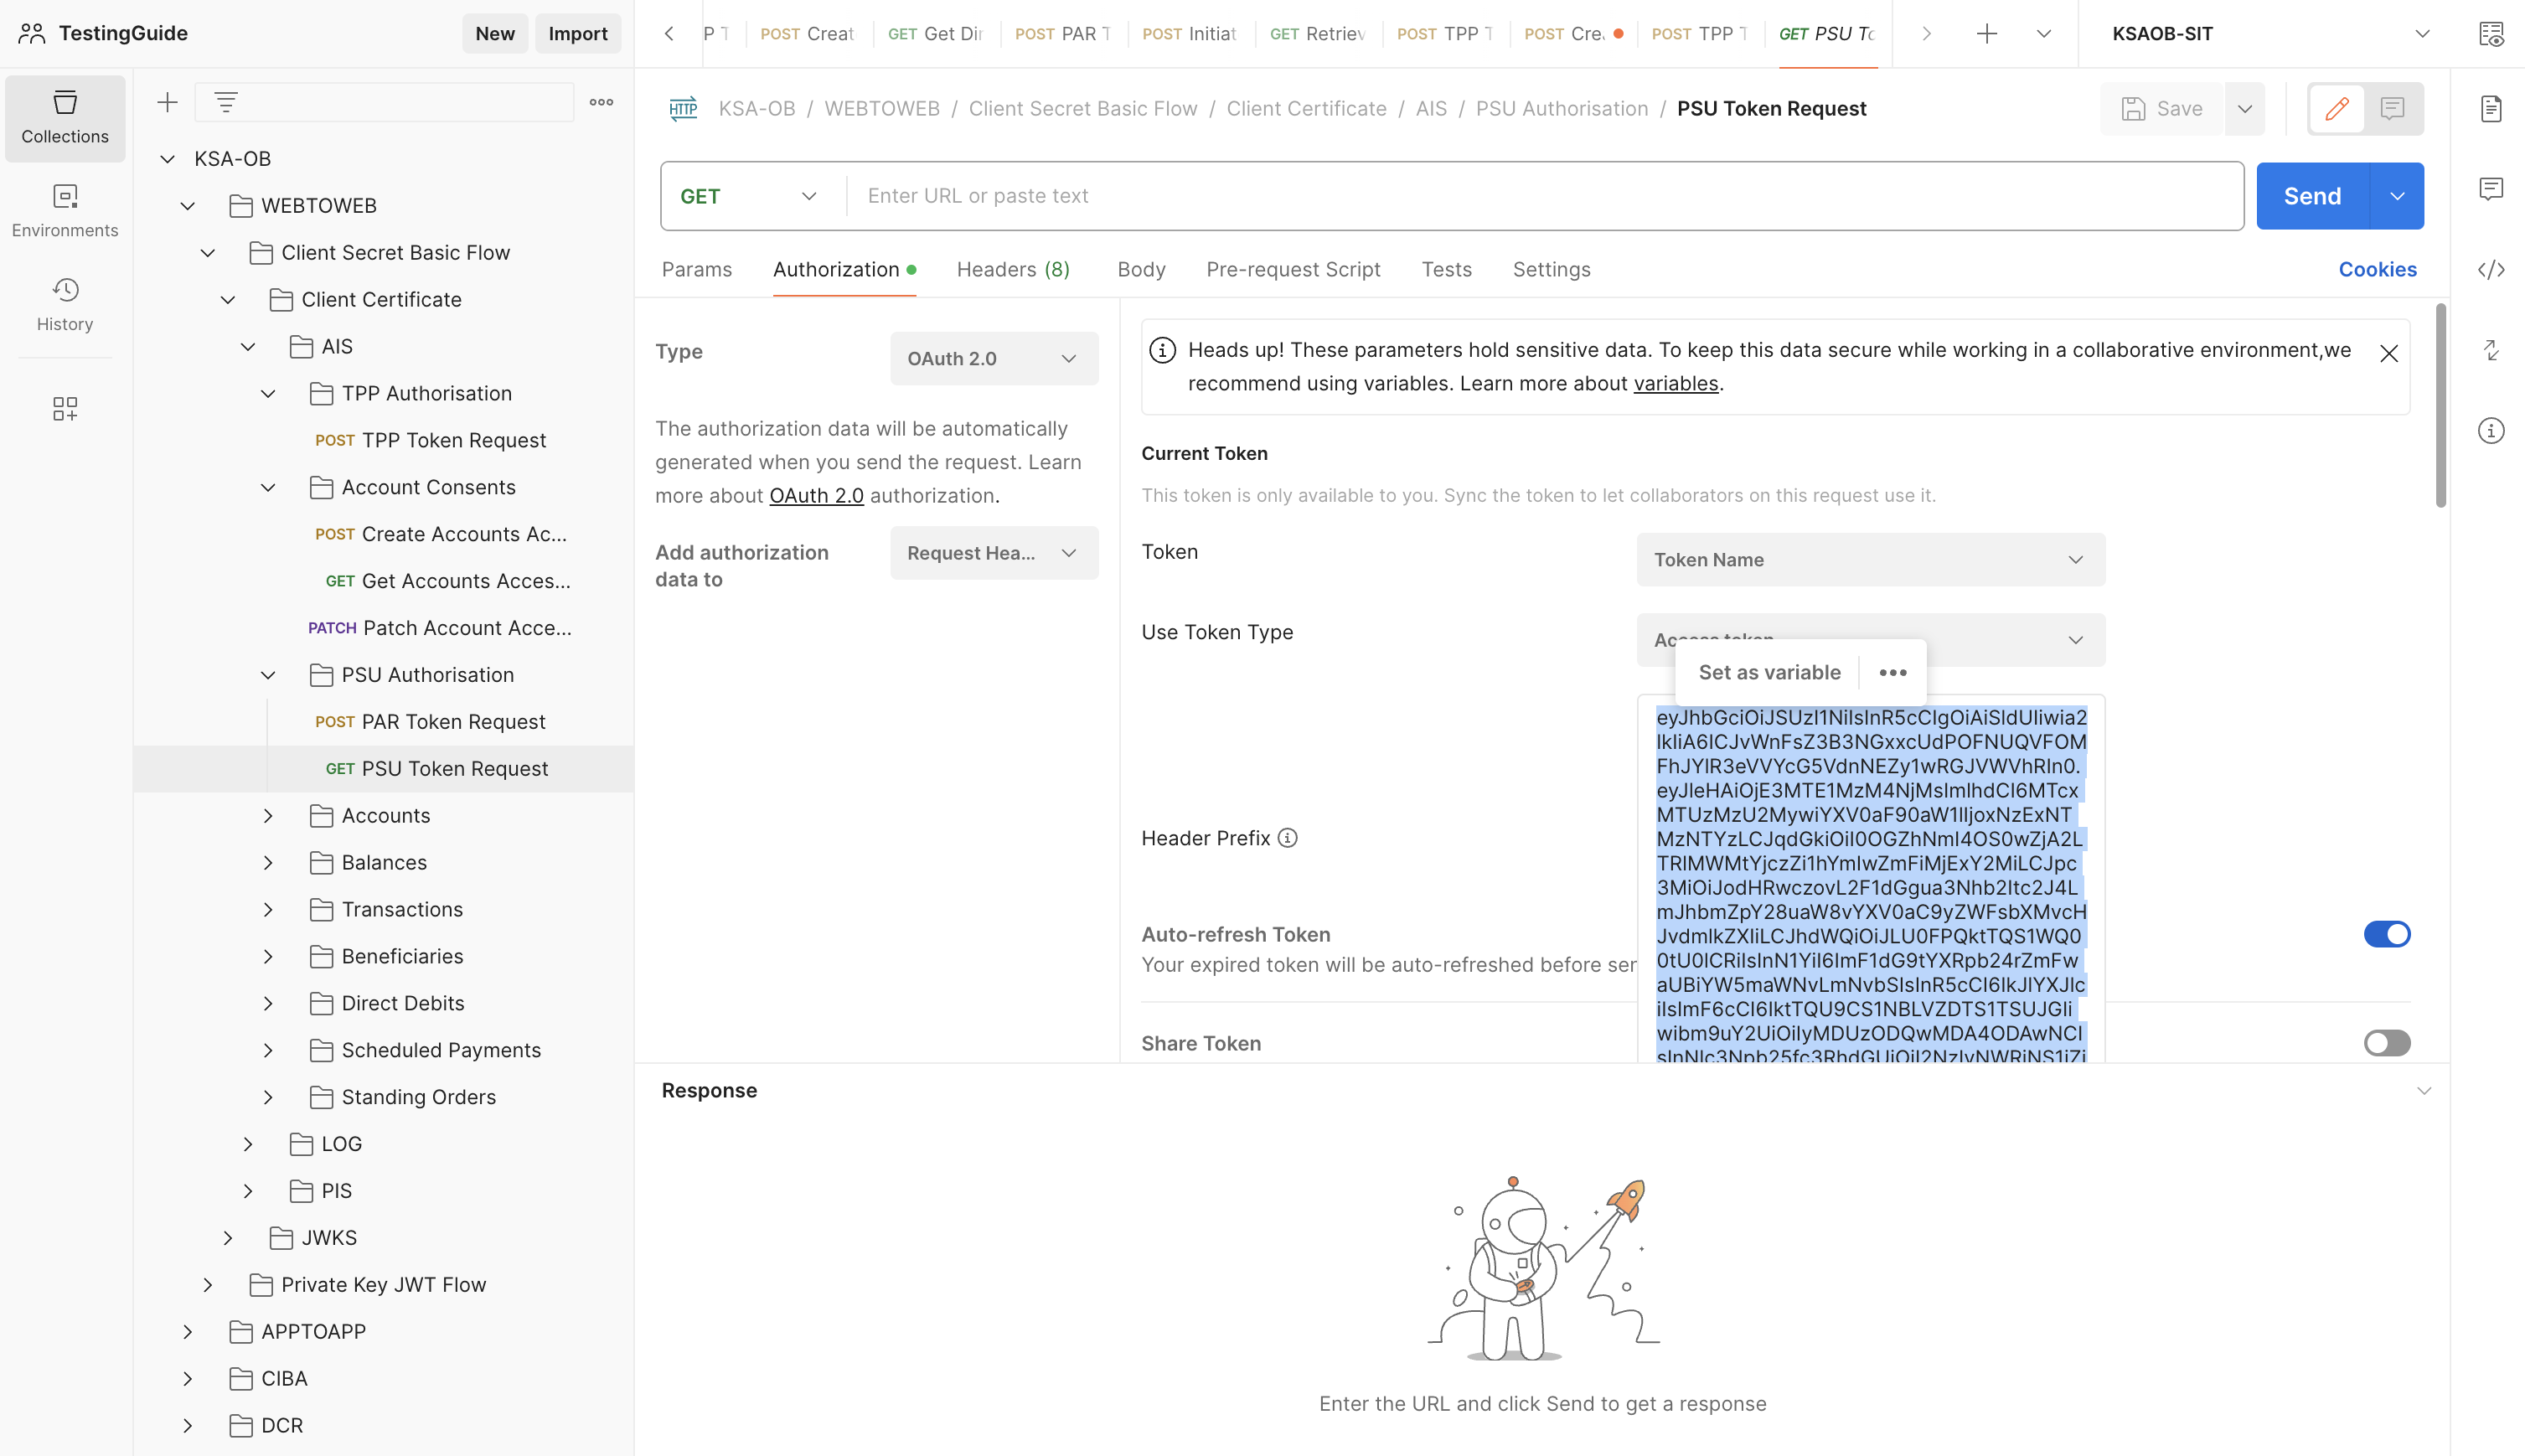
- Provide a name for the Token and Click “Use Token” button. Now Select the entire token that was generated and Click the "Set as Variable" option. Select PSU-Tokenin the dropdown that appears.
- Now we can execute the Accounts, Balances and all the remaining endpoints one by one.
Payment Initiation Flow
- Execute the Token request endpoint present within the TPP Authorisation folder under PISP.
- Execute the Create Payments Consentendpoint present within Payments endpoint. You can check the Consent status using theGet Payments Consentendpoint.
- Next Follow steps 3 to 6 in AISP. Use the PSU Token Requestpresent within PISP folder.
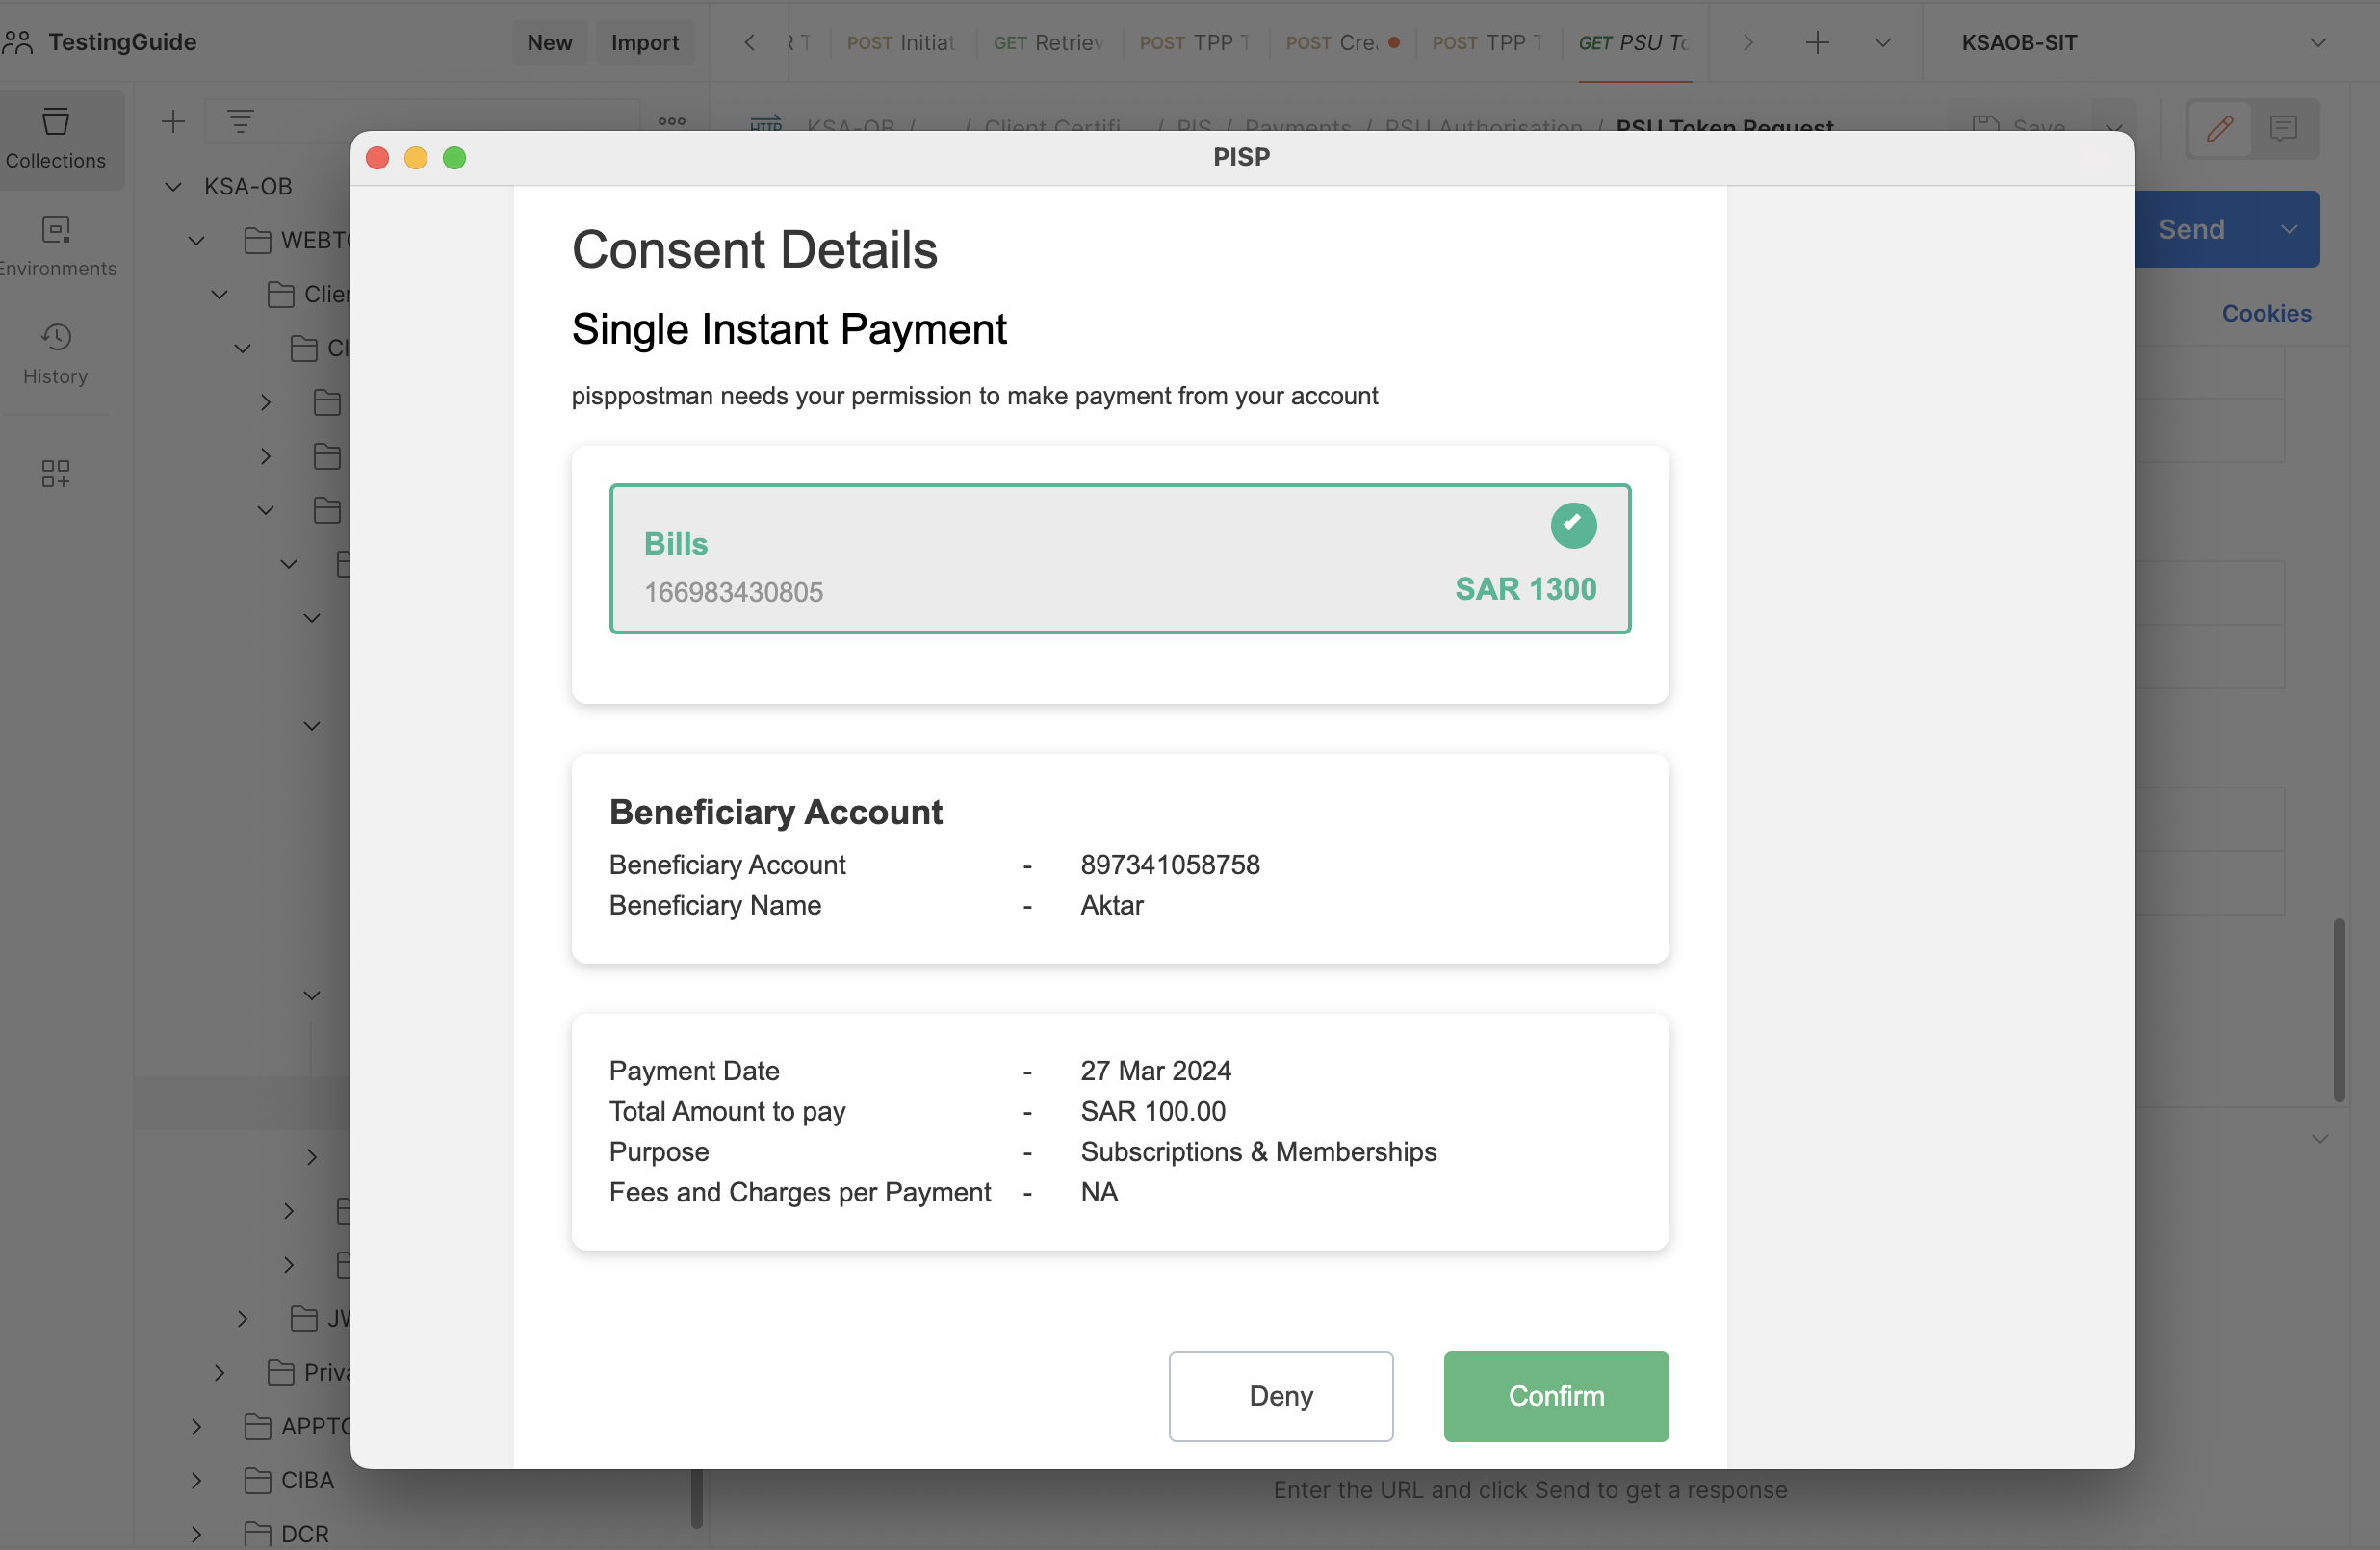
- Execute the Create Payment InstructionandGet Payment By Idendpoints one by one.
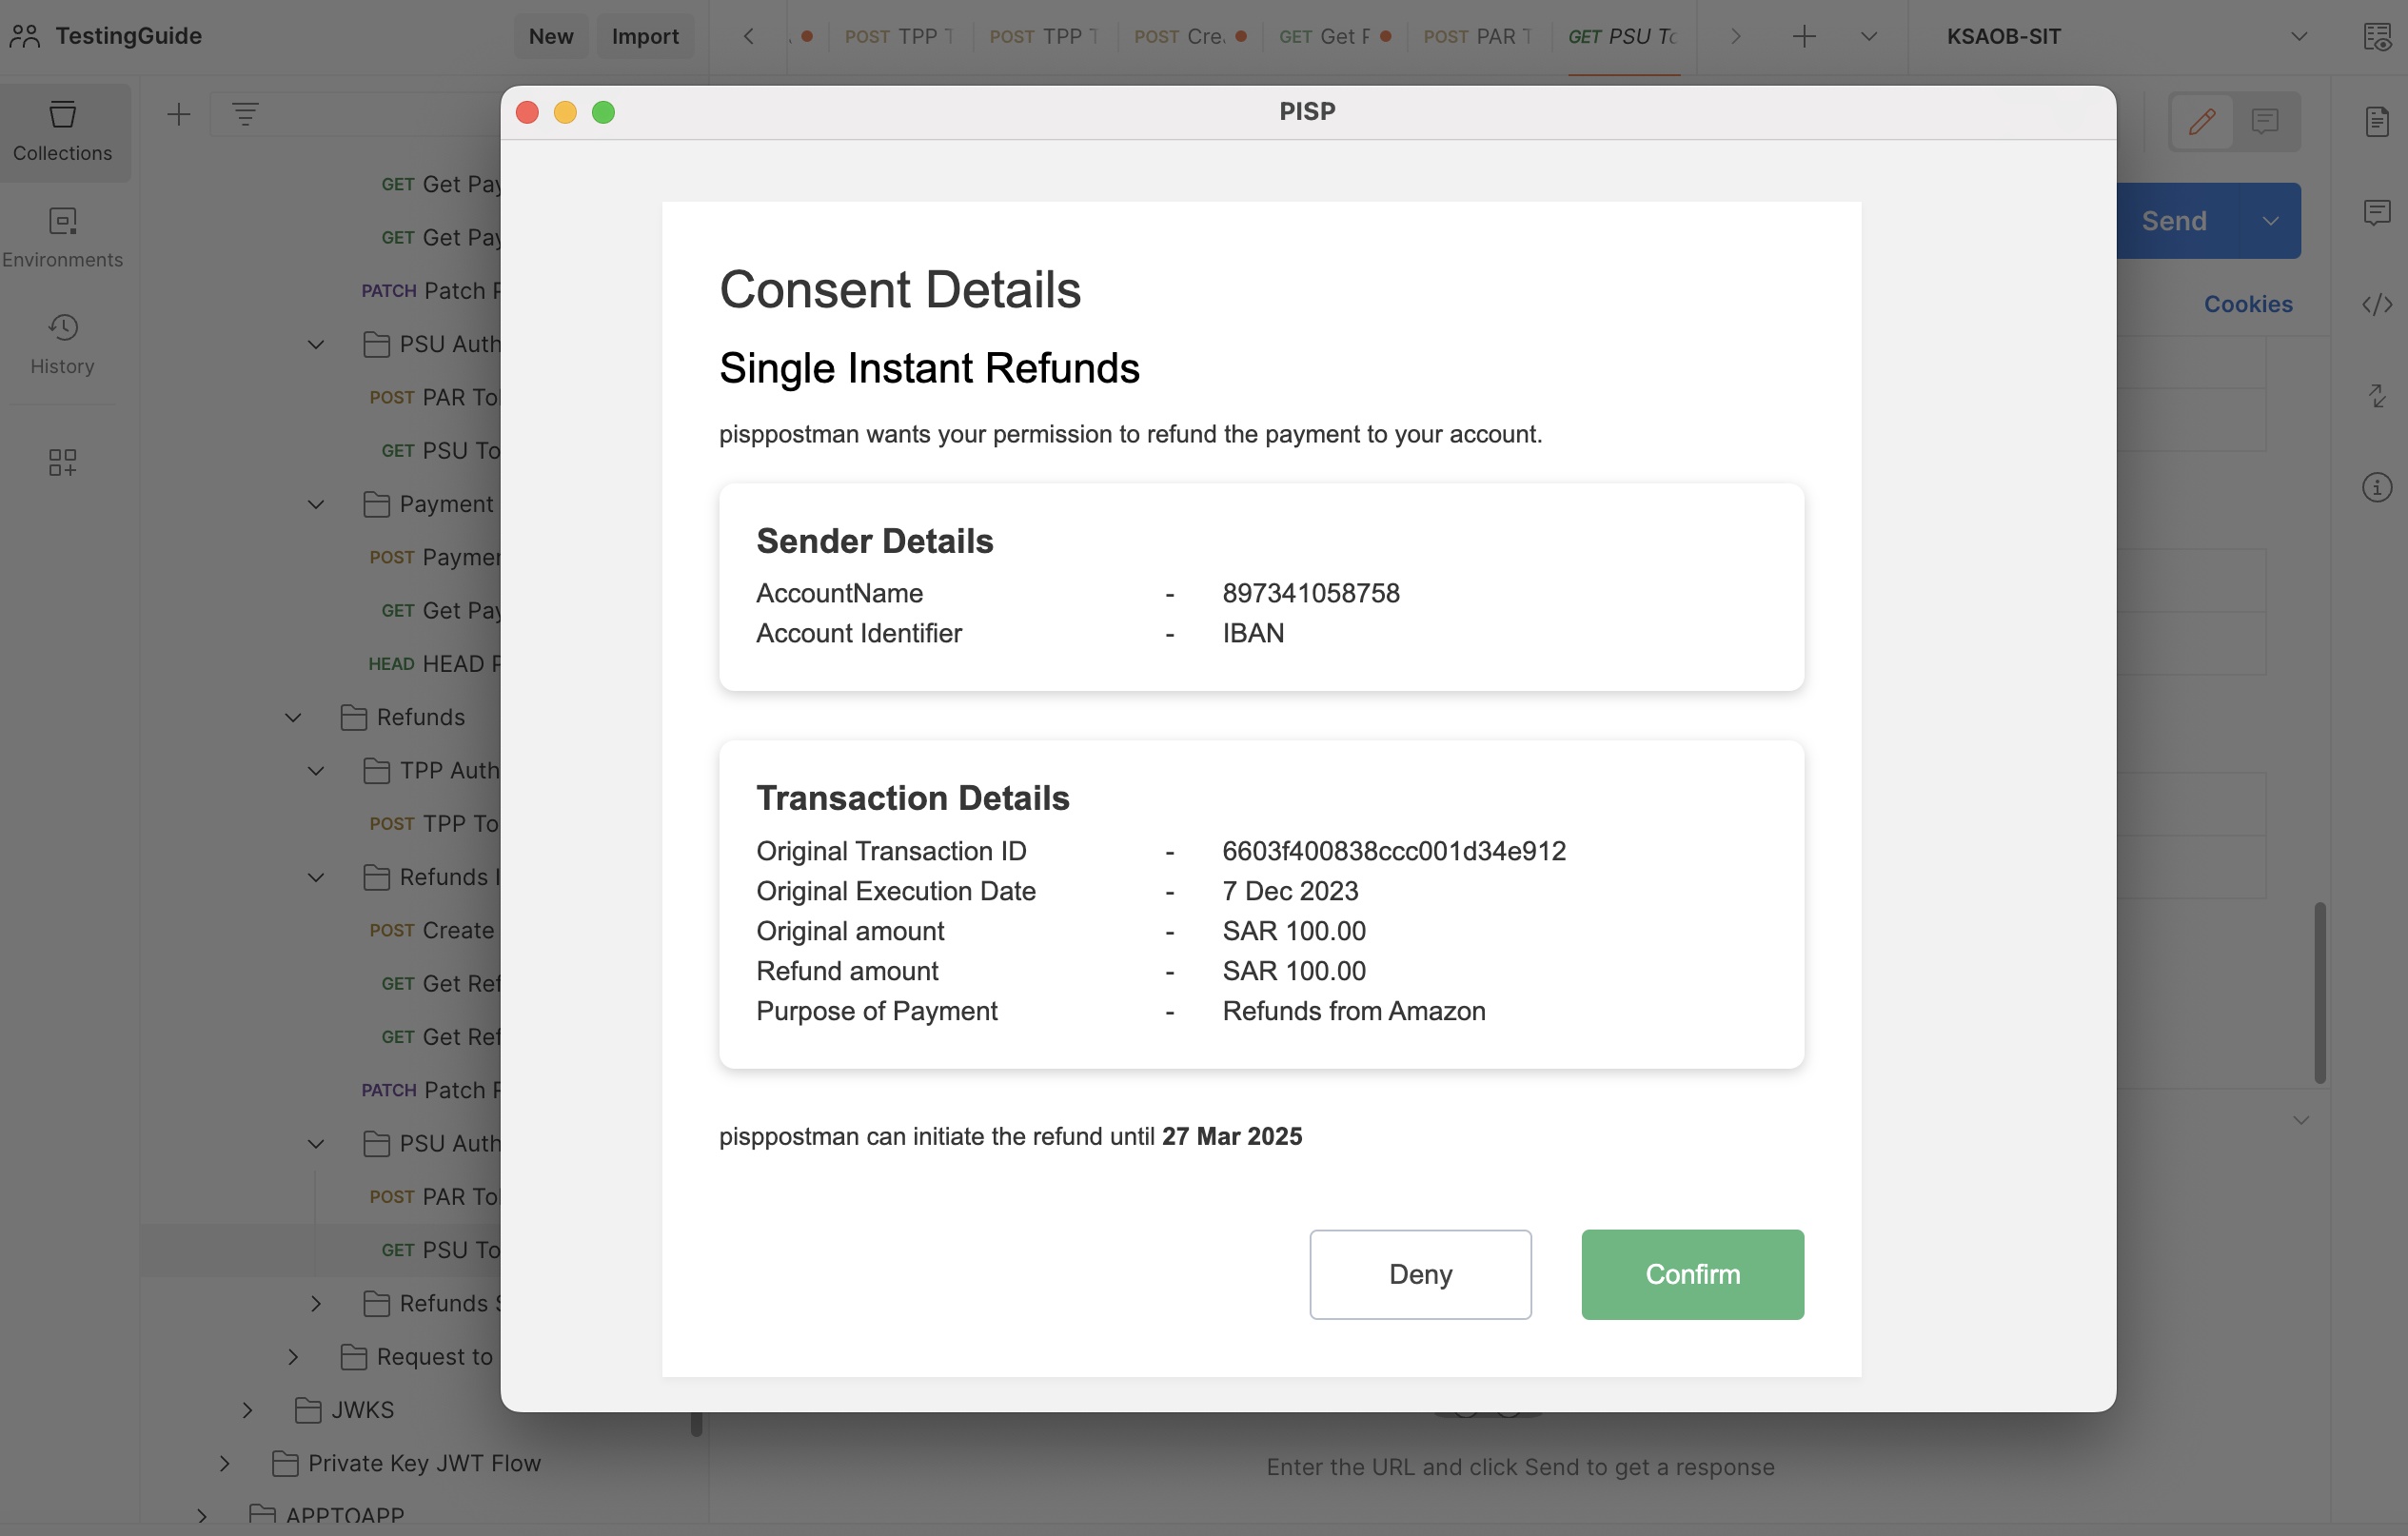
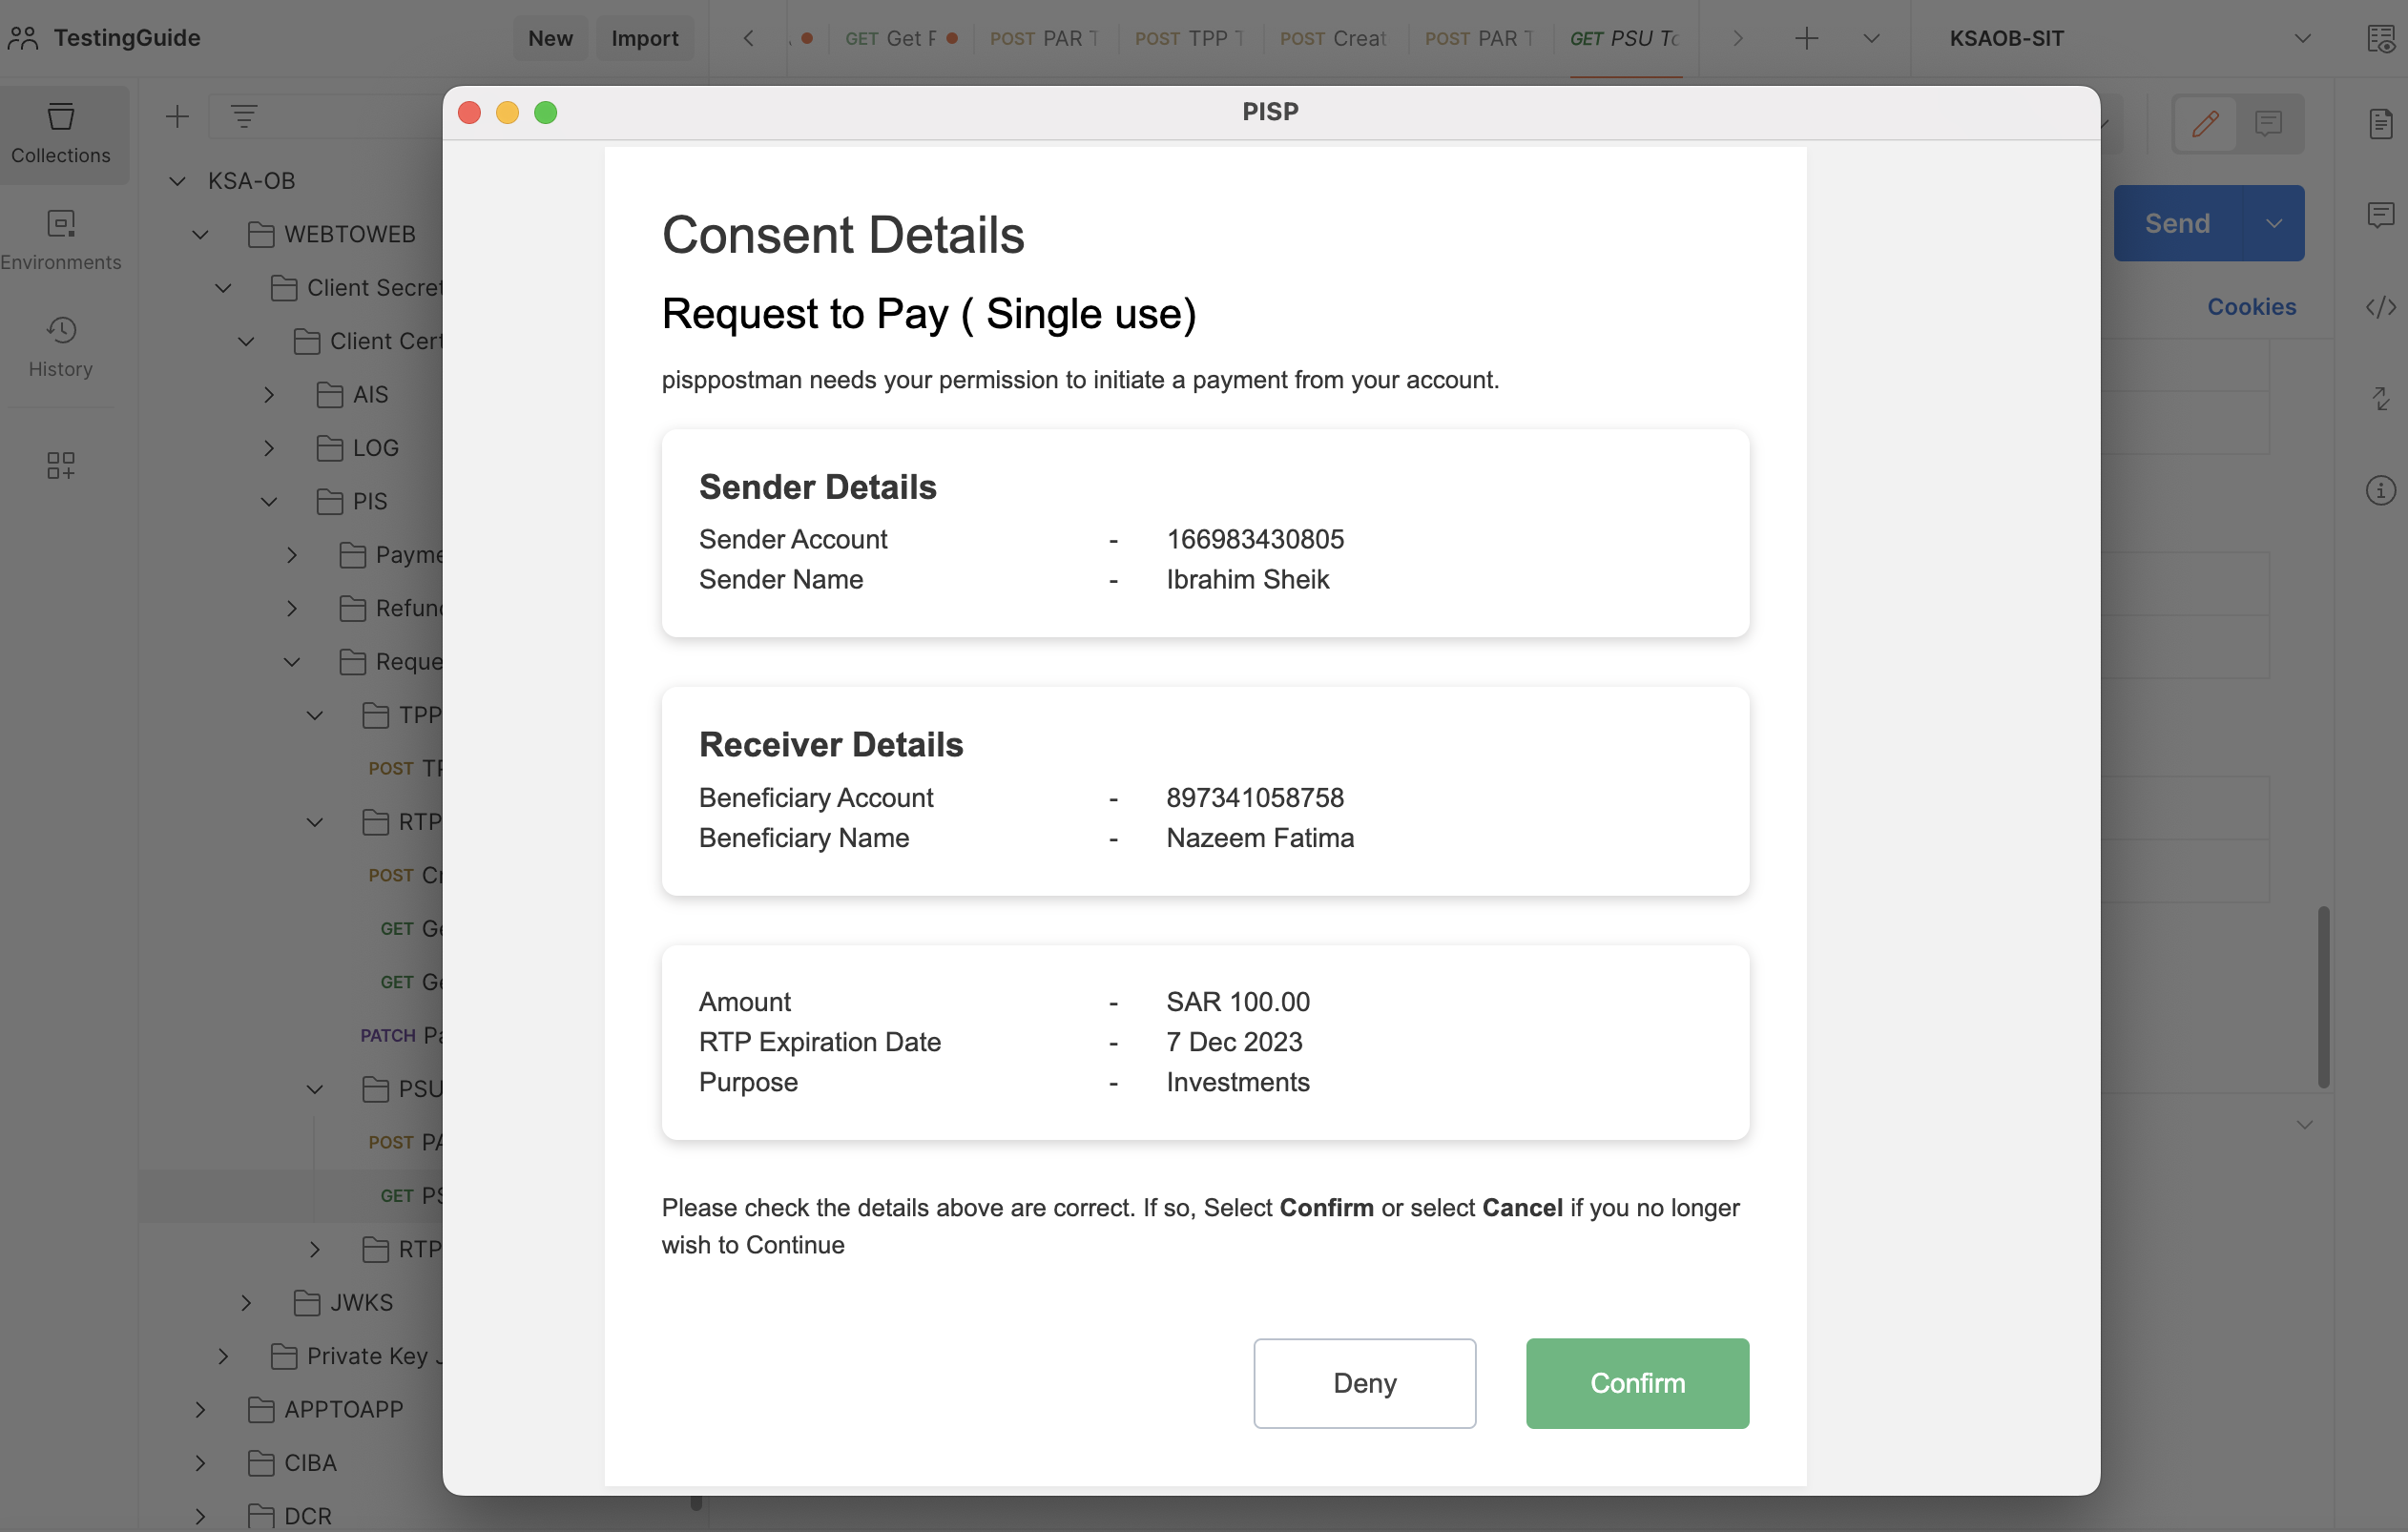
- Please follow the same procedure for Refunds and Request to Pay.
Refund Consent Management
Request to Pay Consent Management
LOG Flow (Letter of Guarantee)
- Execute the TPP Token request endpoint present within the TPP Authorisation folder under LOG.
- Execute the Create Letter Guarantee Consentendpoint present within Letter Guarantee Consent folder. Now the ConsentId will be generated. You can check the Consent status using theGet Letter Guarantee Consentendpoint.
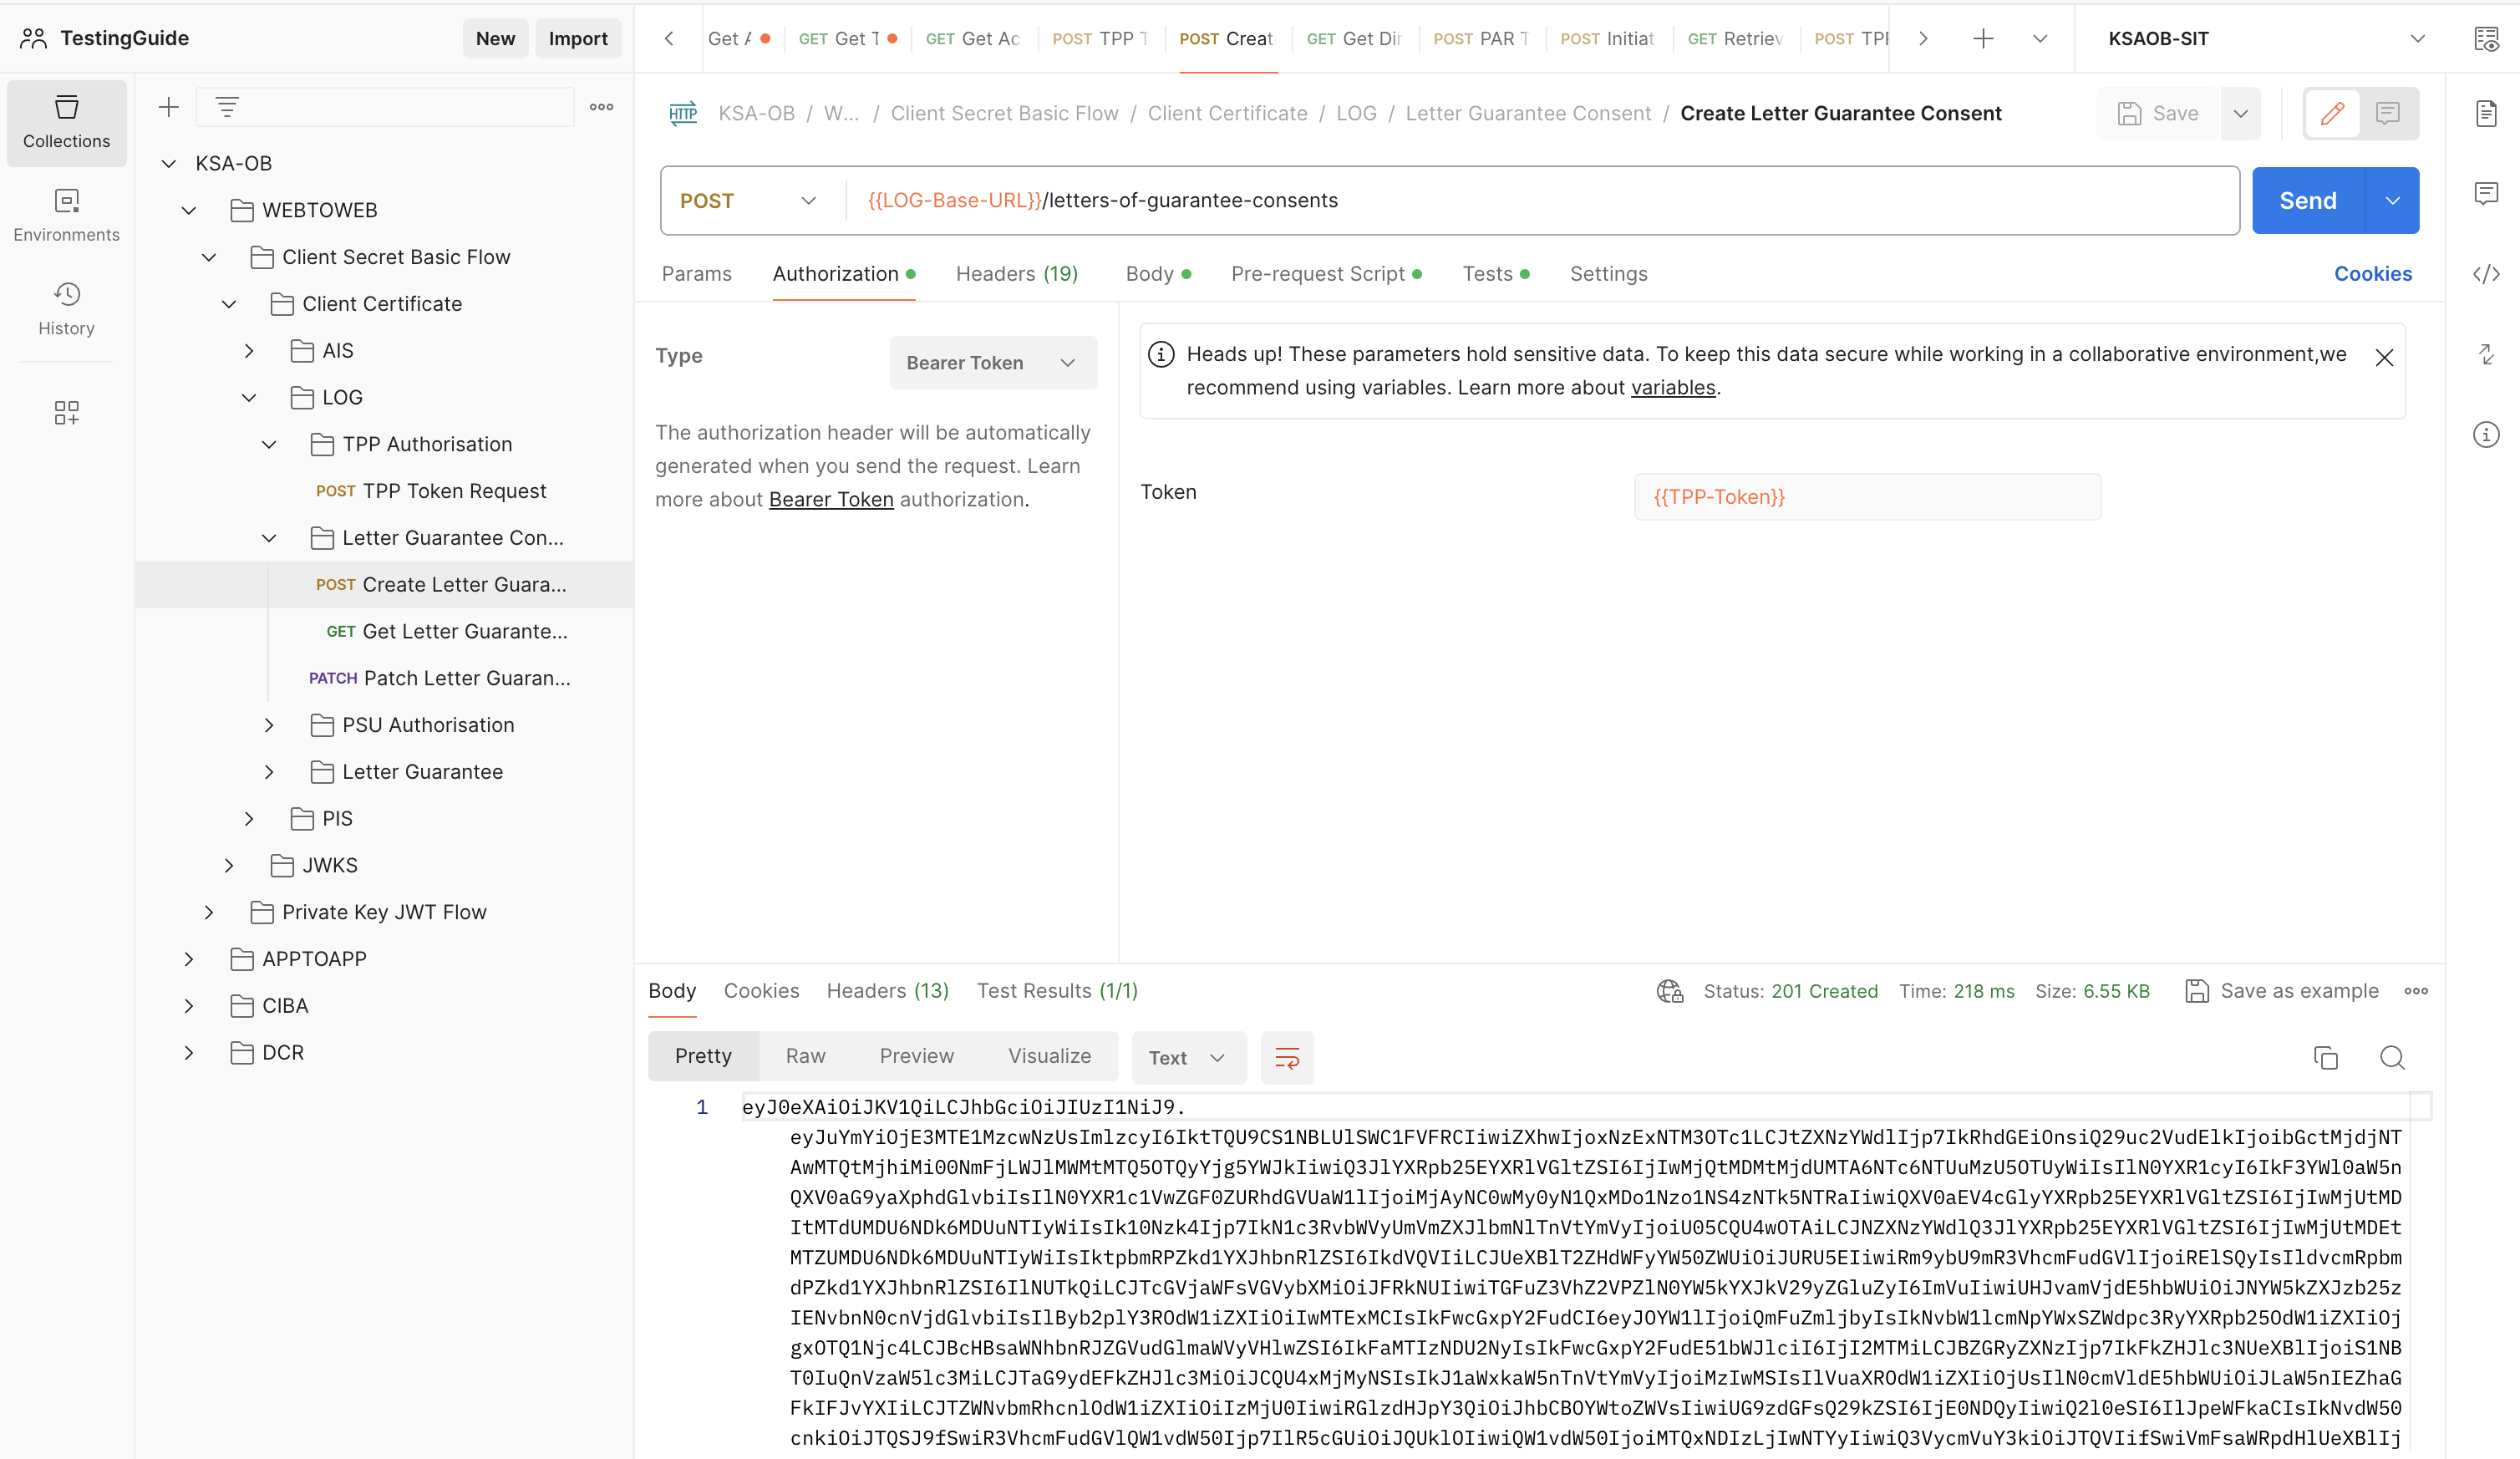
- Execute the Patch Letter Guarantee Consentendpoint, based on the Subscription required.
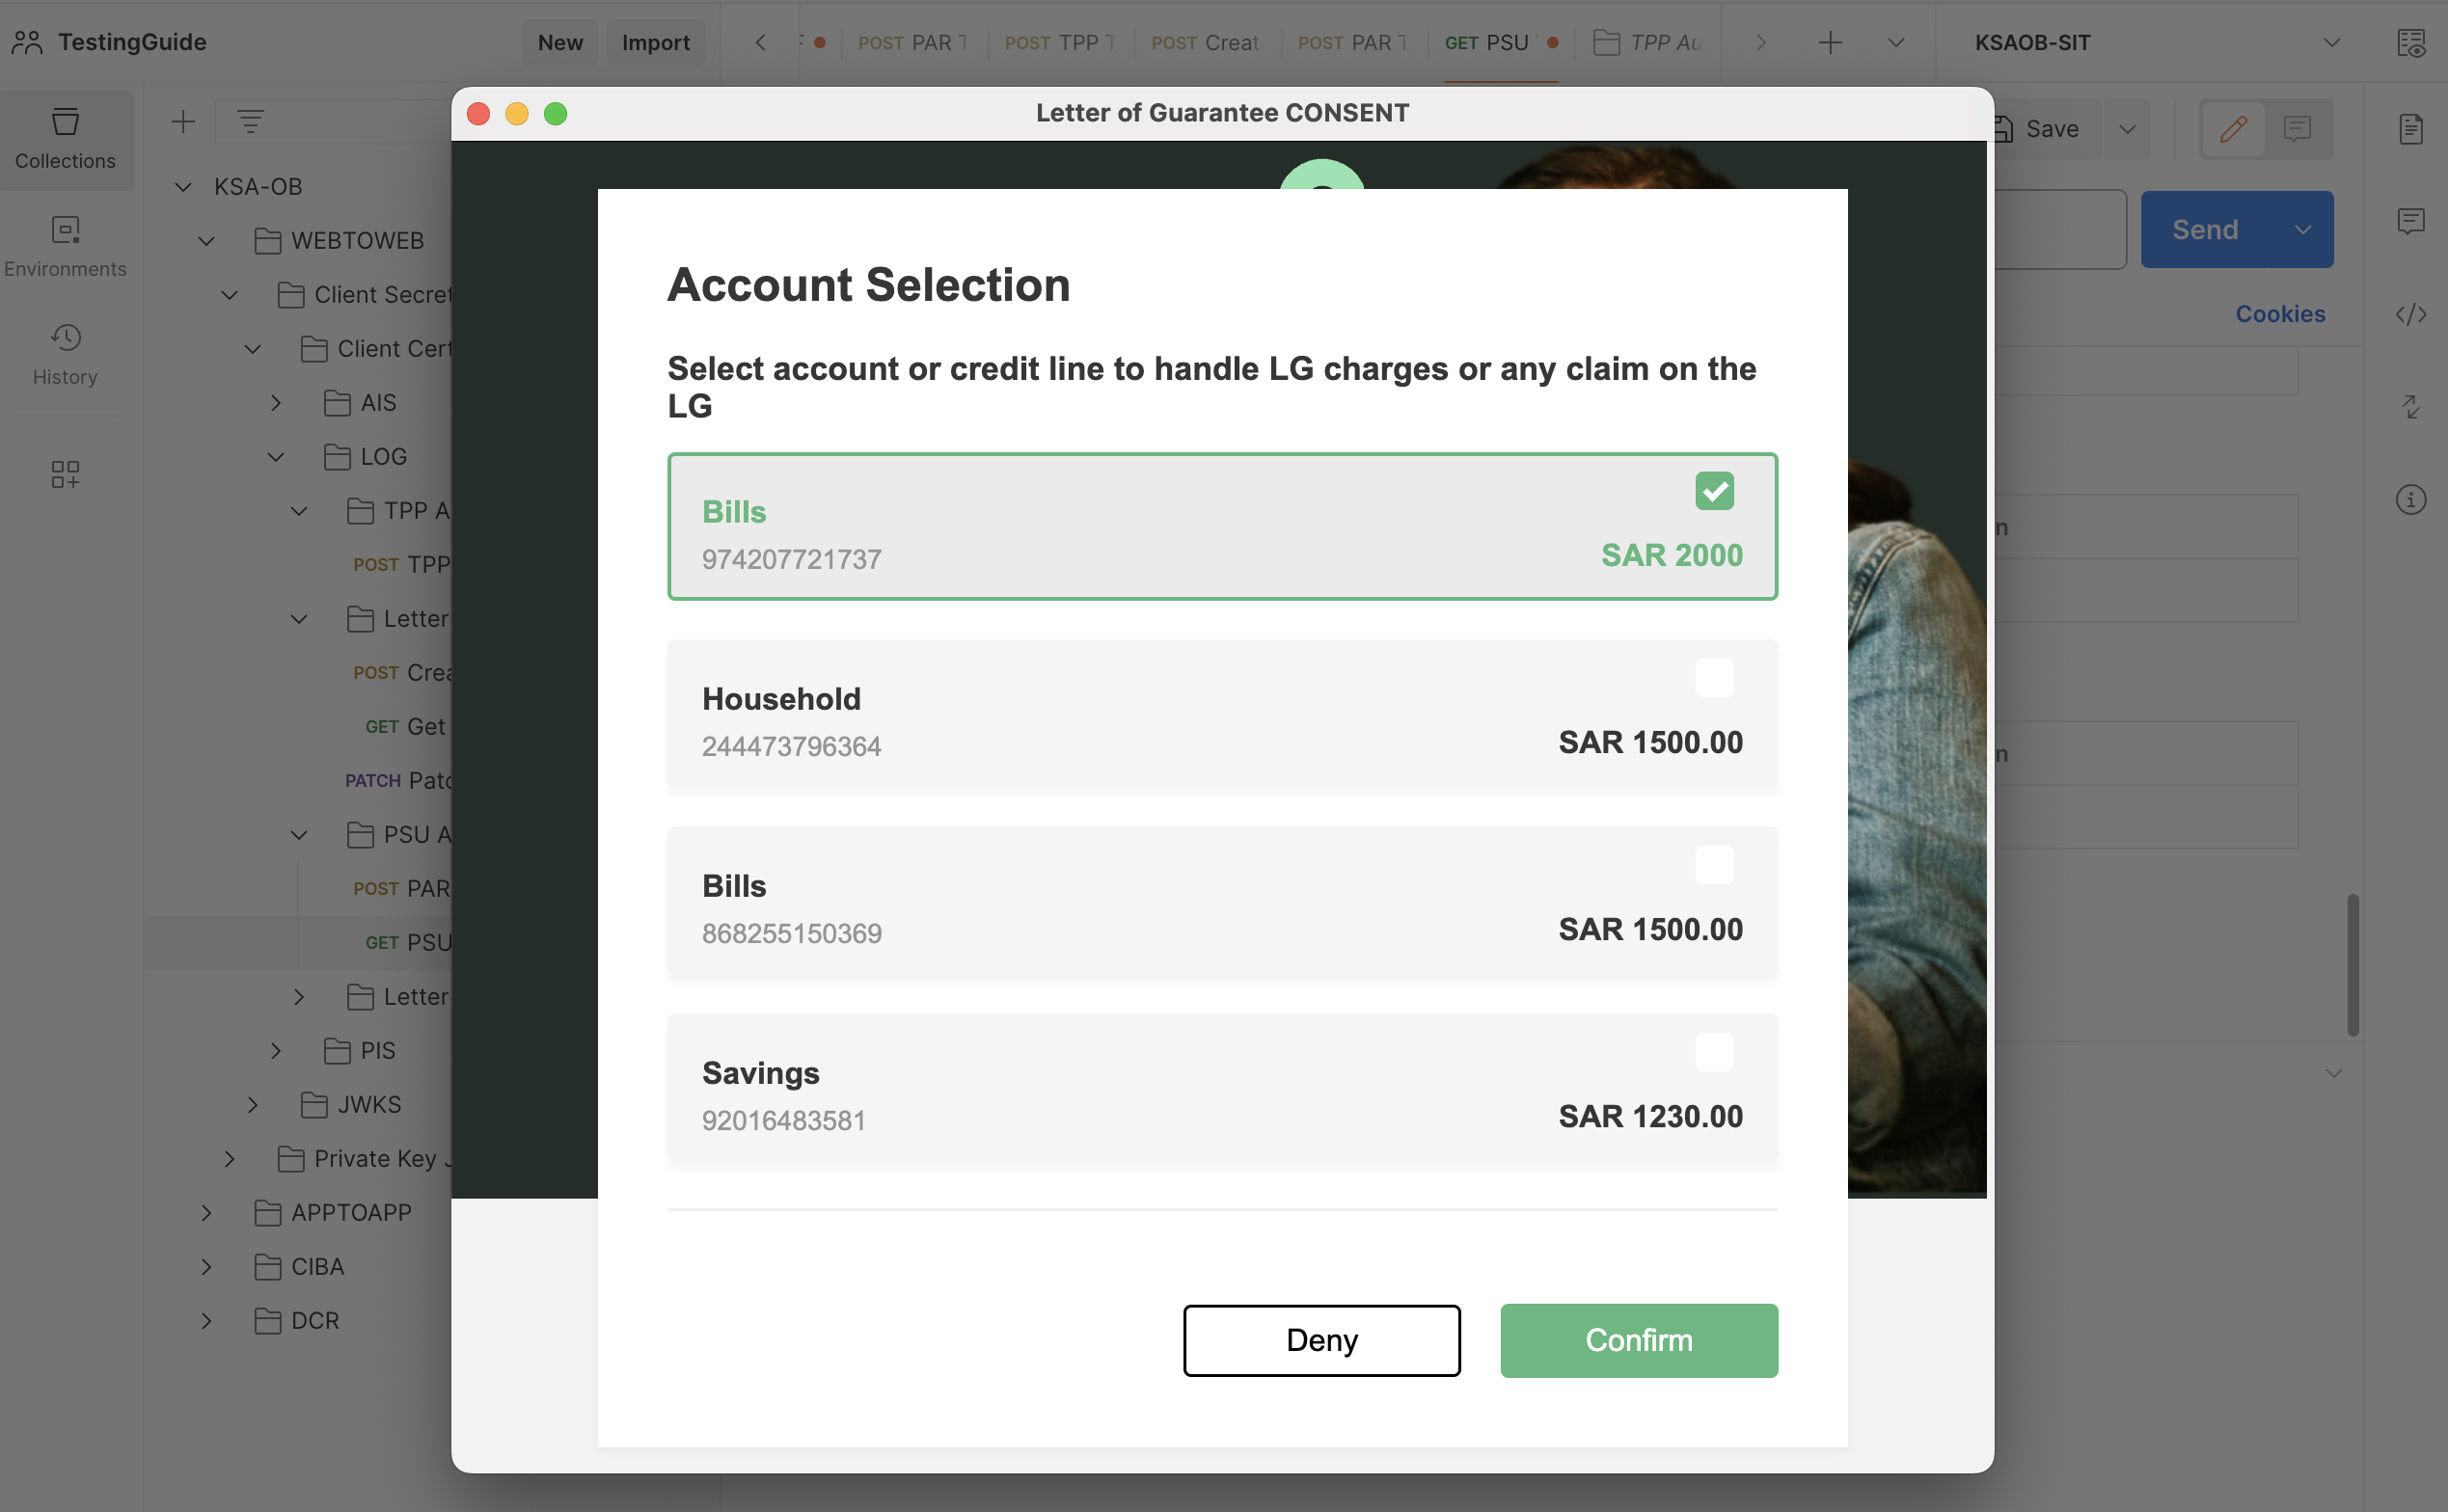
- Next Follow the steps 3 to 6 in AISP. Use the PSU Token Requestpresent within LOG folder.
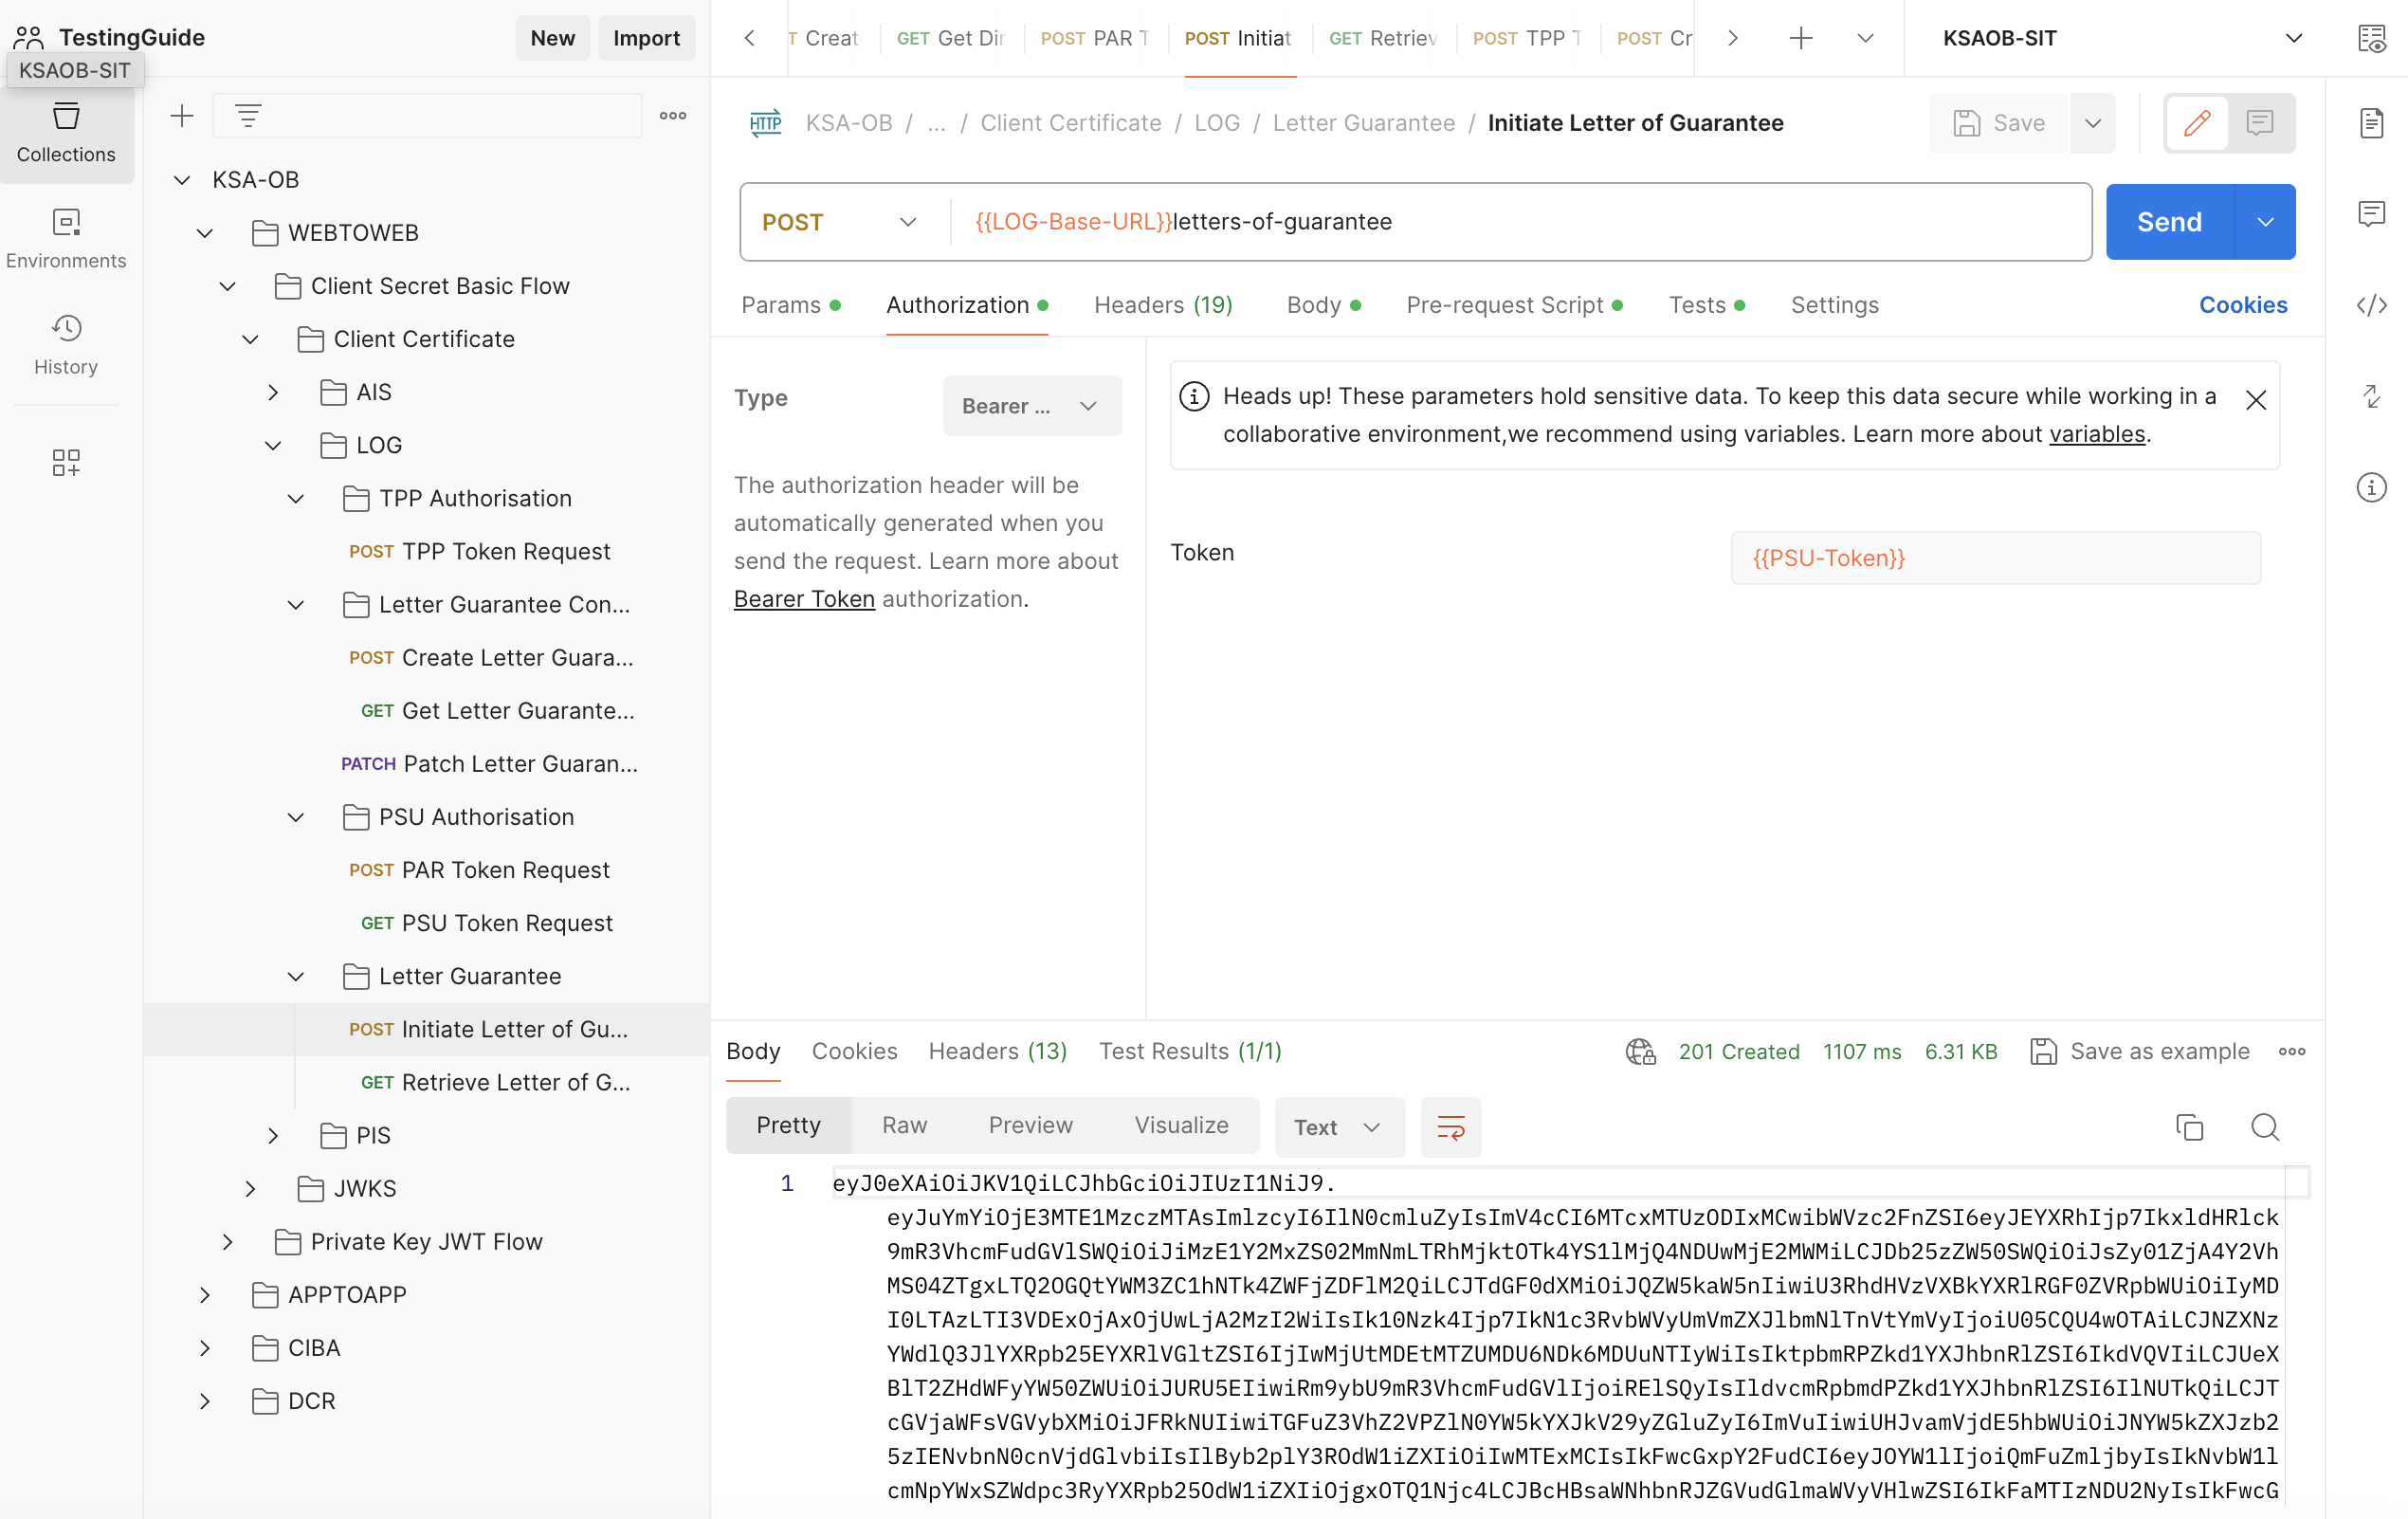
- Execute the Initiate Letter of GuaranteeandRetrieve Letter of Guaranteeendpoints.
App to App Flow
- This flow requires a Sprint boot project jwe.zip to be running in your local machine. This will work the same way as an ASPSP and It is used to generate JWE. Please change CLIENT_ID, PSU_ID and Account details, if you are using another Client in Postman collection. Perform mvn installand run the project usingmvn spring-boot:runcommand.
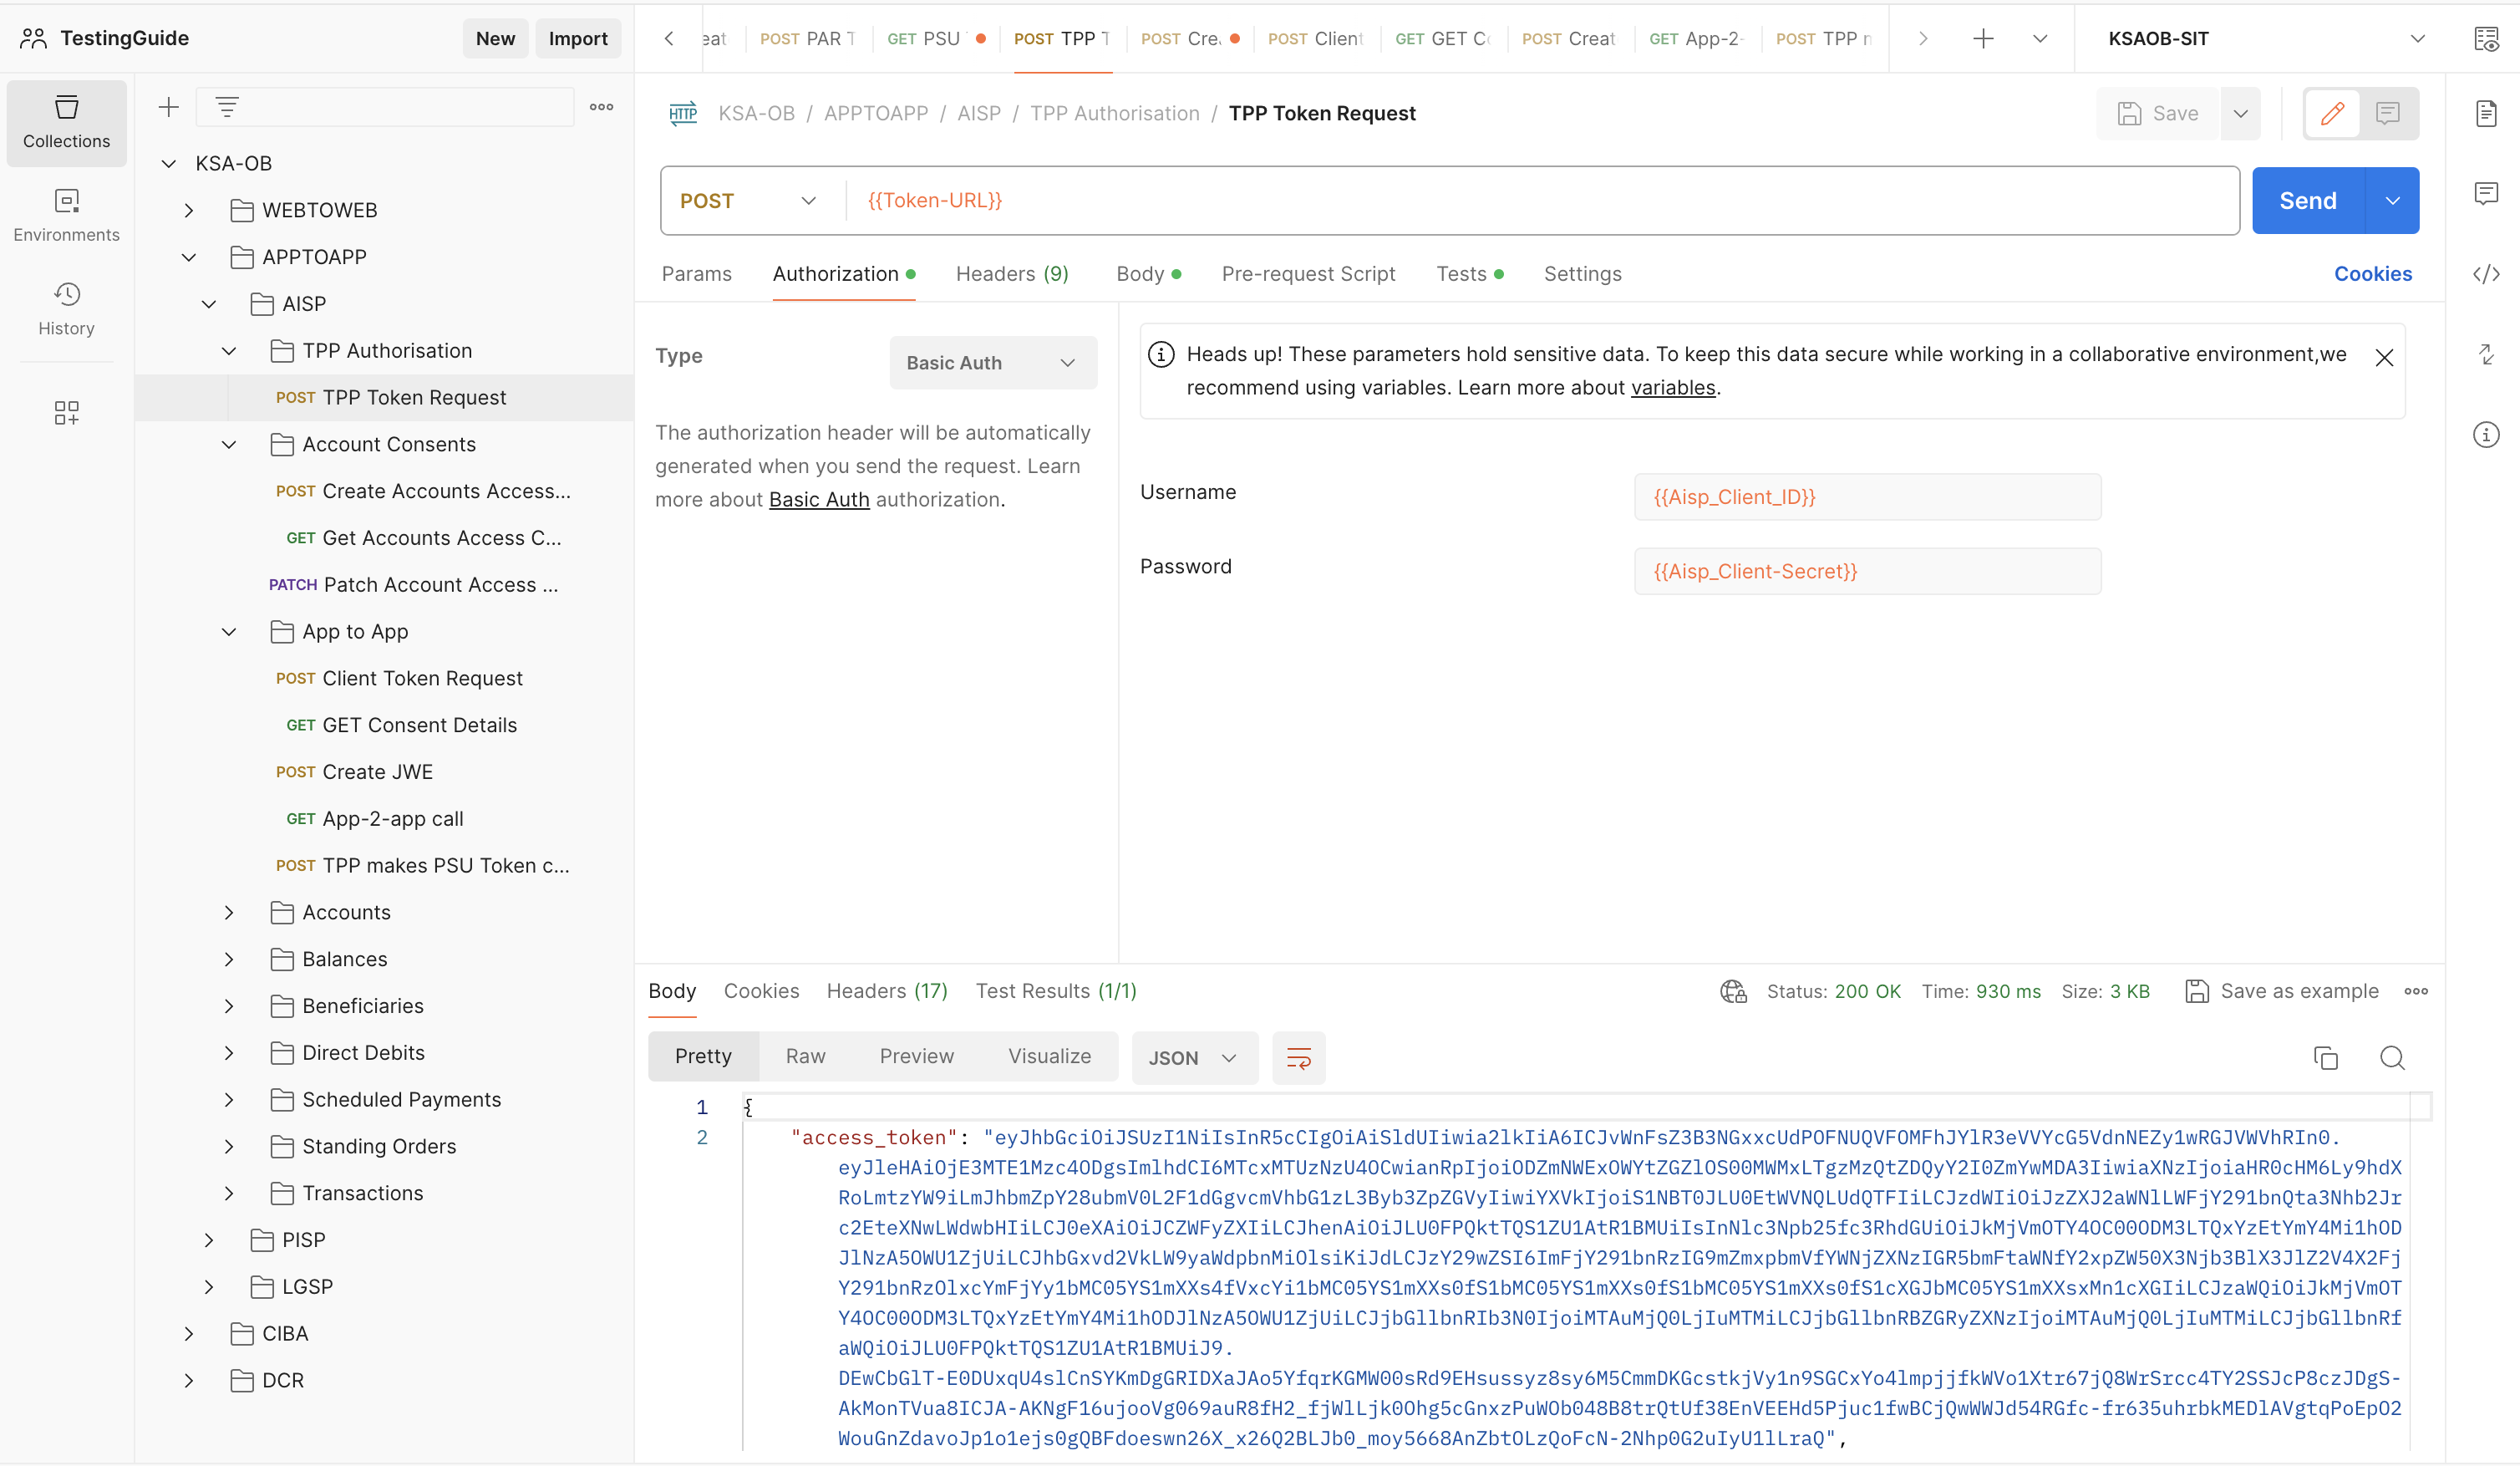
- Once the Sprint boot project has started, Execute the TPP Token Requestendpoint present within App to App folder .
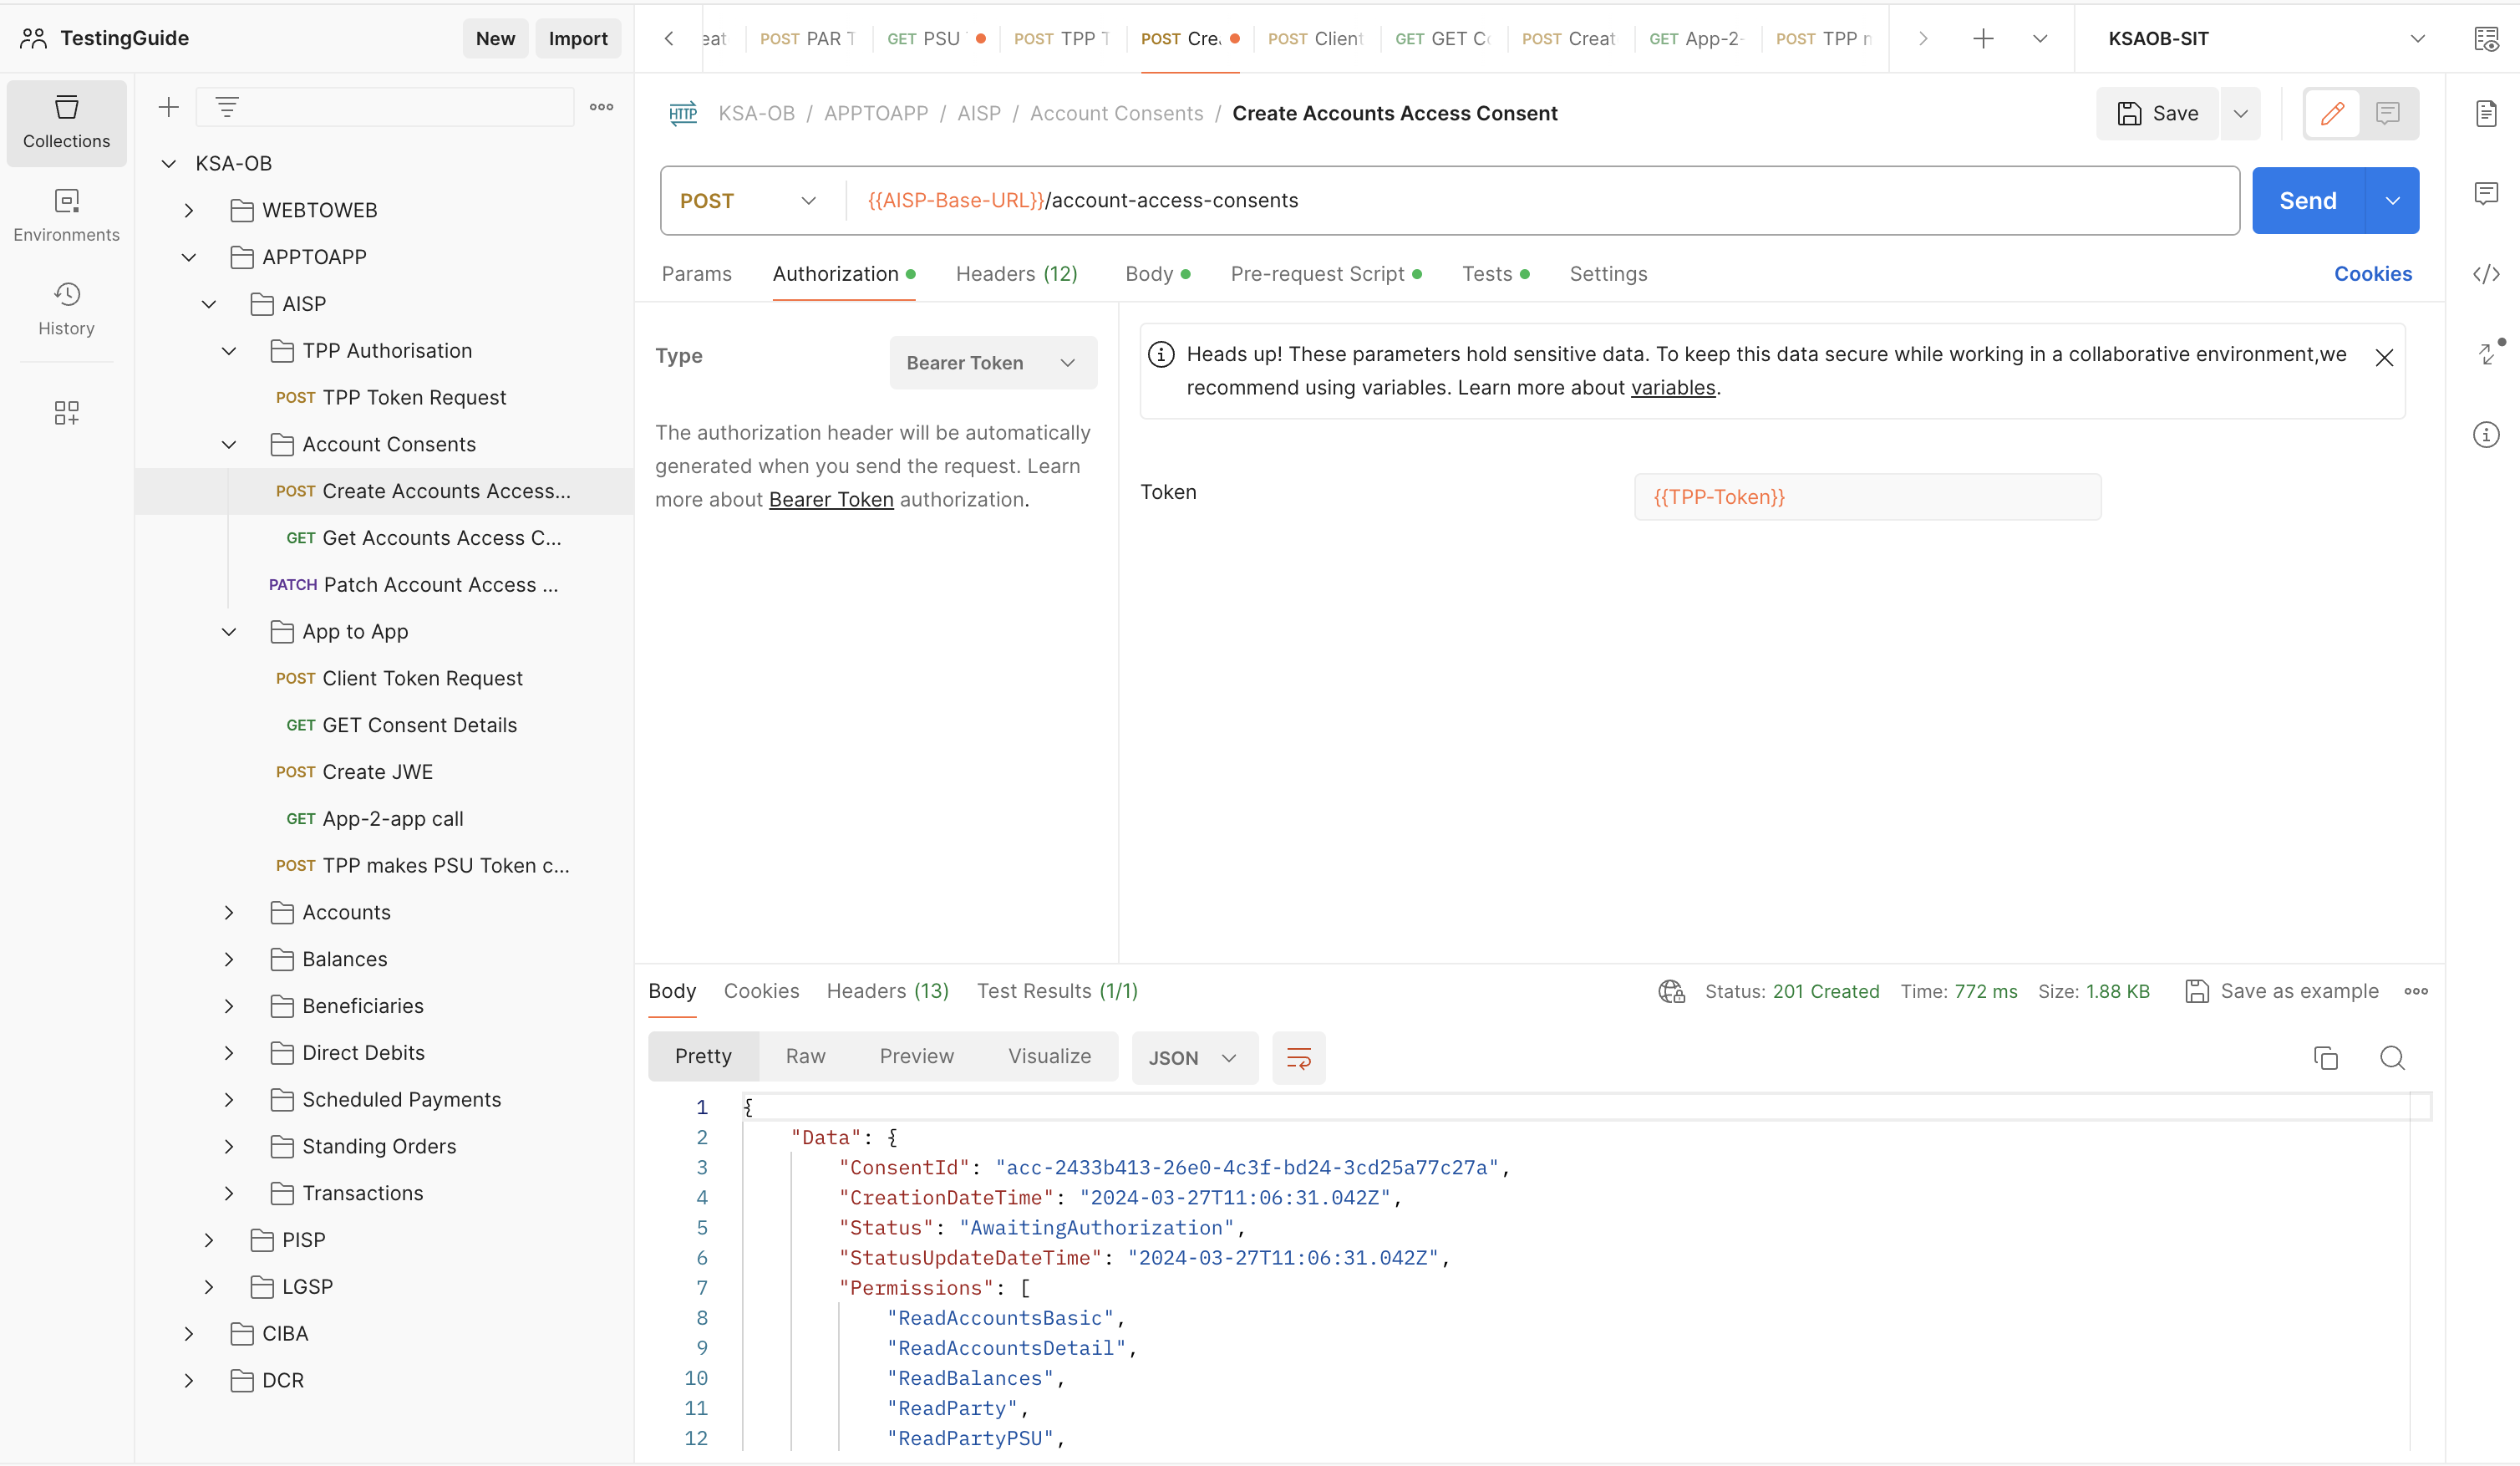
- Execute the Create Accounts Consentendpoint.
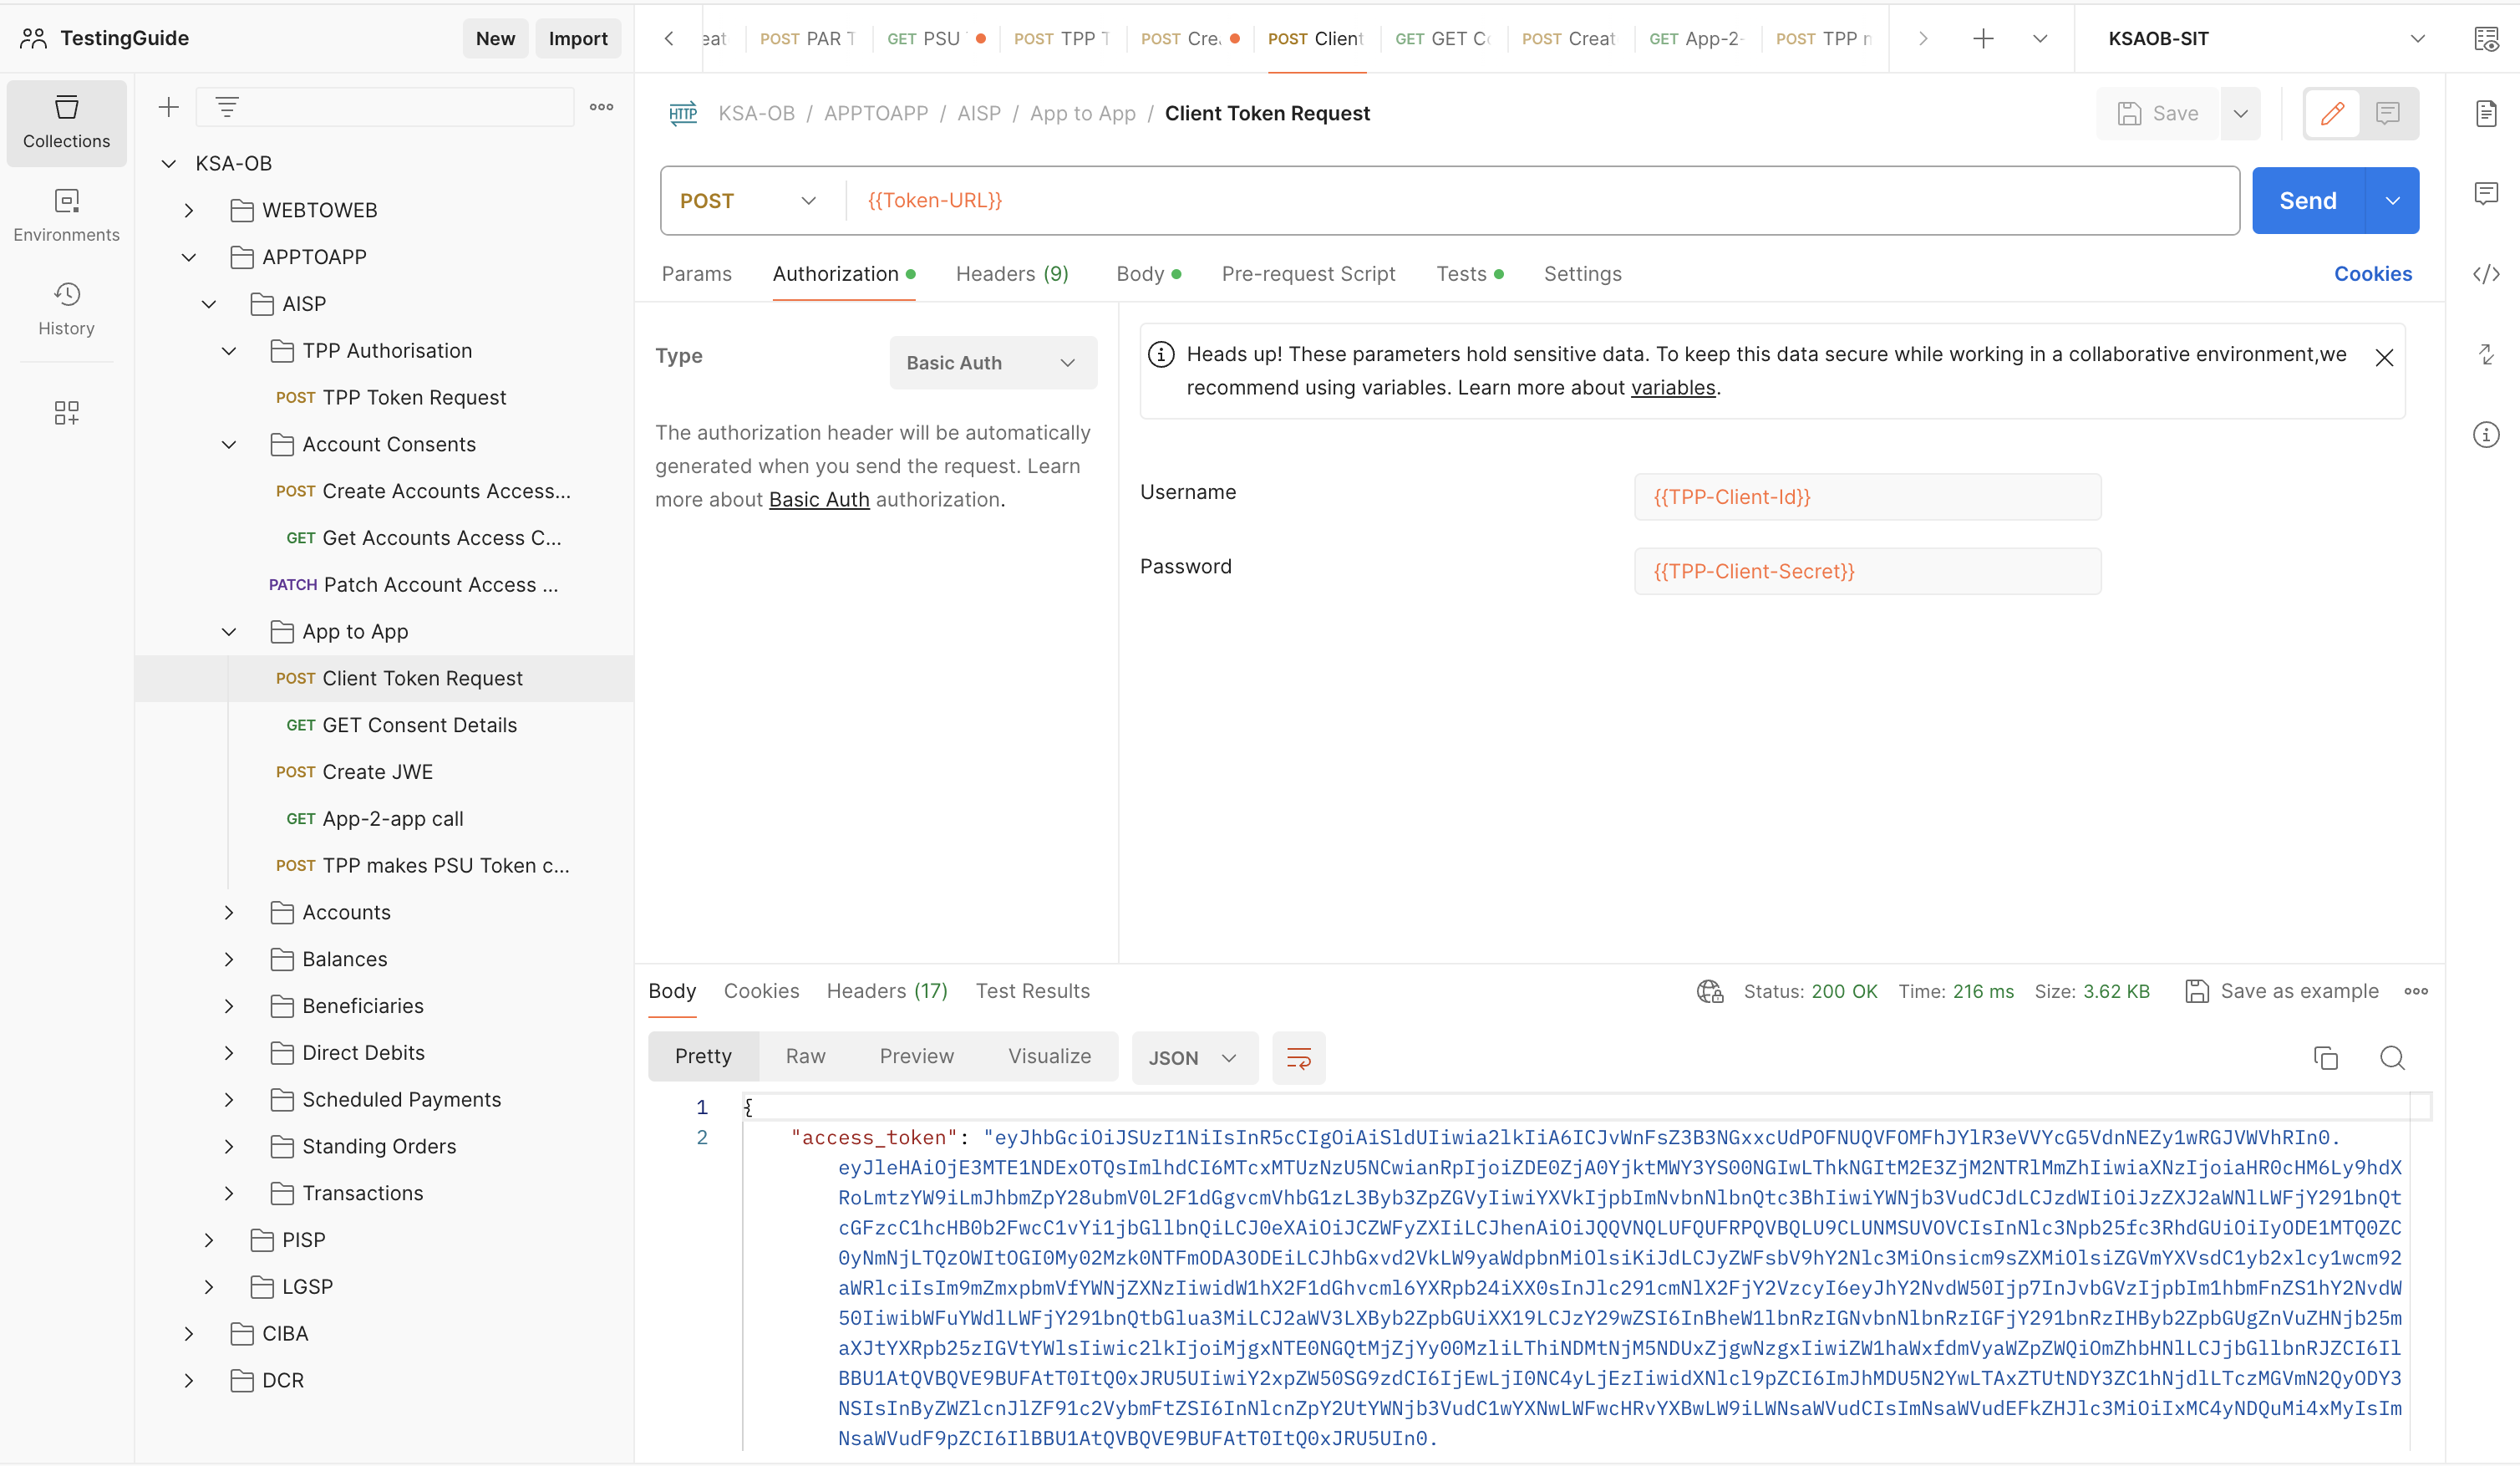
- Execute the Client Token Requestendpoint.
- Execute the Create JWEendpoint. Now the JWE will be generated using the Spring-boot application.
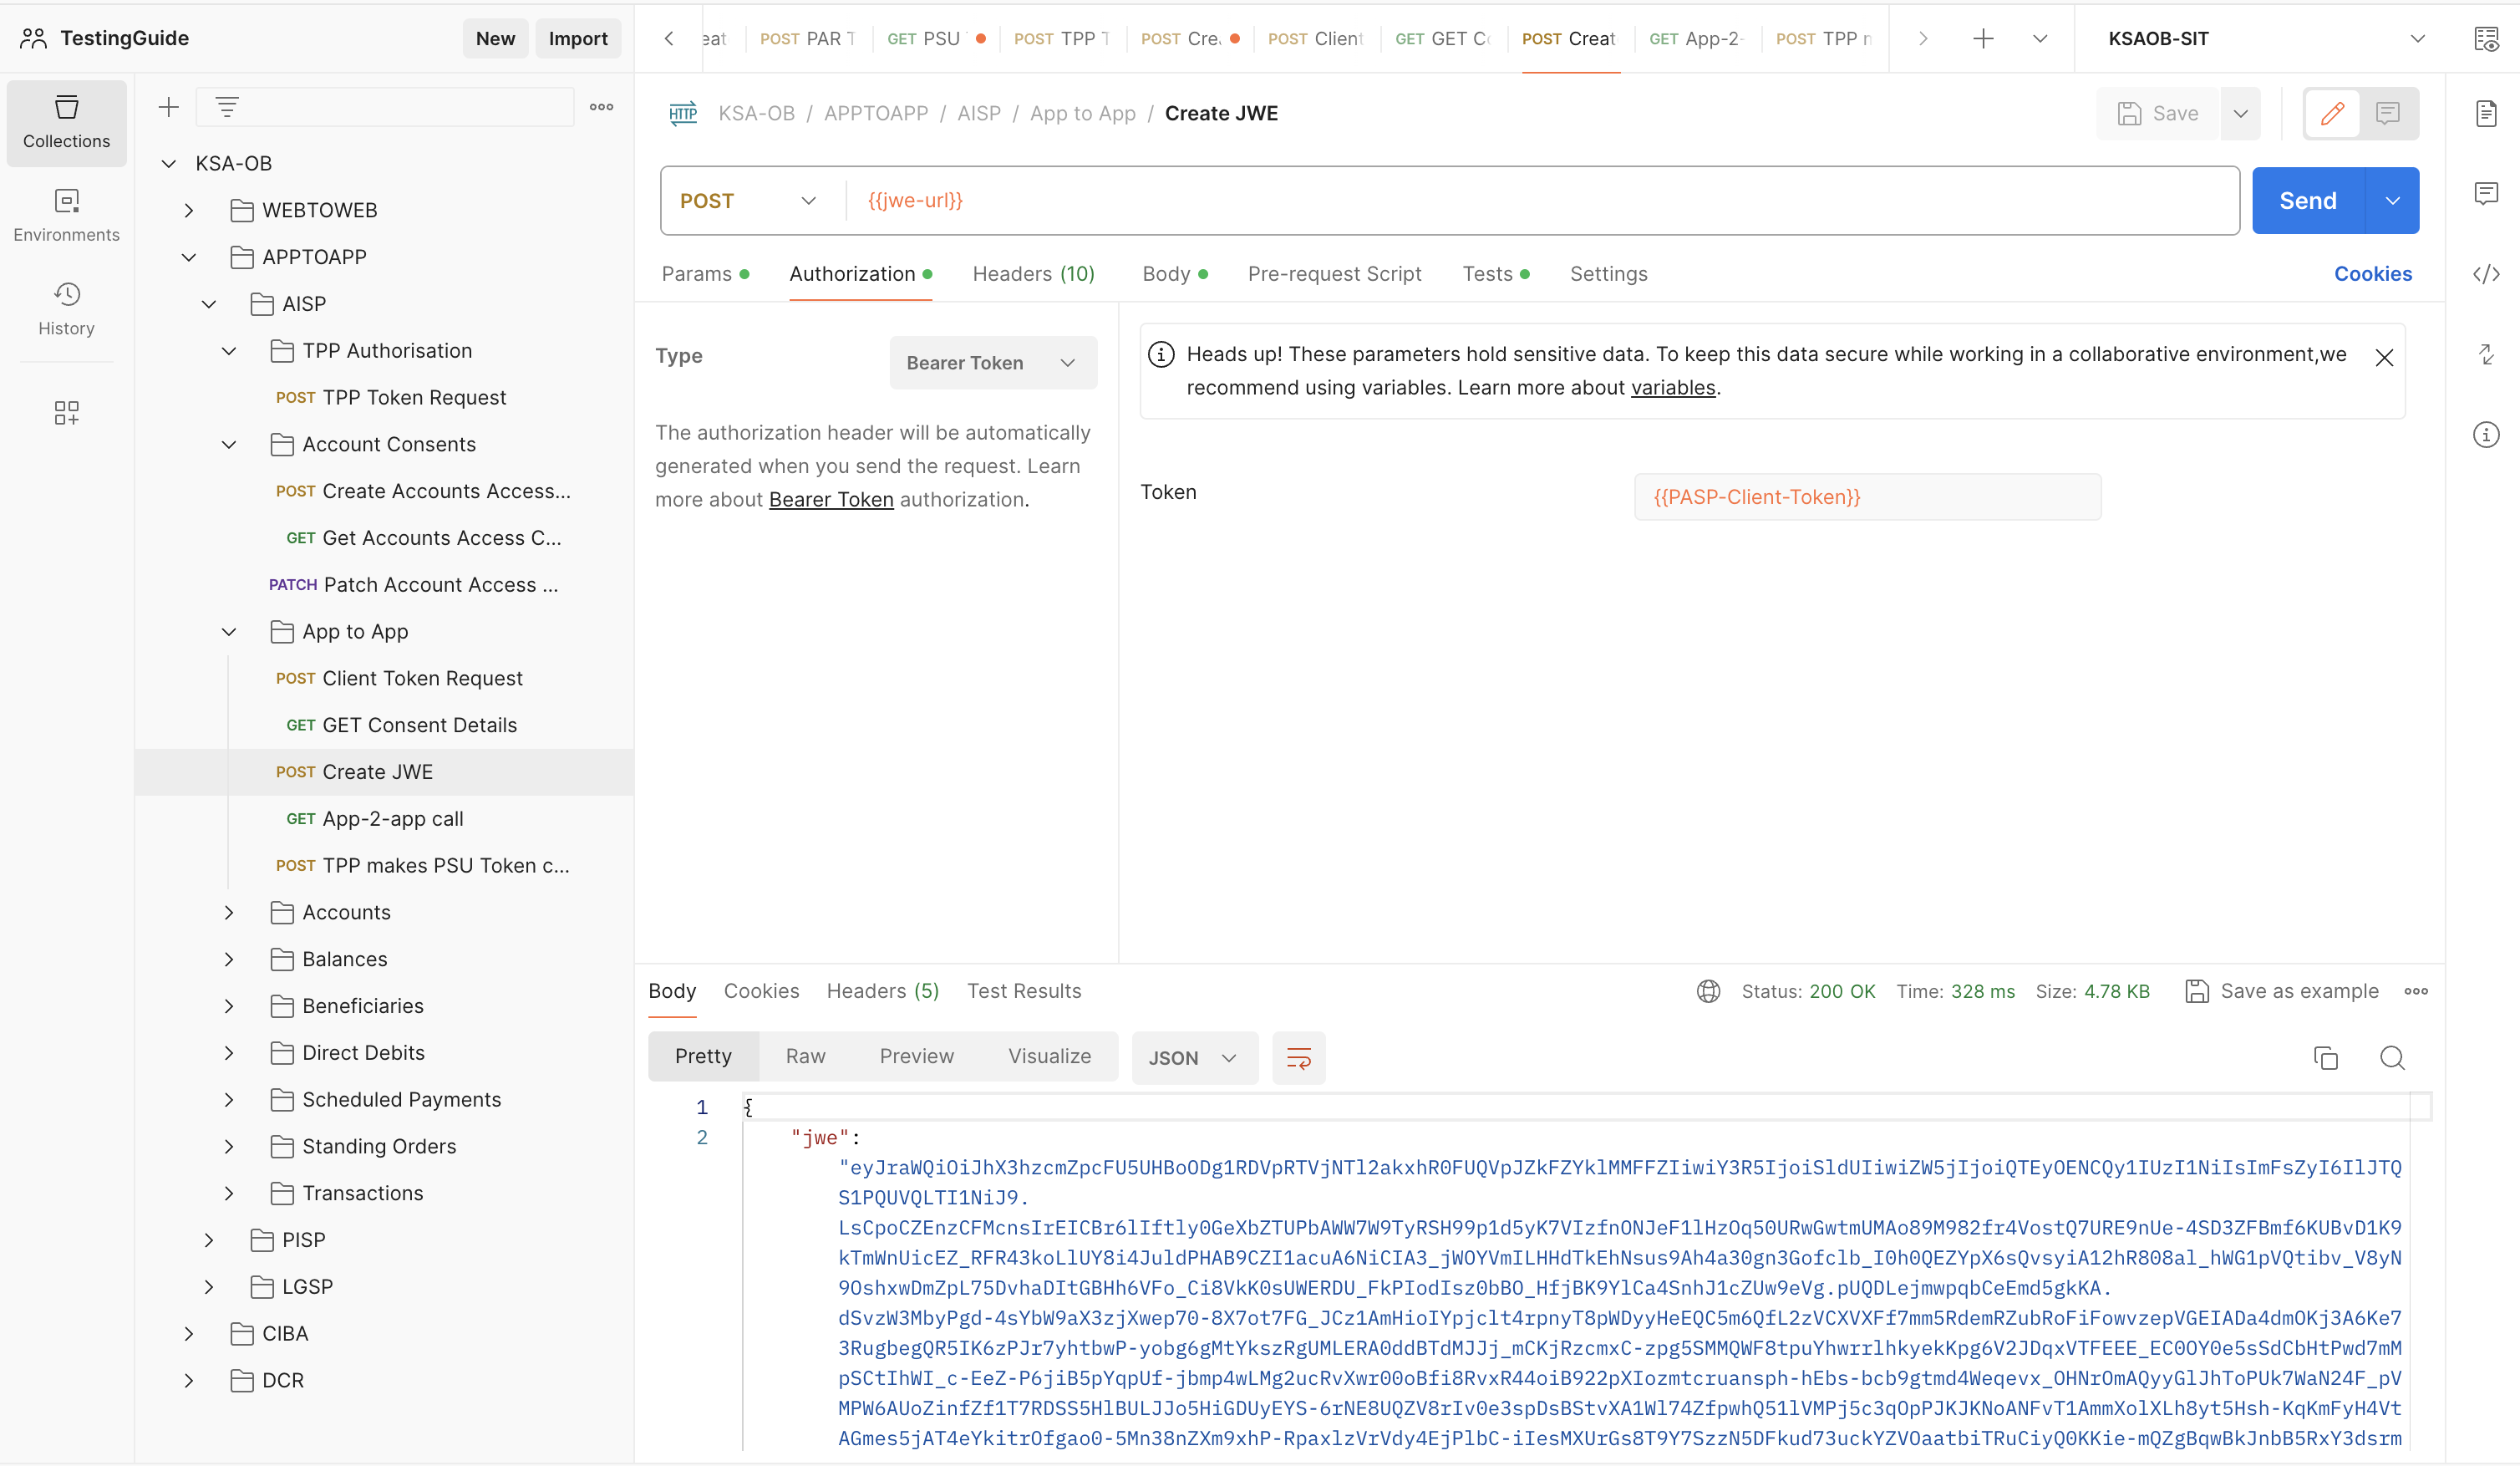
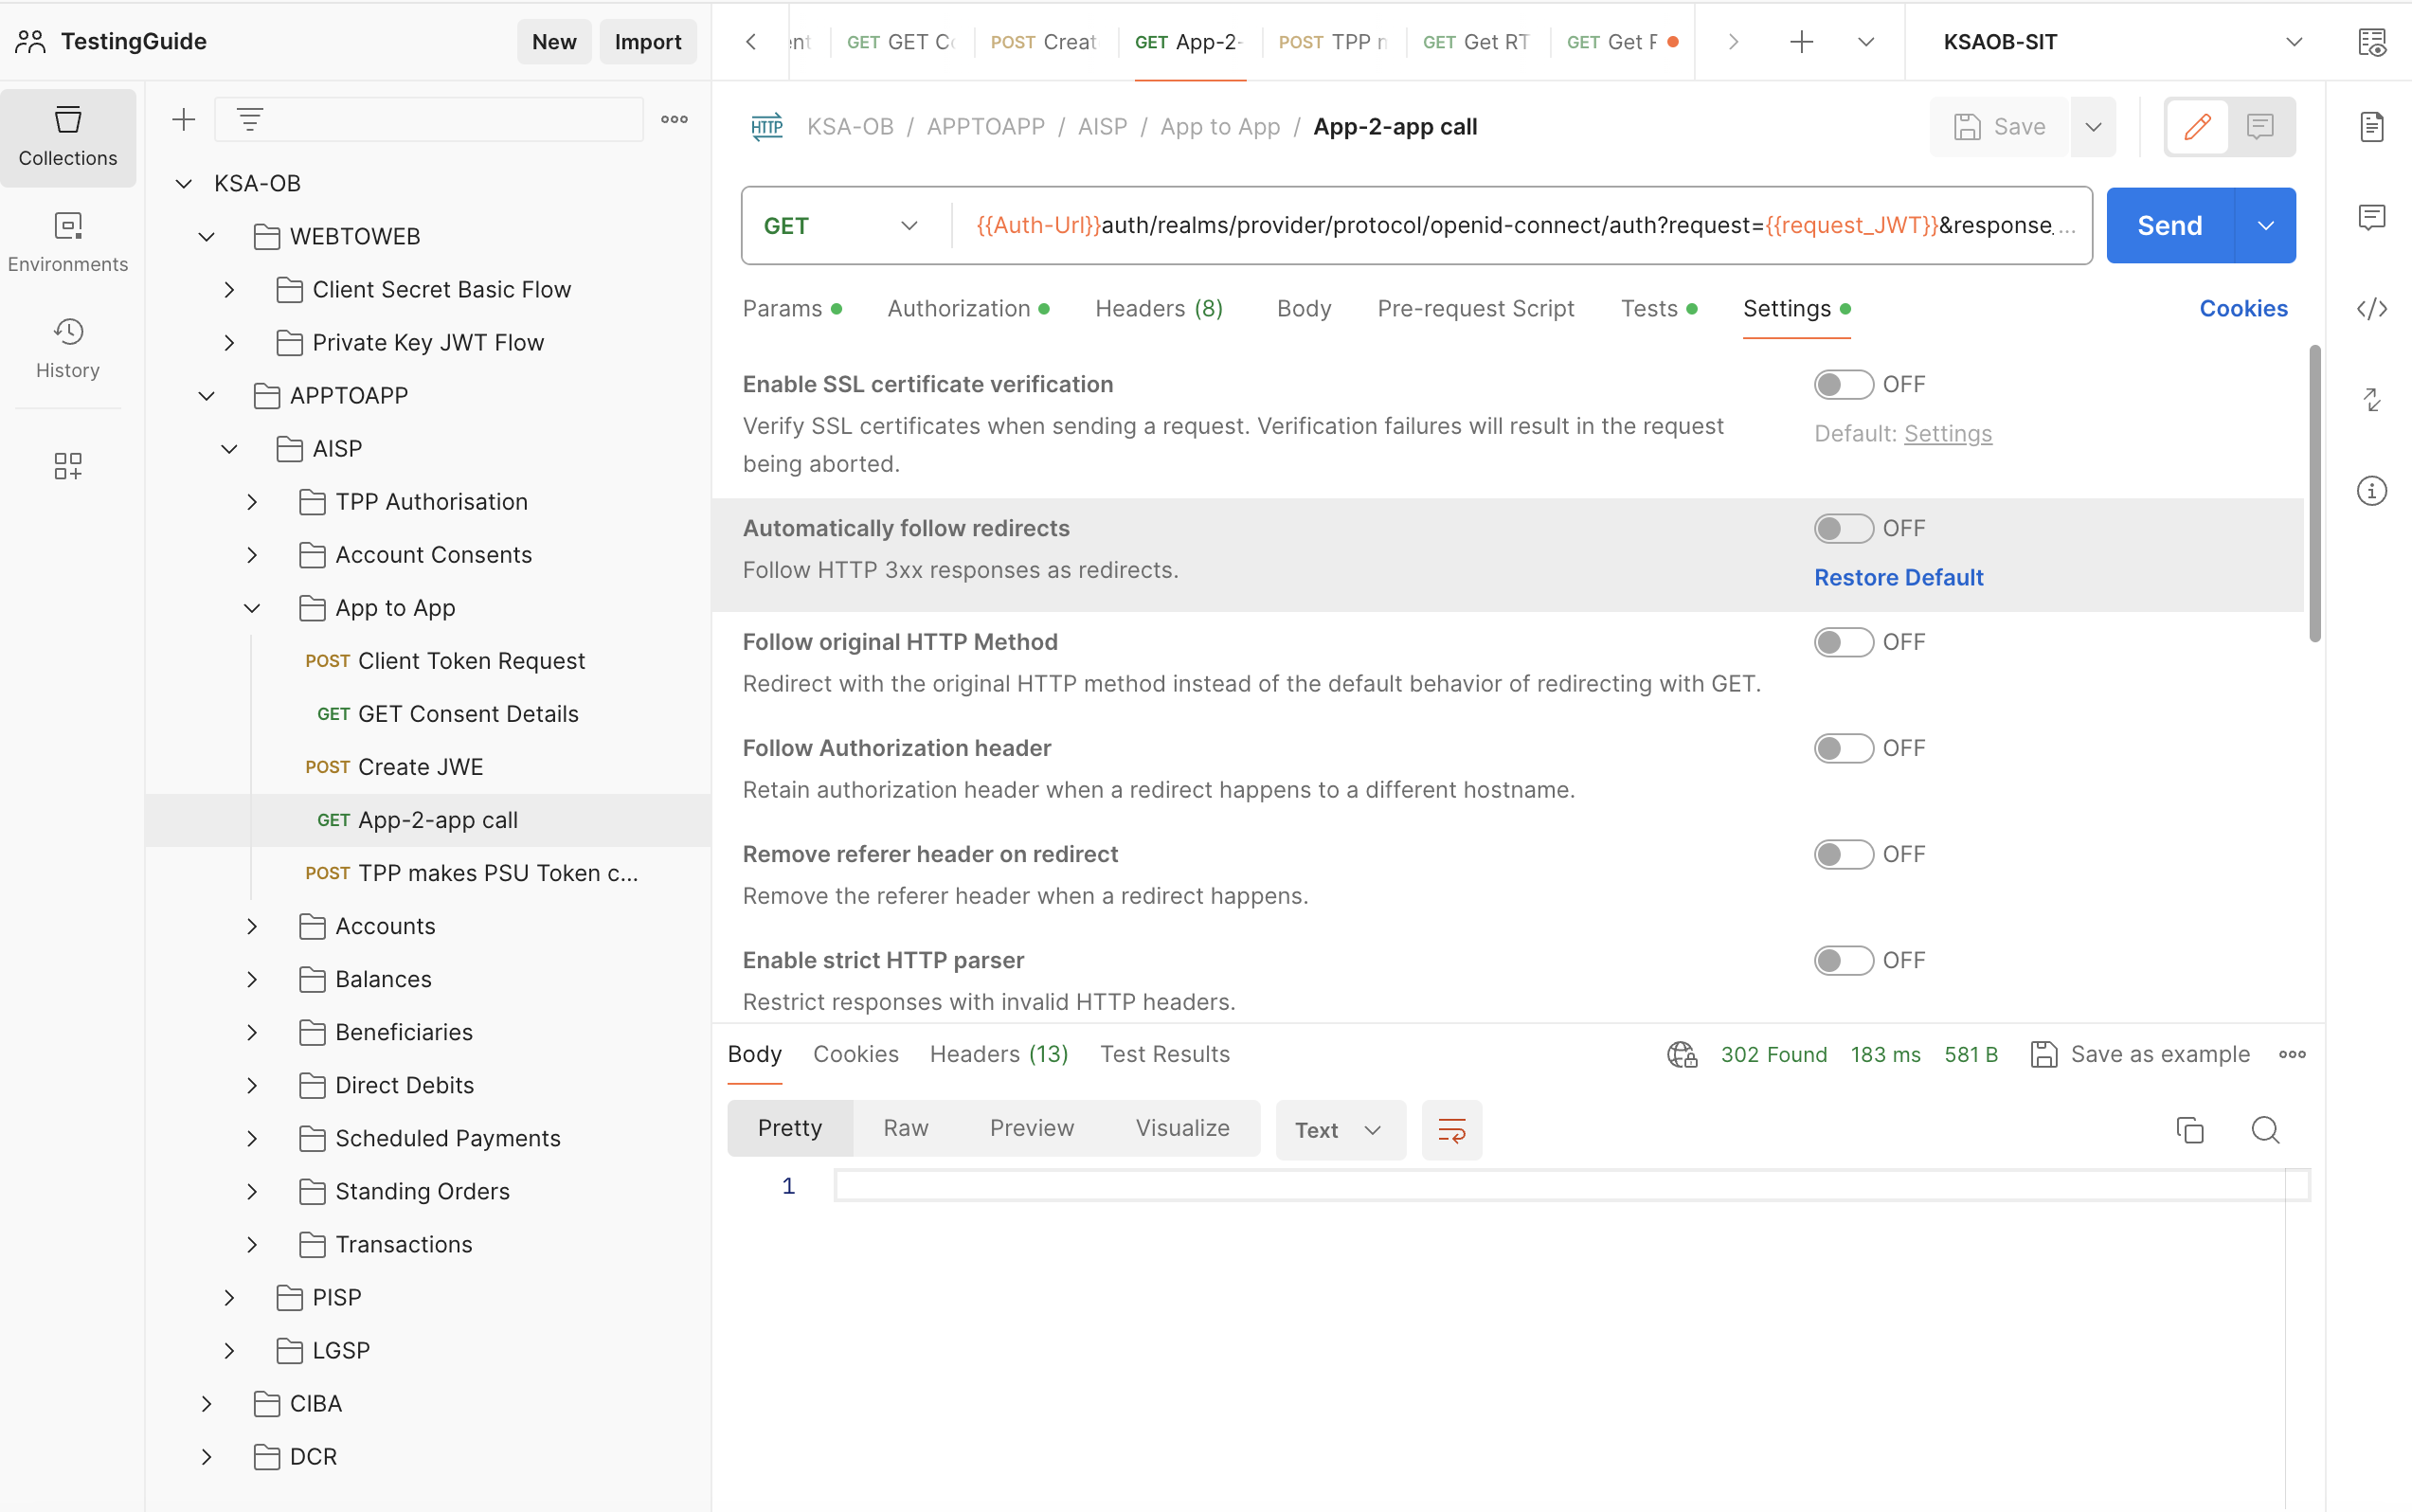
- Go the Settings tab and Disable the "Automatically follow redirects" toggle. Next Execute the App-2-app call. This is just a redirection endpoint and the Response code must be 302. The Consent will now be authorised.
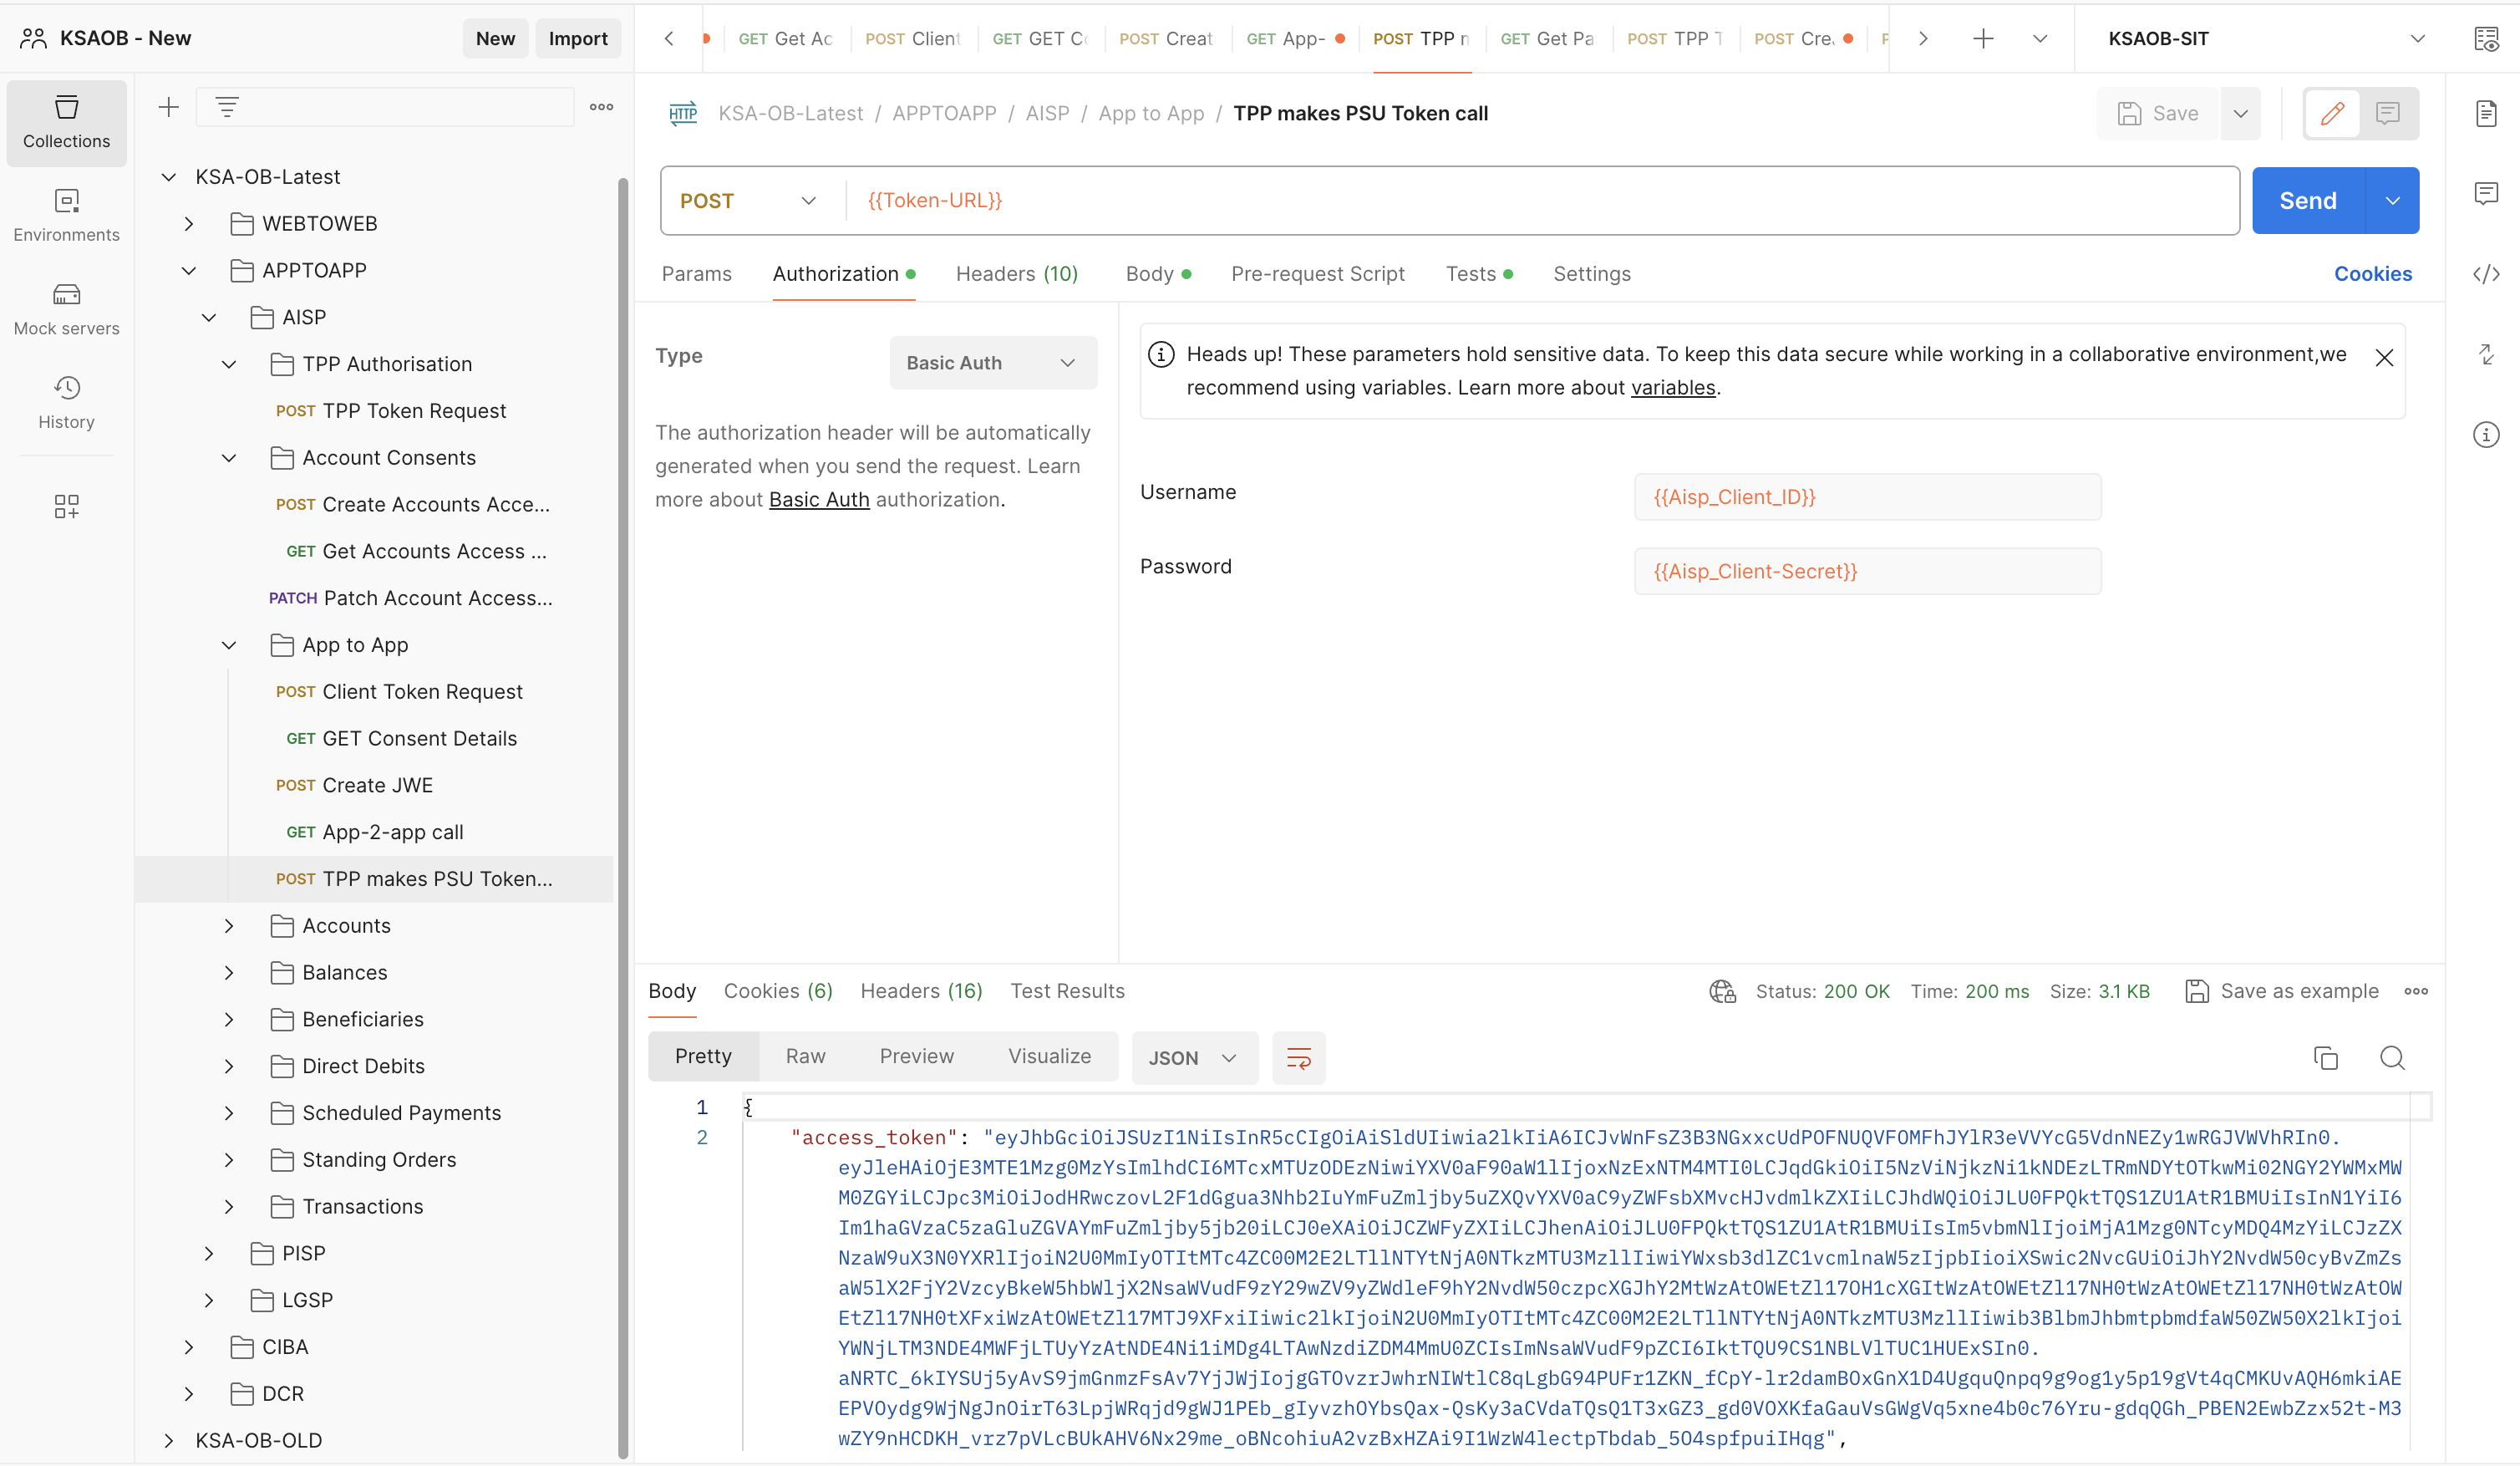
- Next Execute the PSU Token call. And Finally execute theGet Accountsendpoint.
- Follow the same process for PISP, by just updating the Client ID's in both Postman collection and Sprint boot project.
CIBA Flow
- To perform the CIBA flow, OIDC CIBA Grant Enabledtoggle must be turned on in Keycloak, for the specific Client ID that is configured in the Postman Collection.
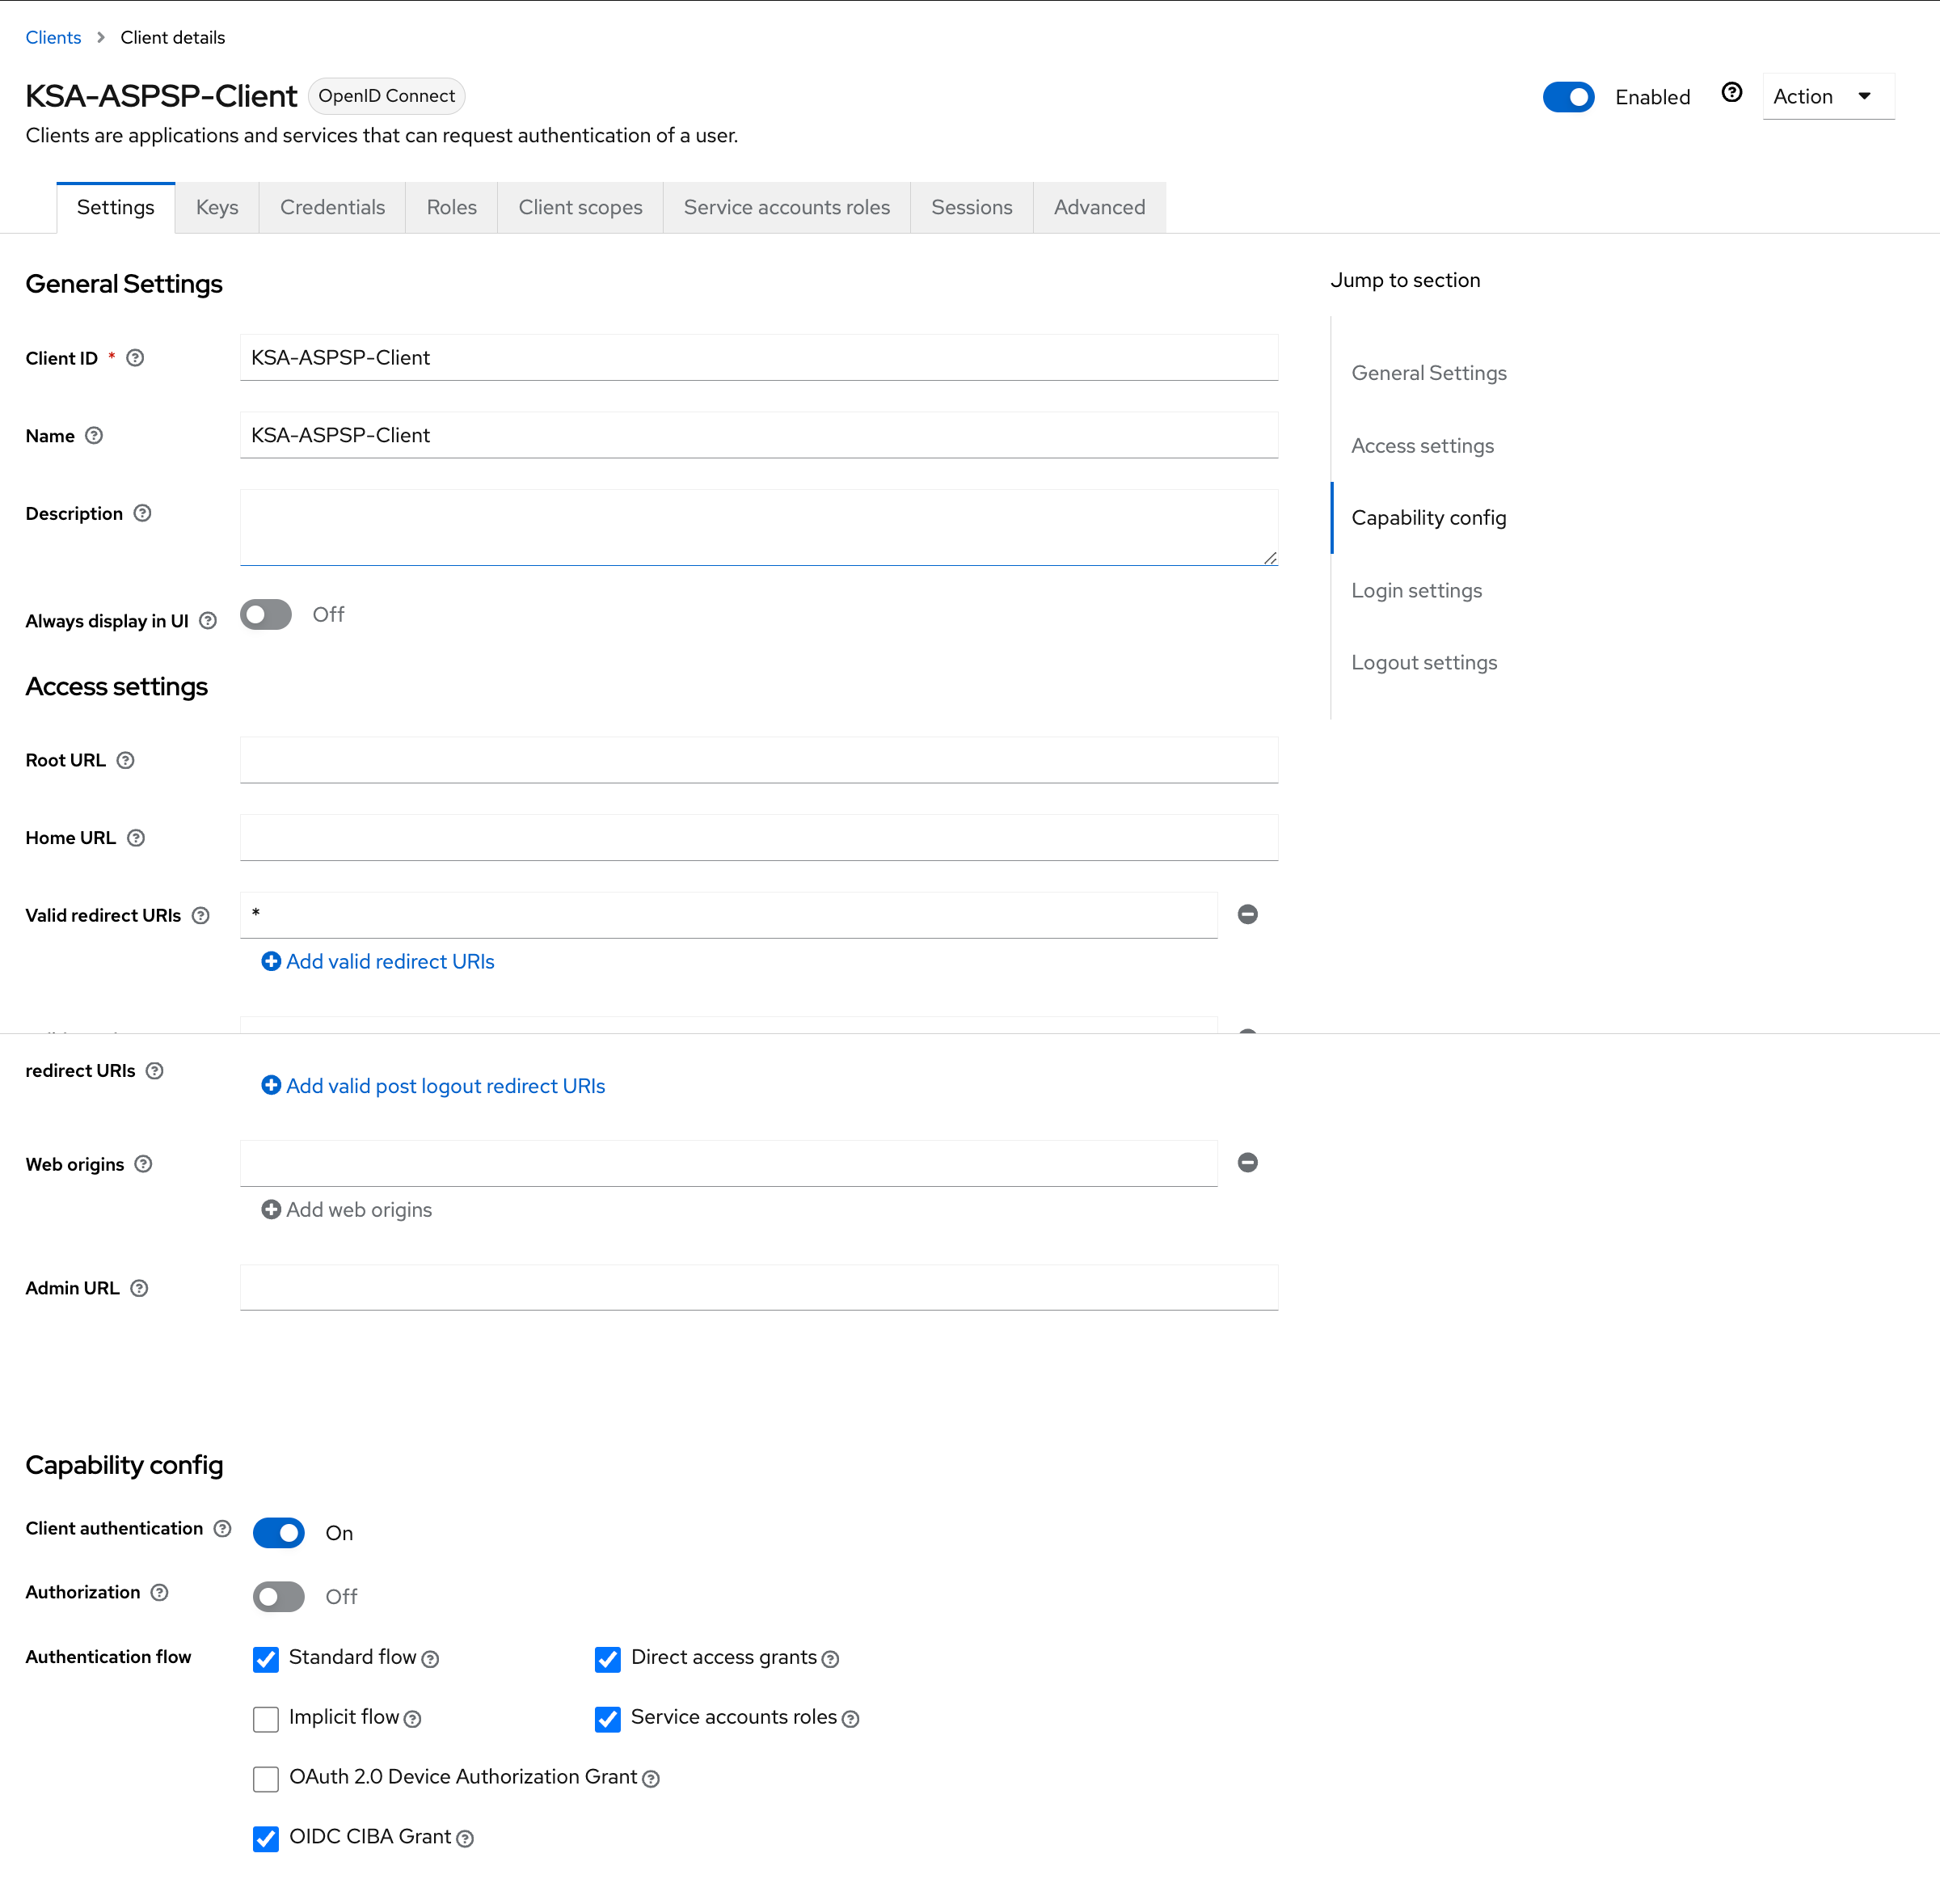
- Execute the TPP Token RequestandCreate Accounts Access Consentendpoints. Now the Consent ID will be inAwaitingAuthorisationstatus.
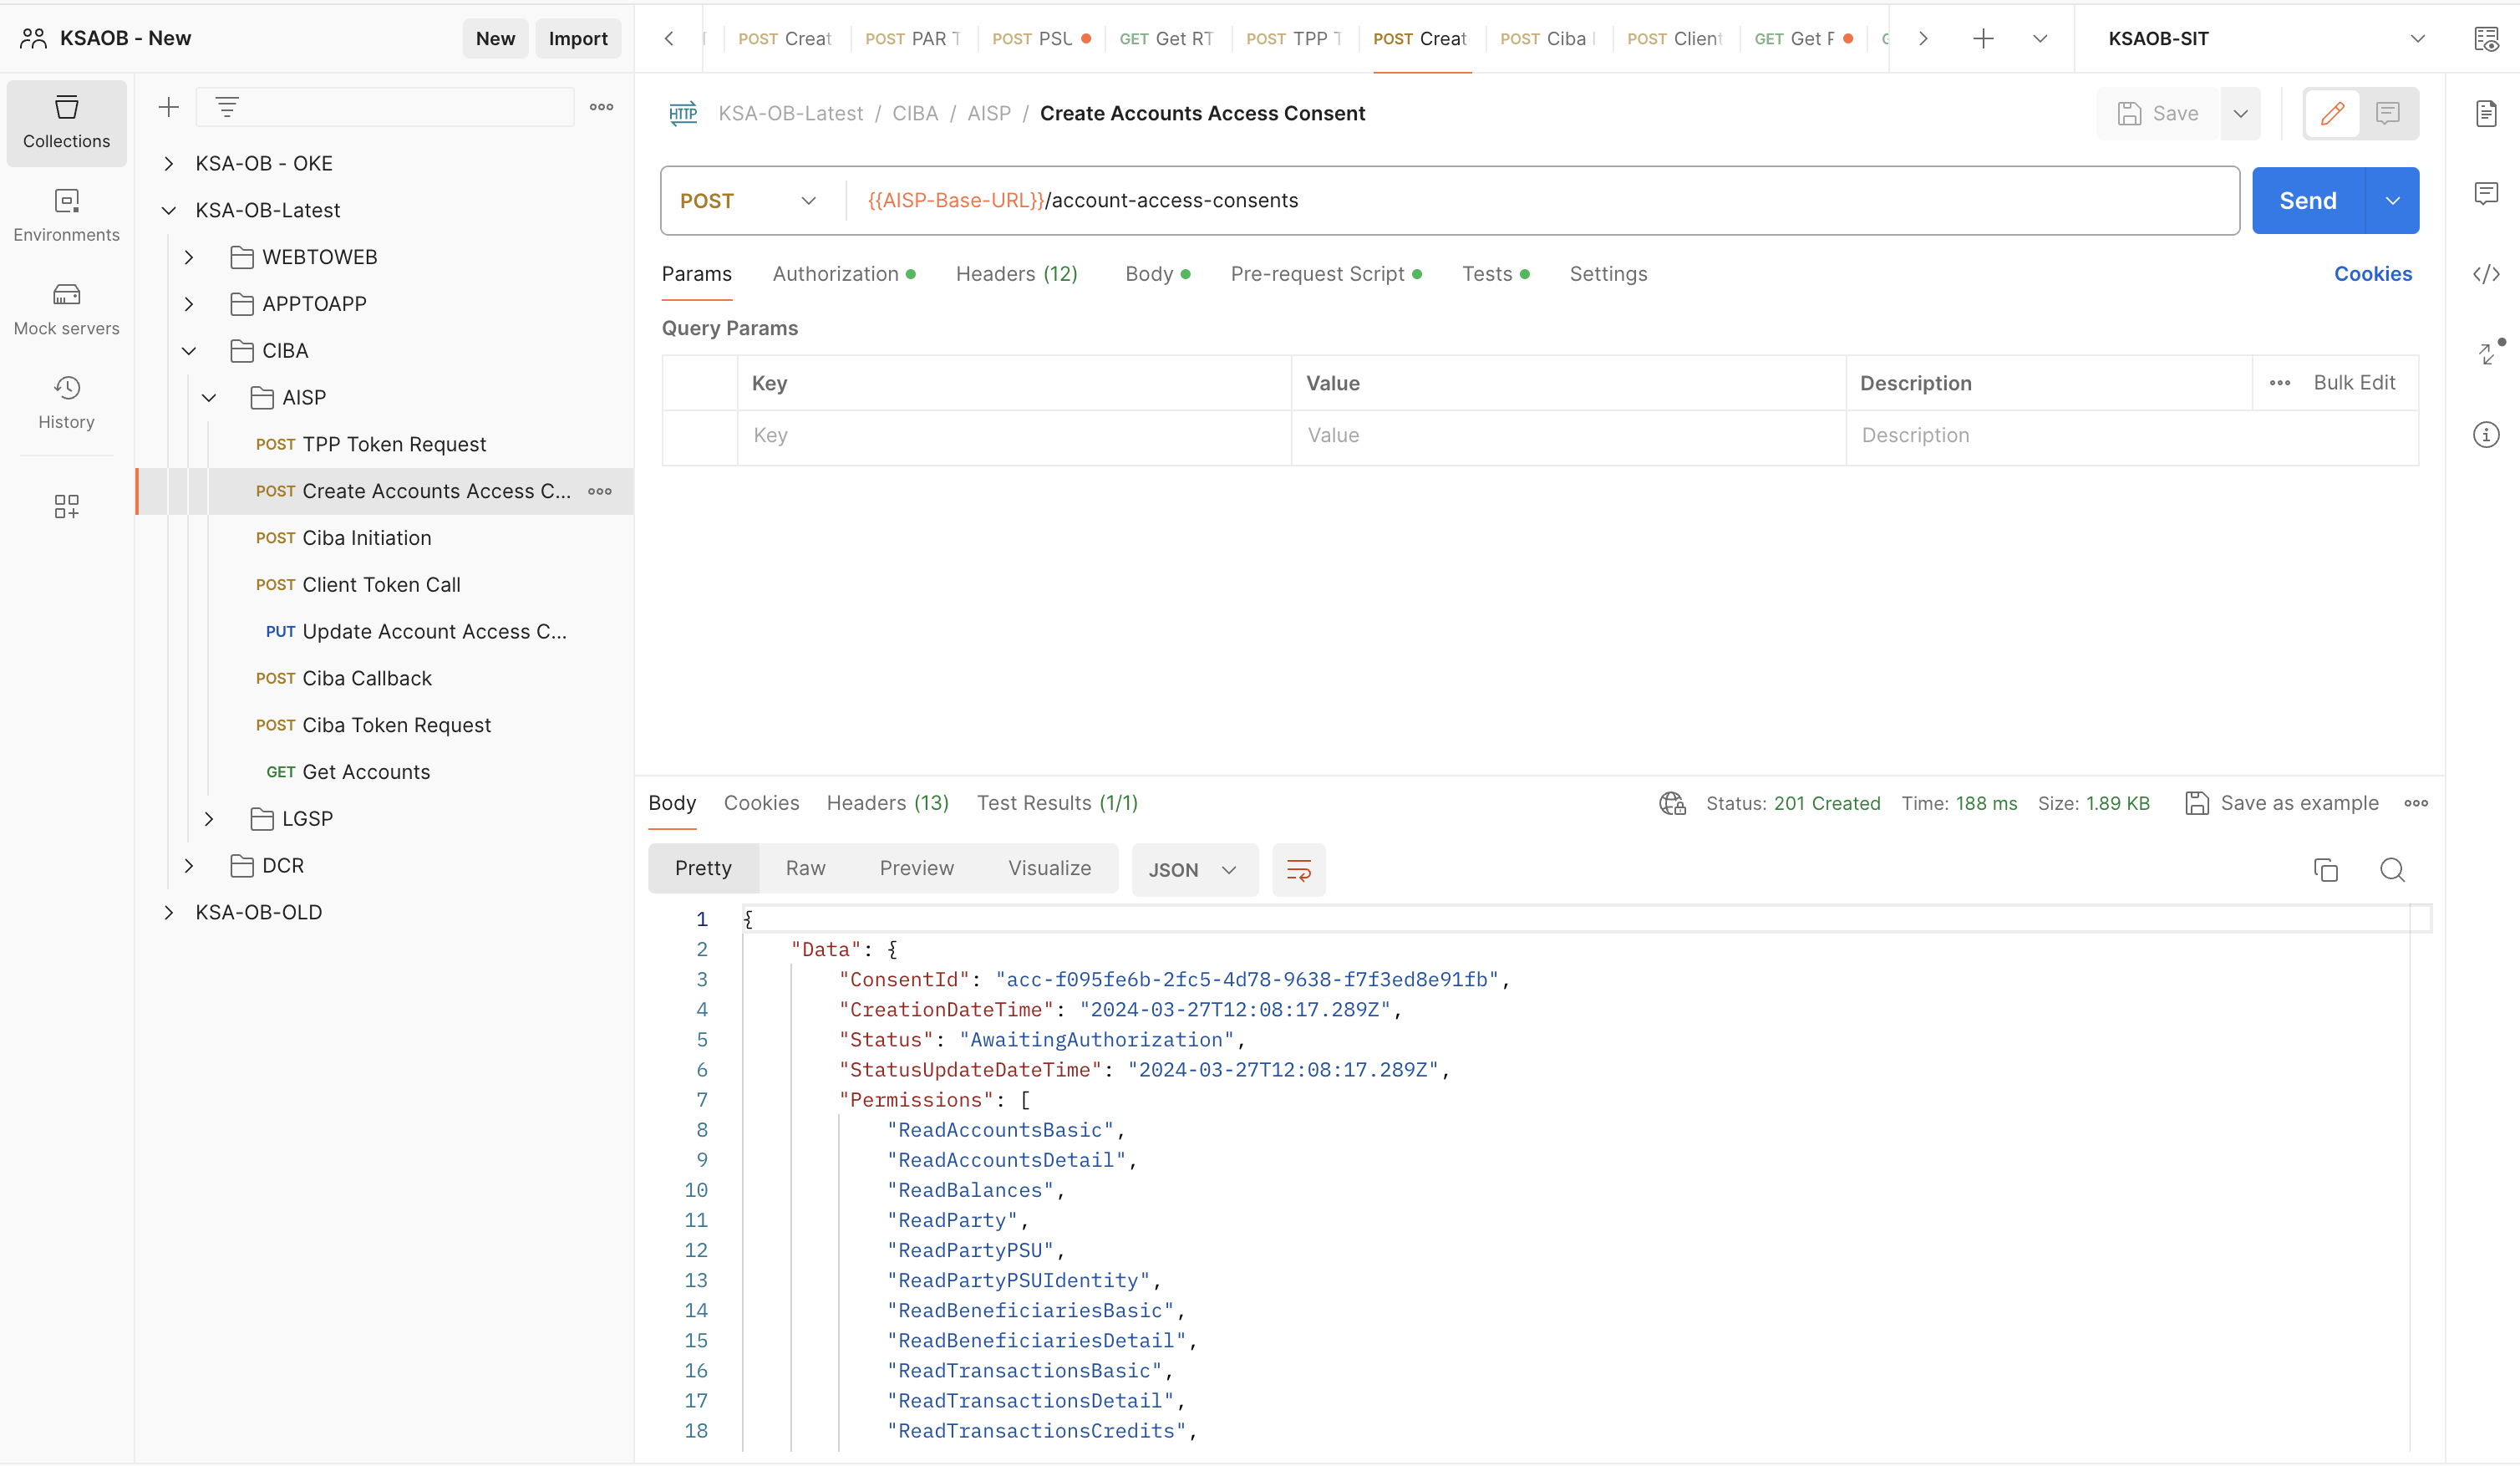
- Execute the Ciba Initiationendpoint. In the Ciba Initiation endpoints request body, thelogin_hintmust be updated based on the PSU user, who was registered in the Core bank.
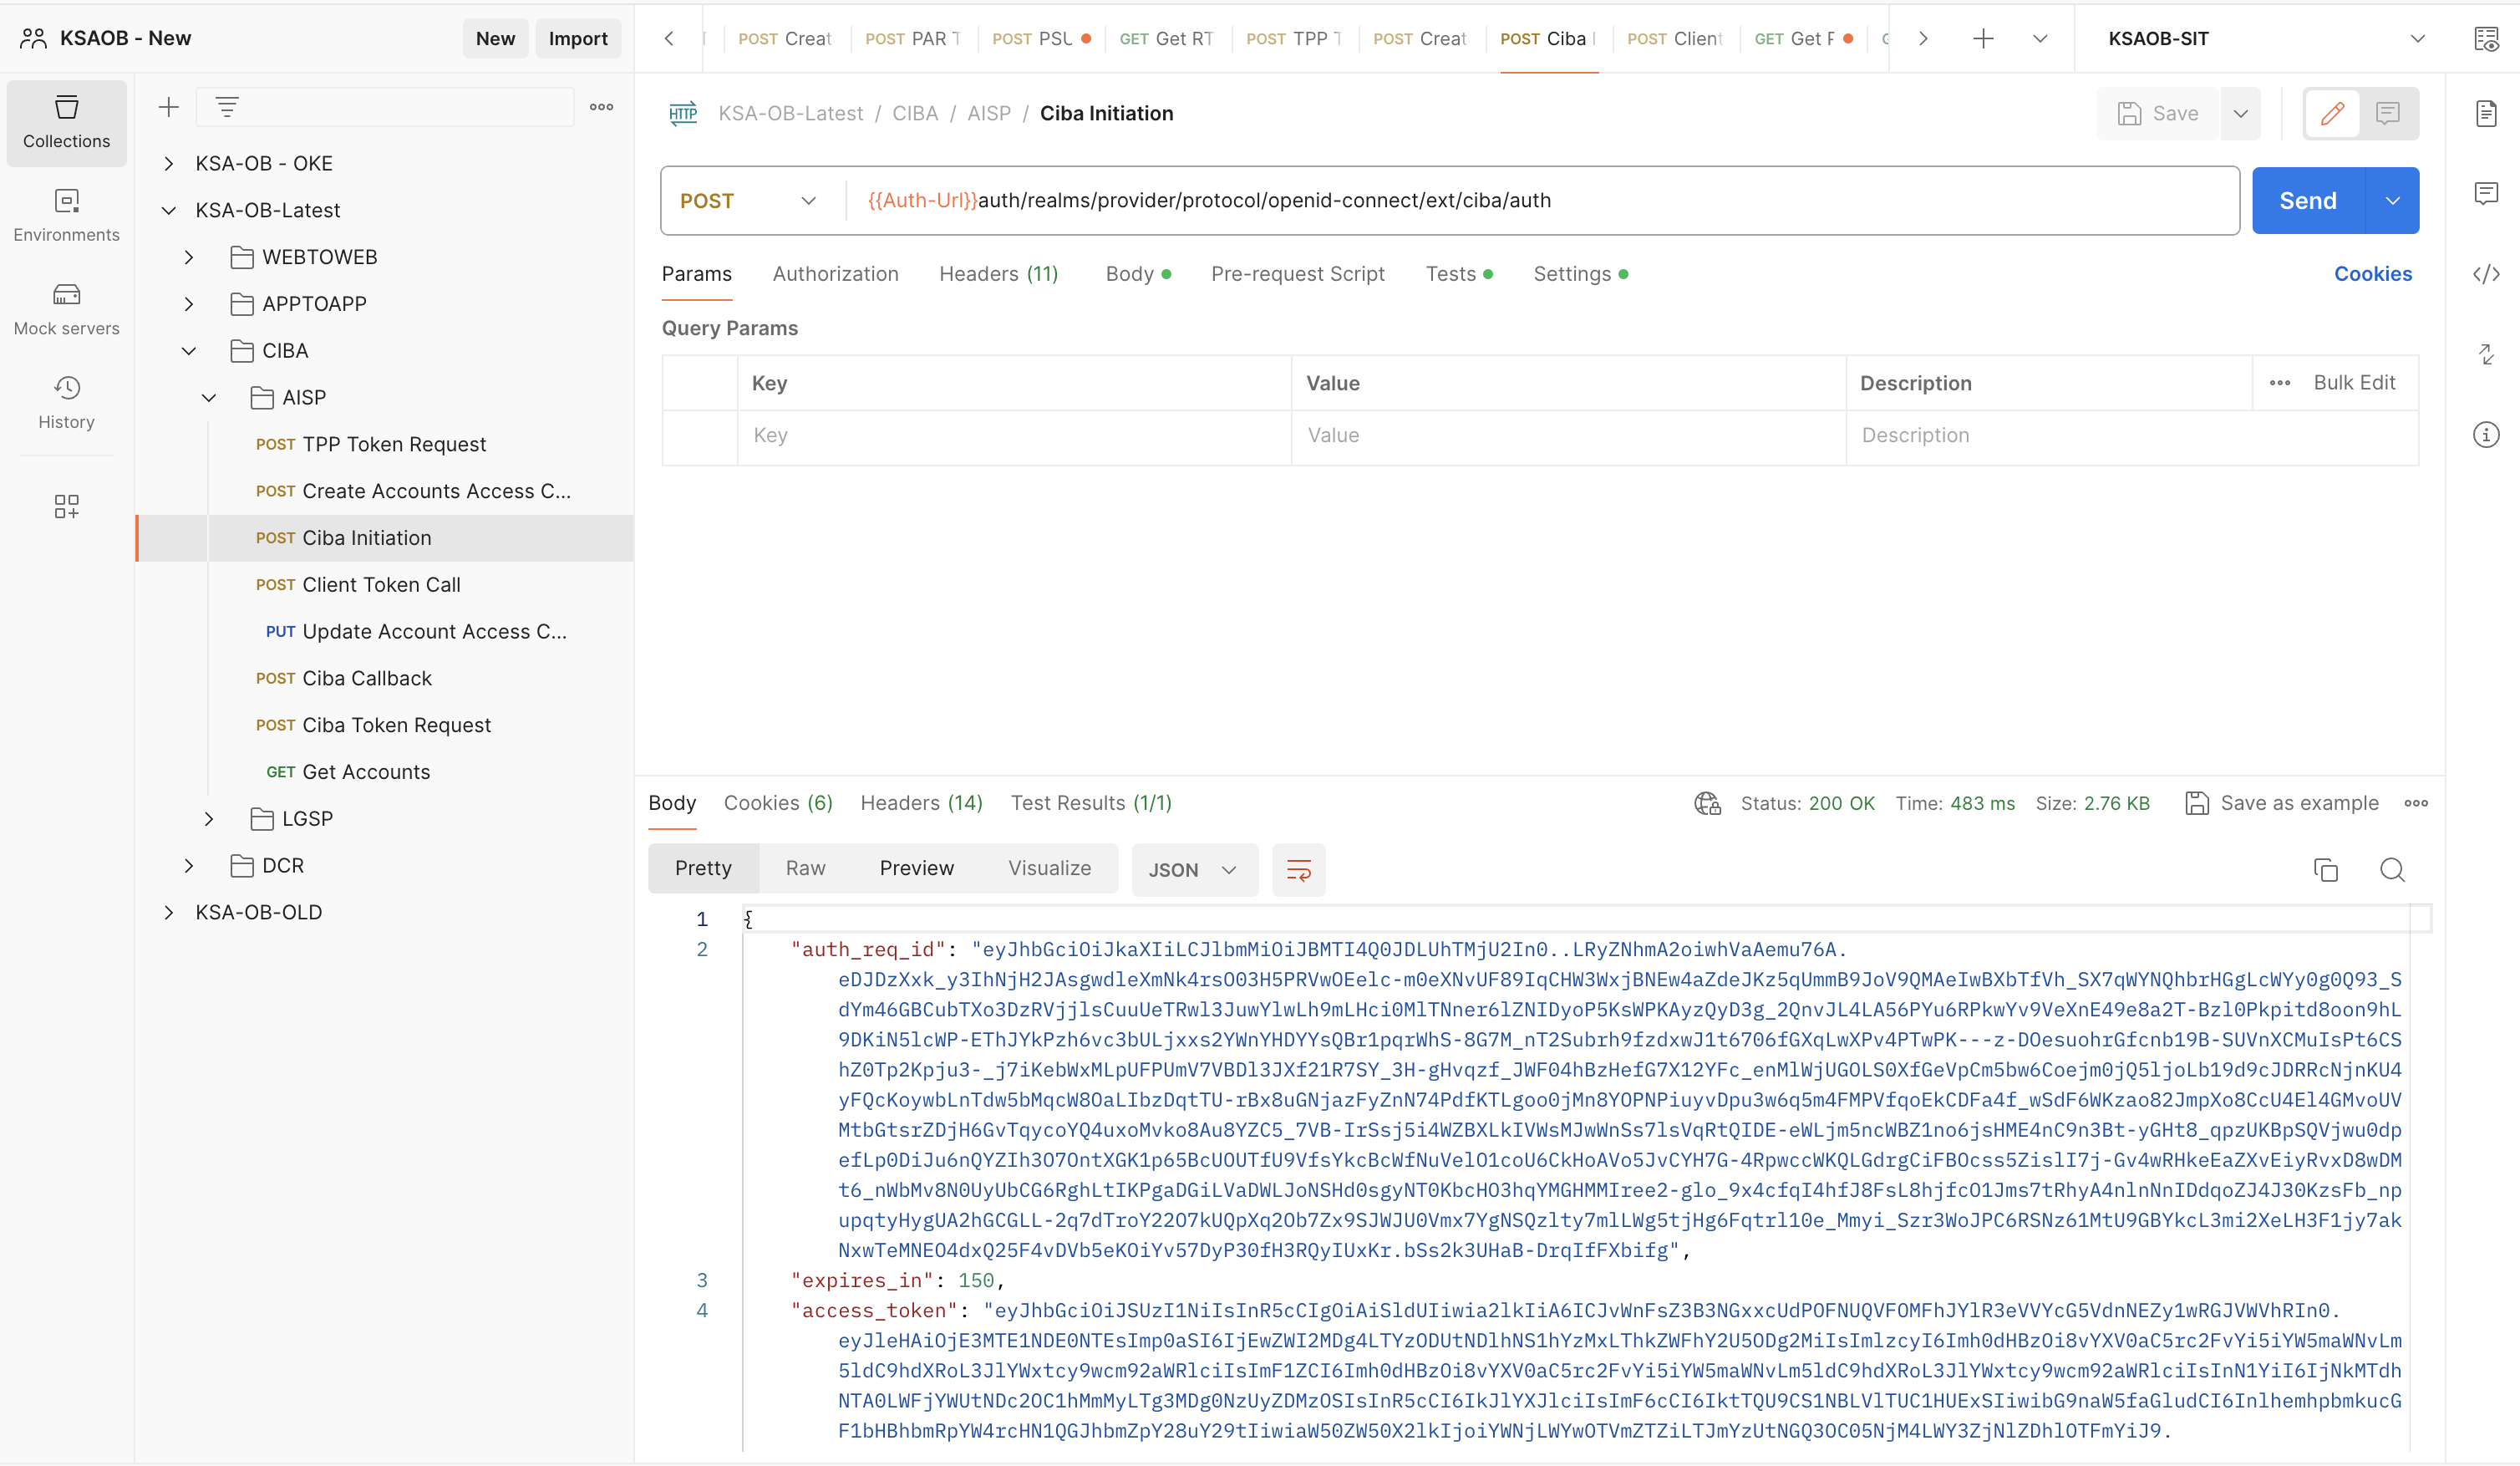
- Execute the Client Token Callendpoint
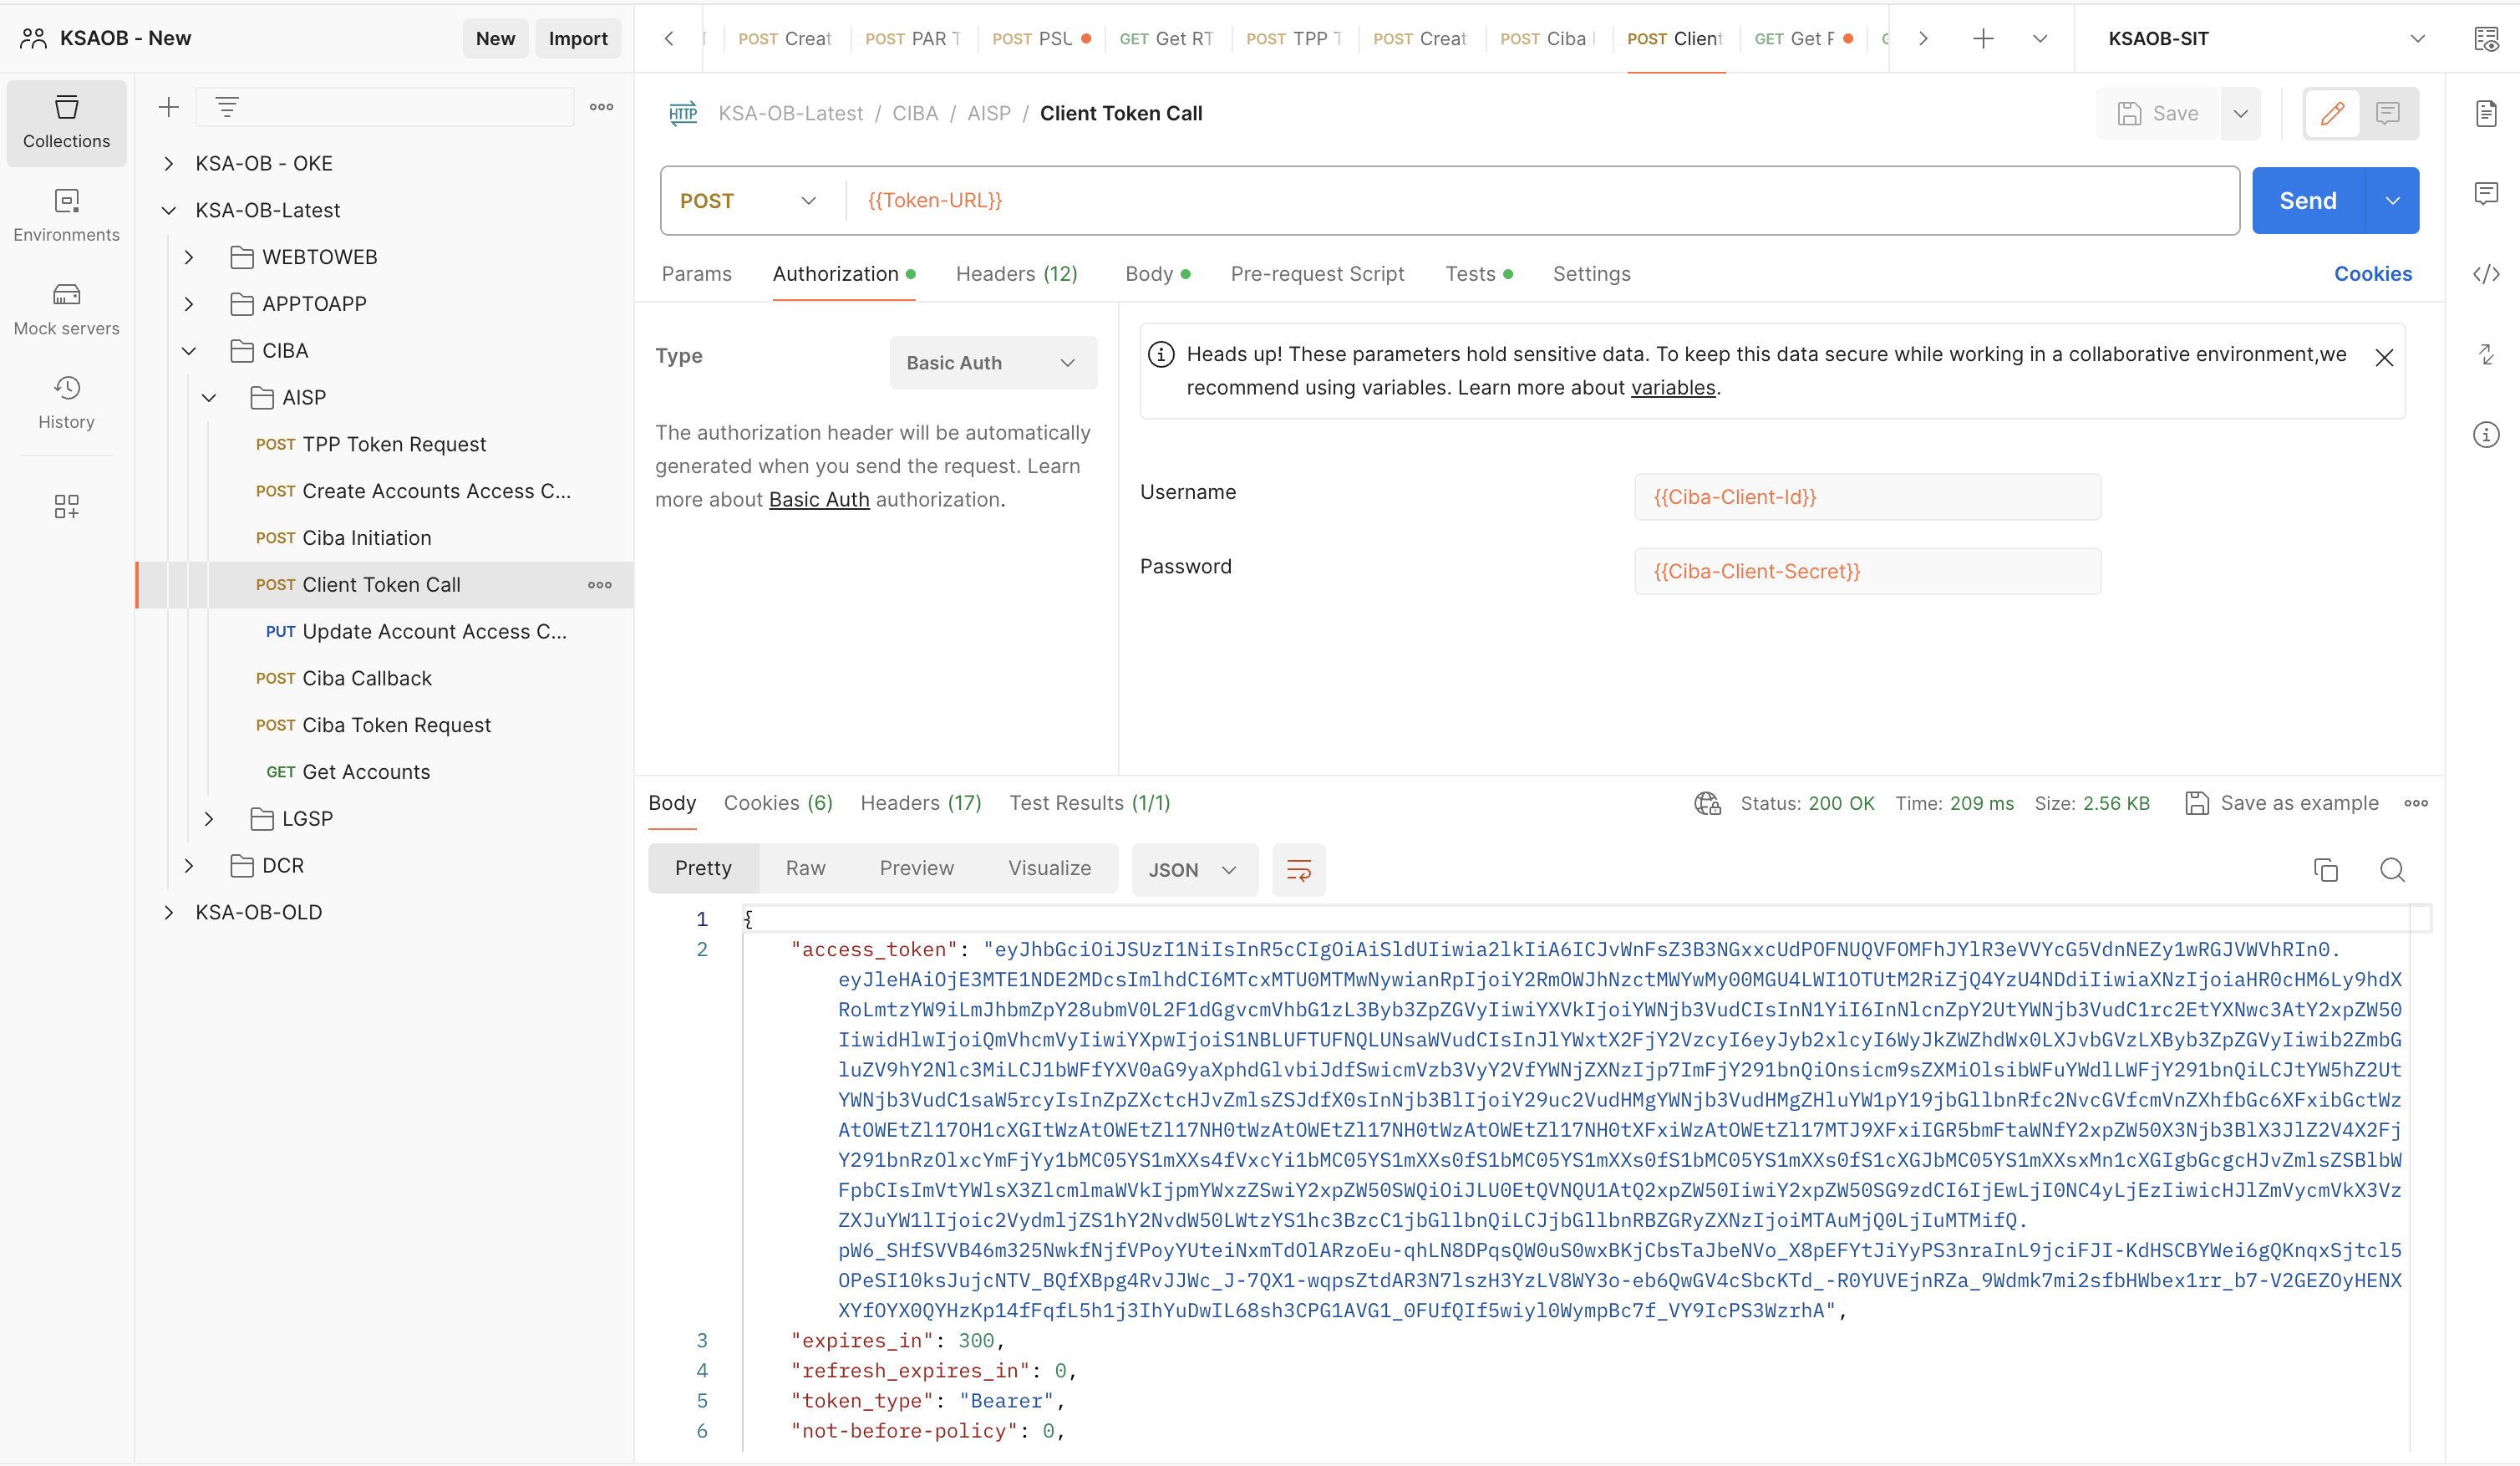
- Update the accountIdsvariable in the Postman Environment, with the Account ID value of the PSU User, that was provided in Step 3. Then Execute theUpdate Account Access Consentendpoint. Now the Consent will be Authorised using the token that was generated in Step 4.
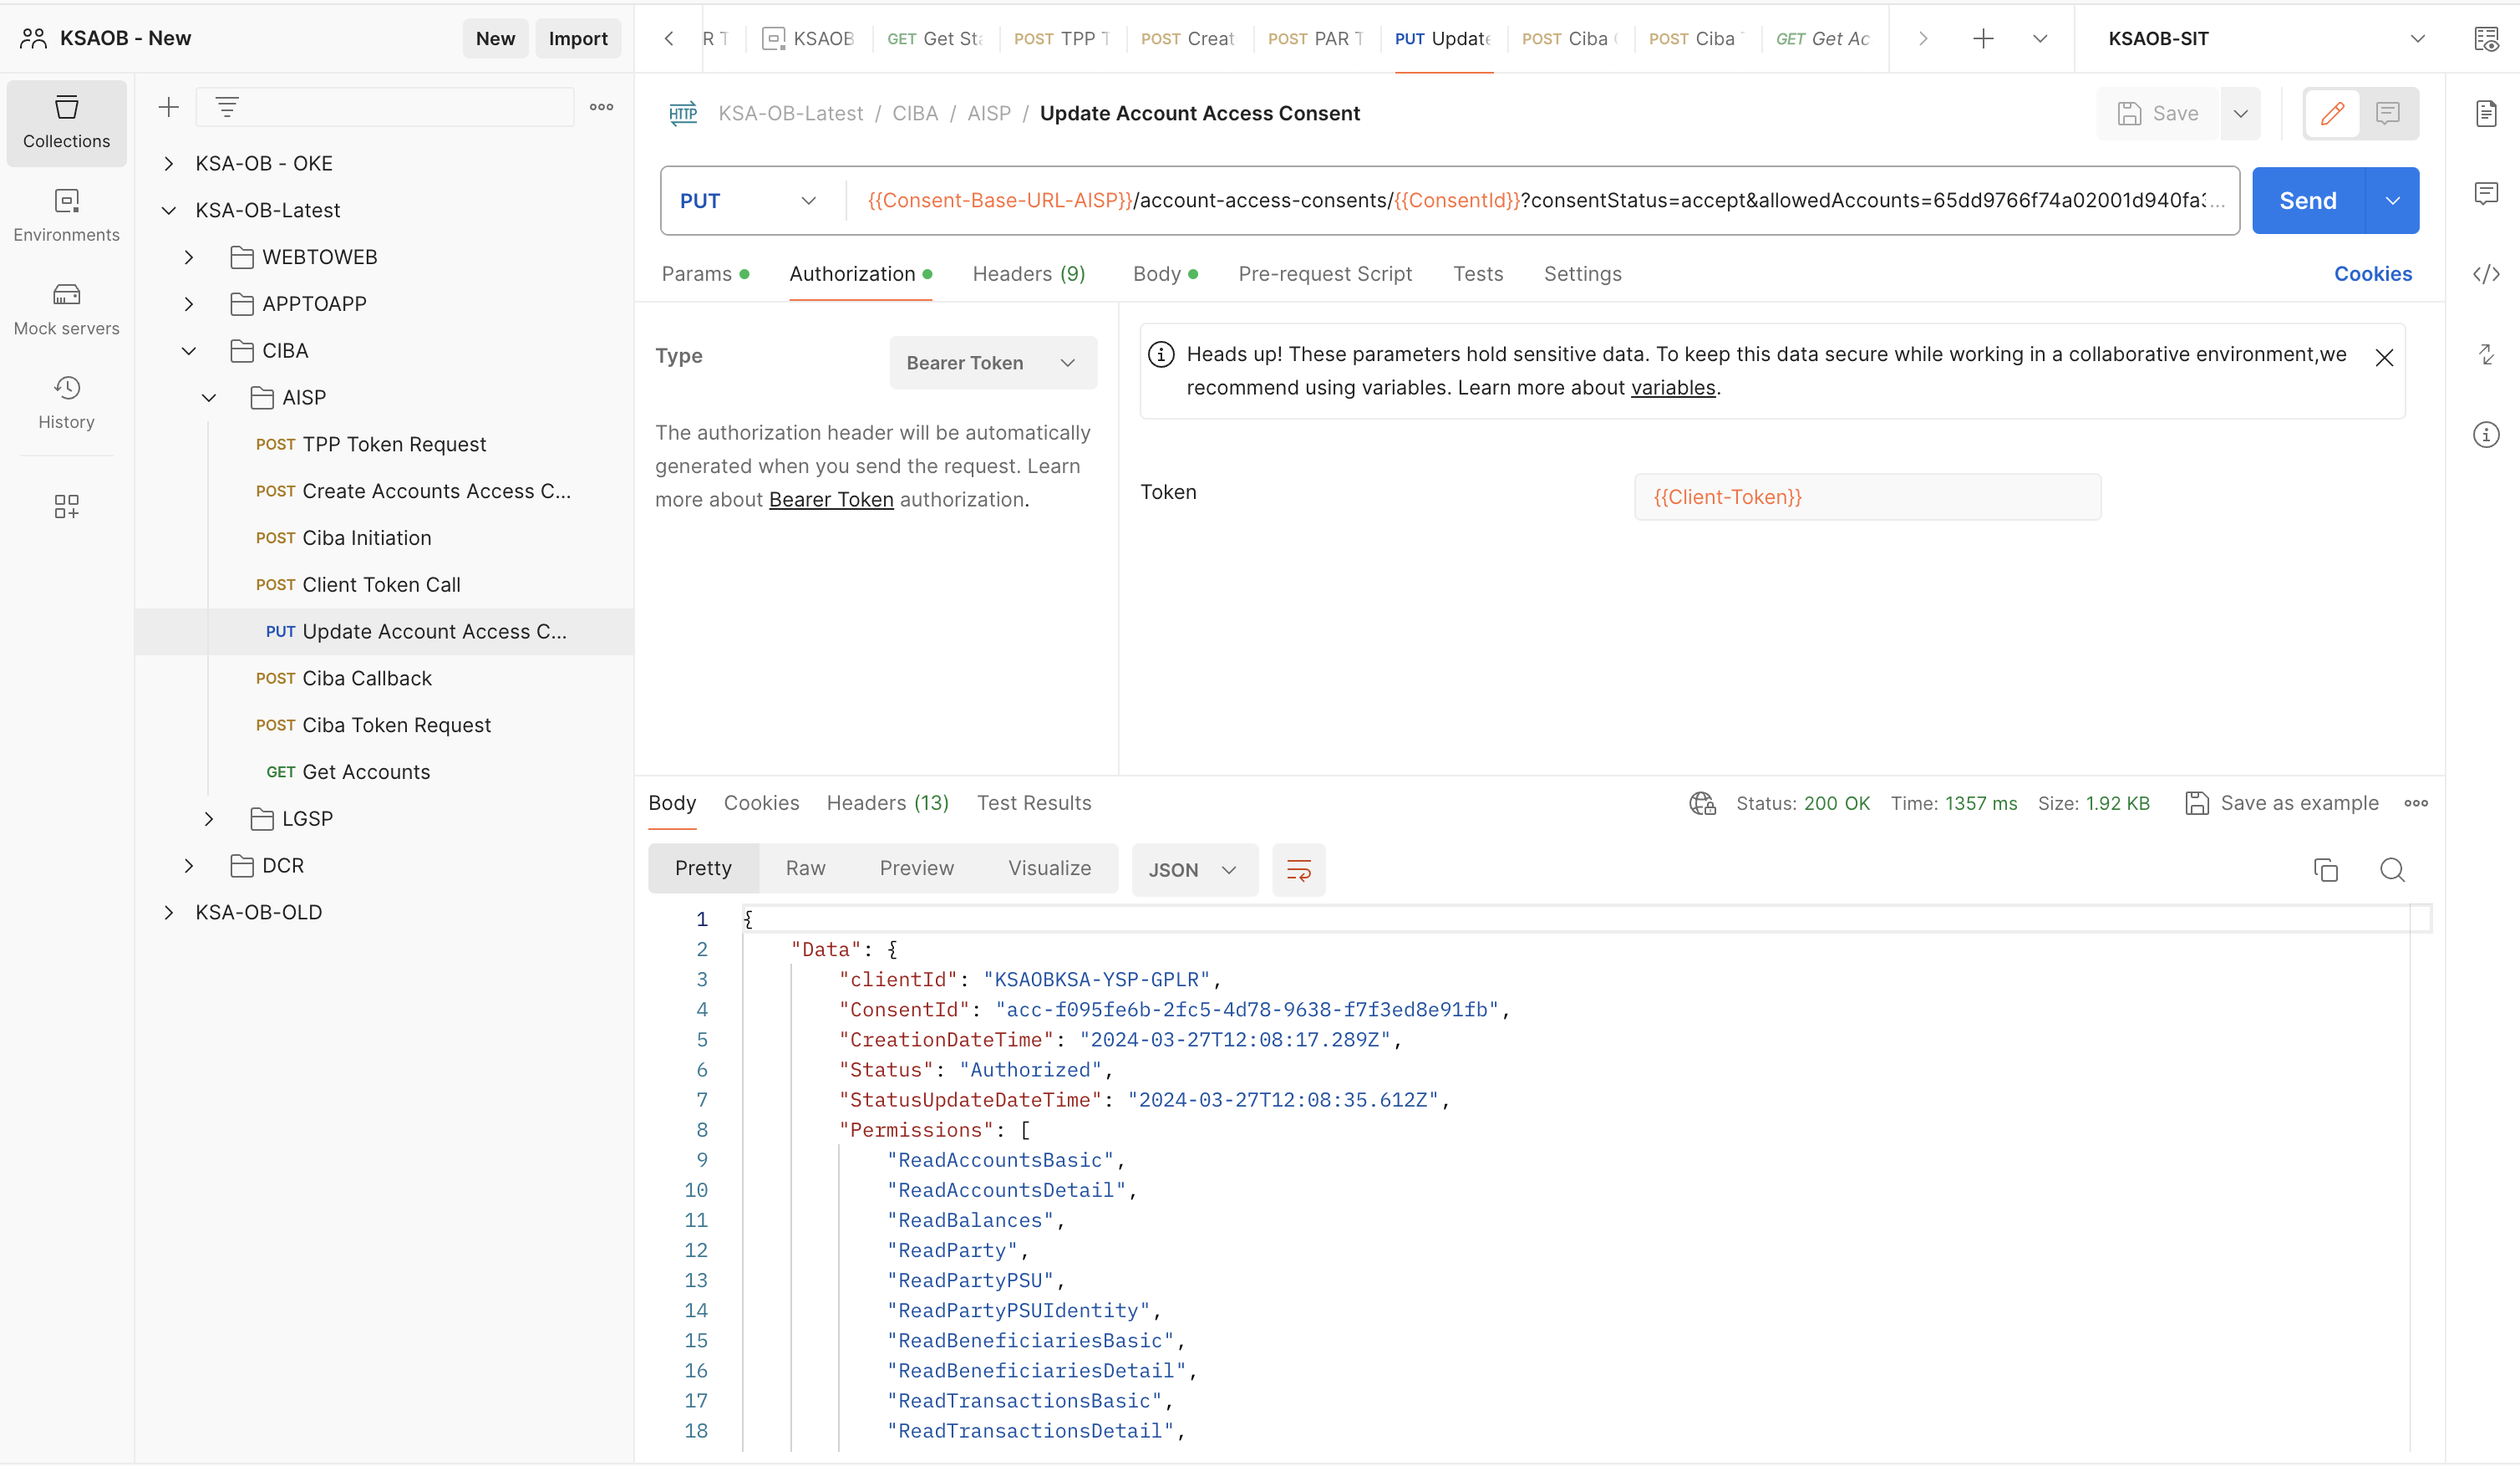
- Execute the Ciba Callbackendpoint.
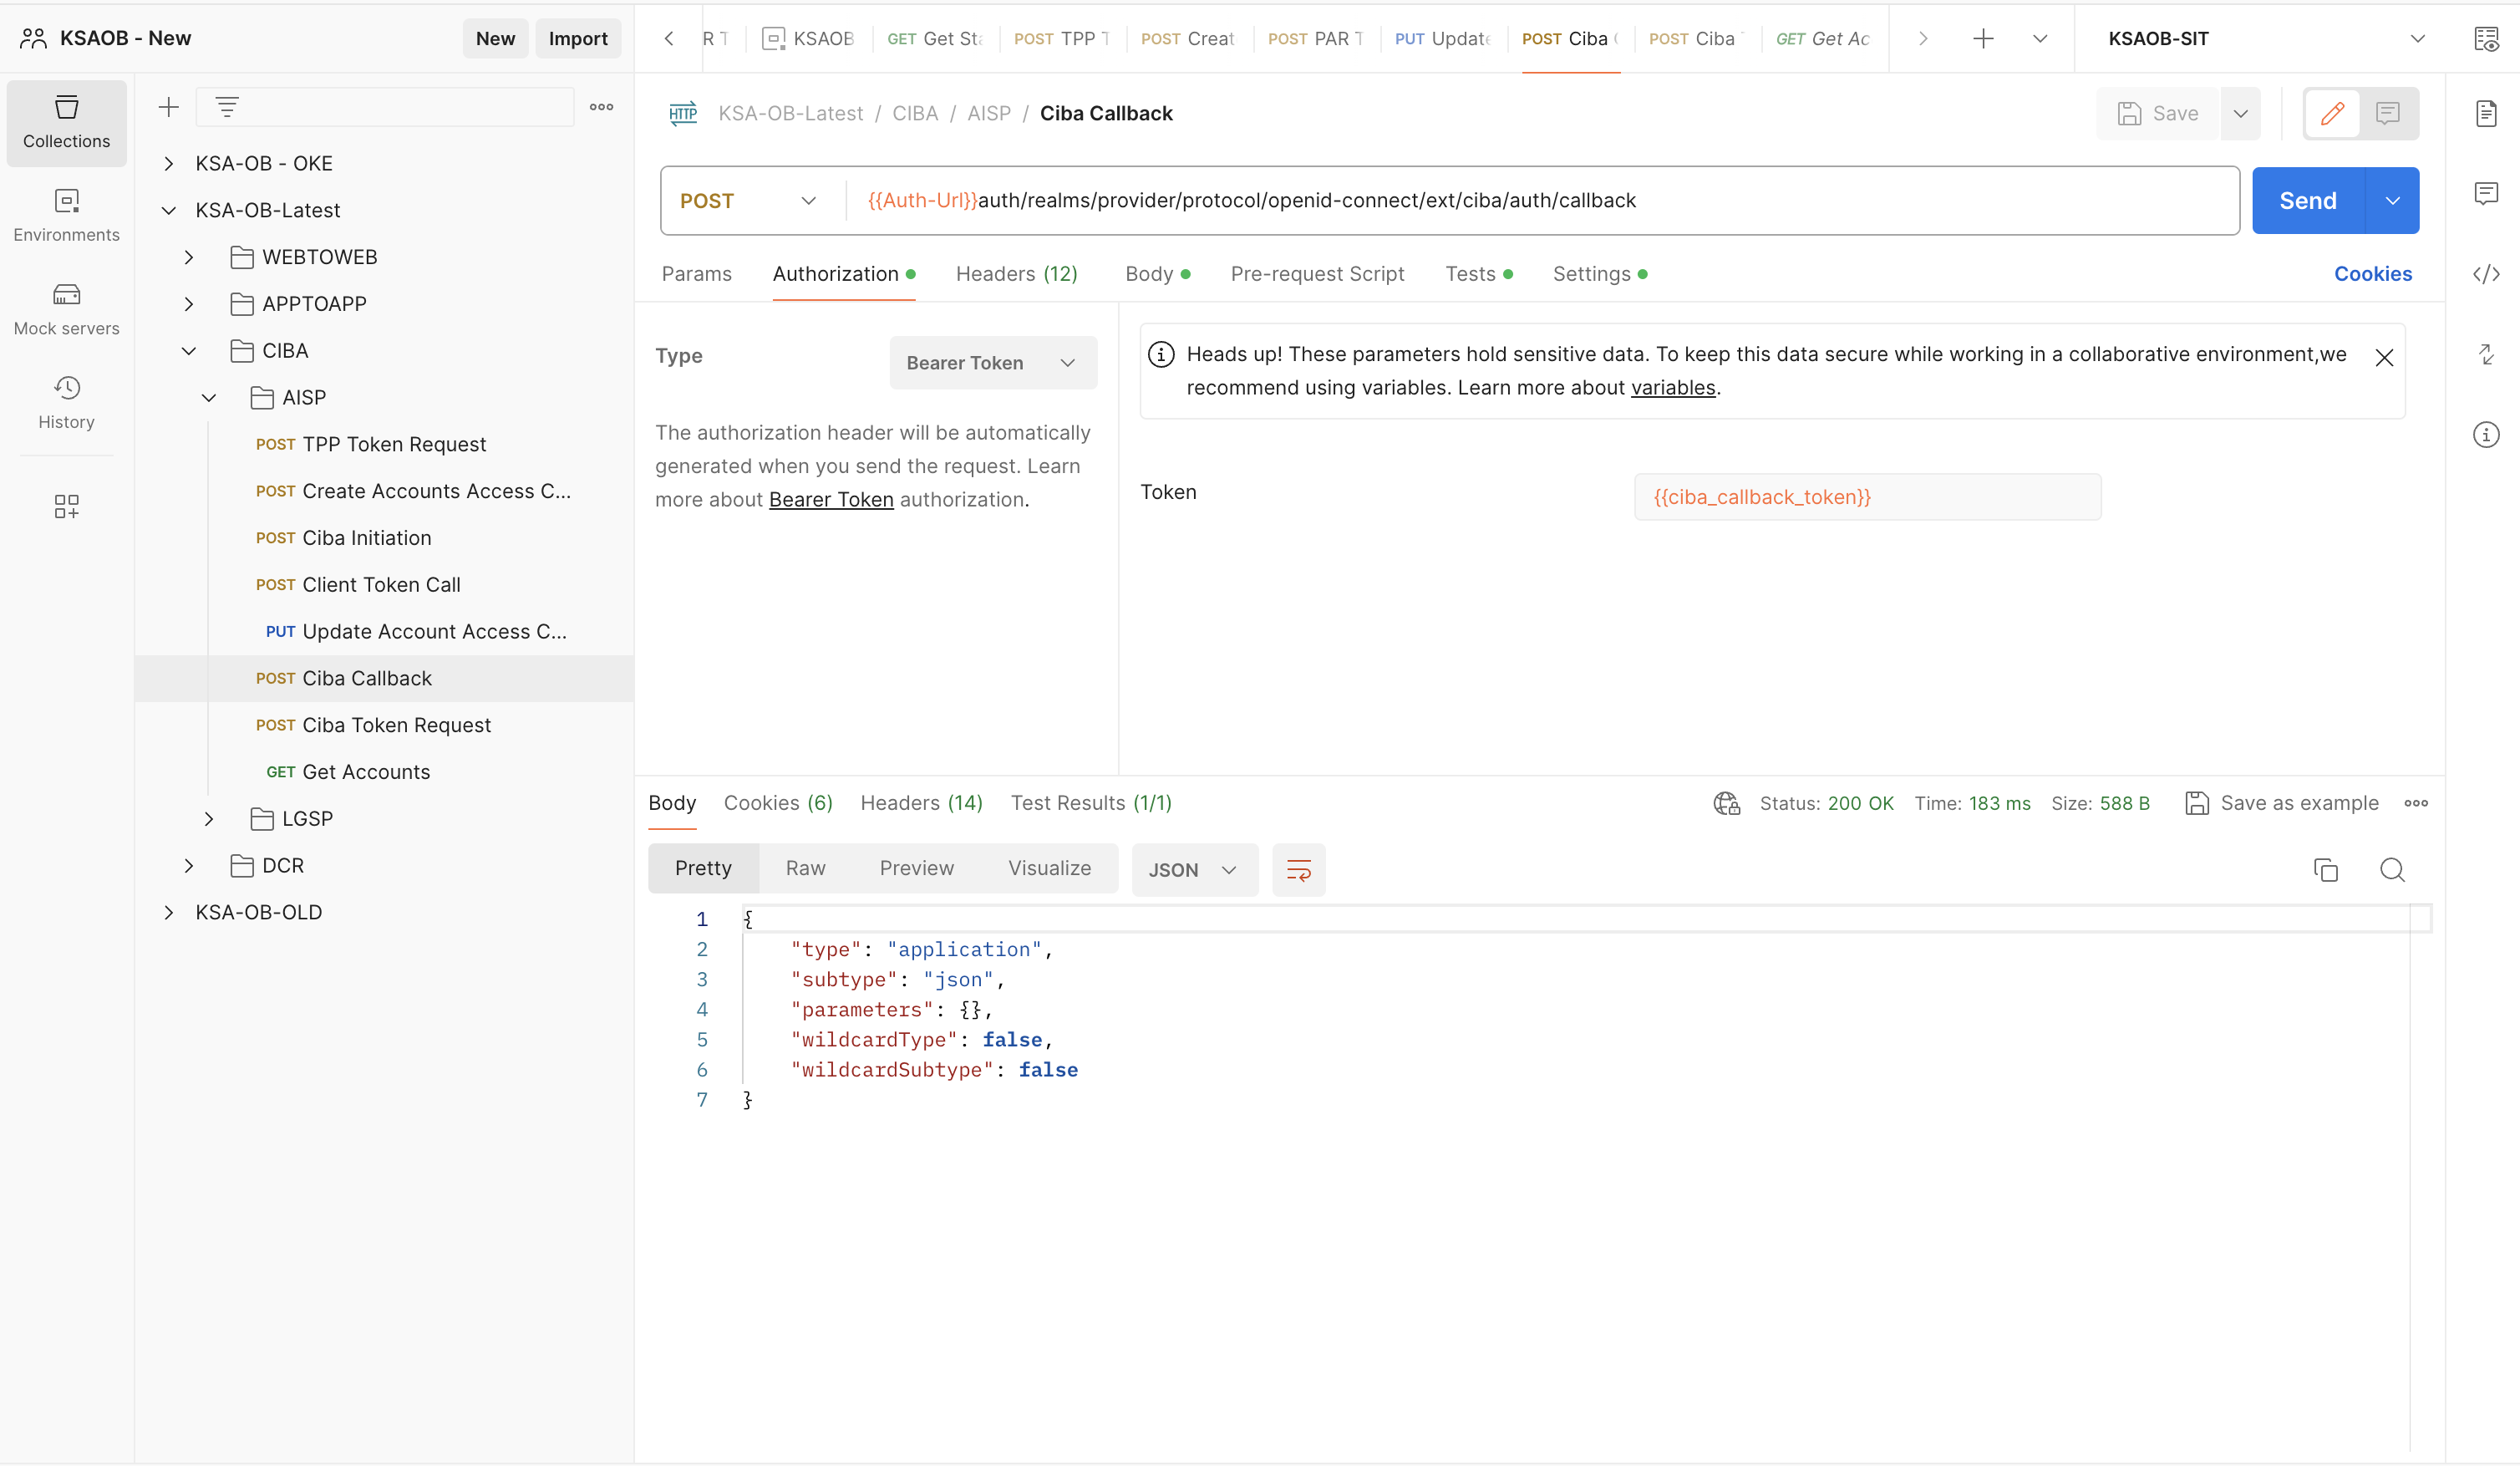
- Execute the Ciba Token Requestendpoint.
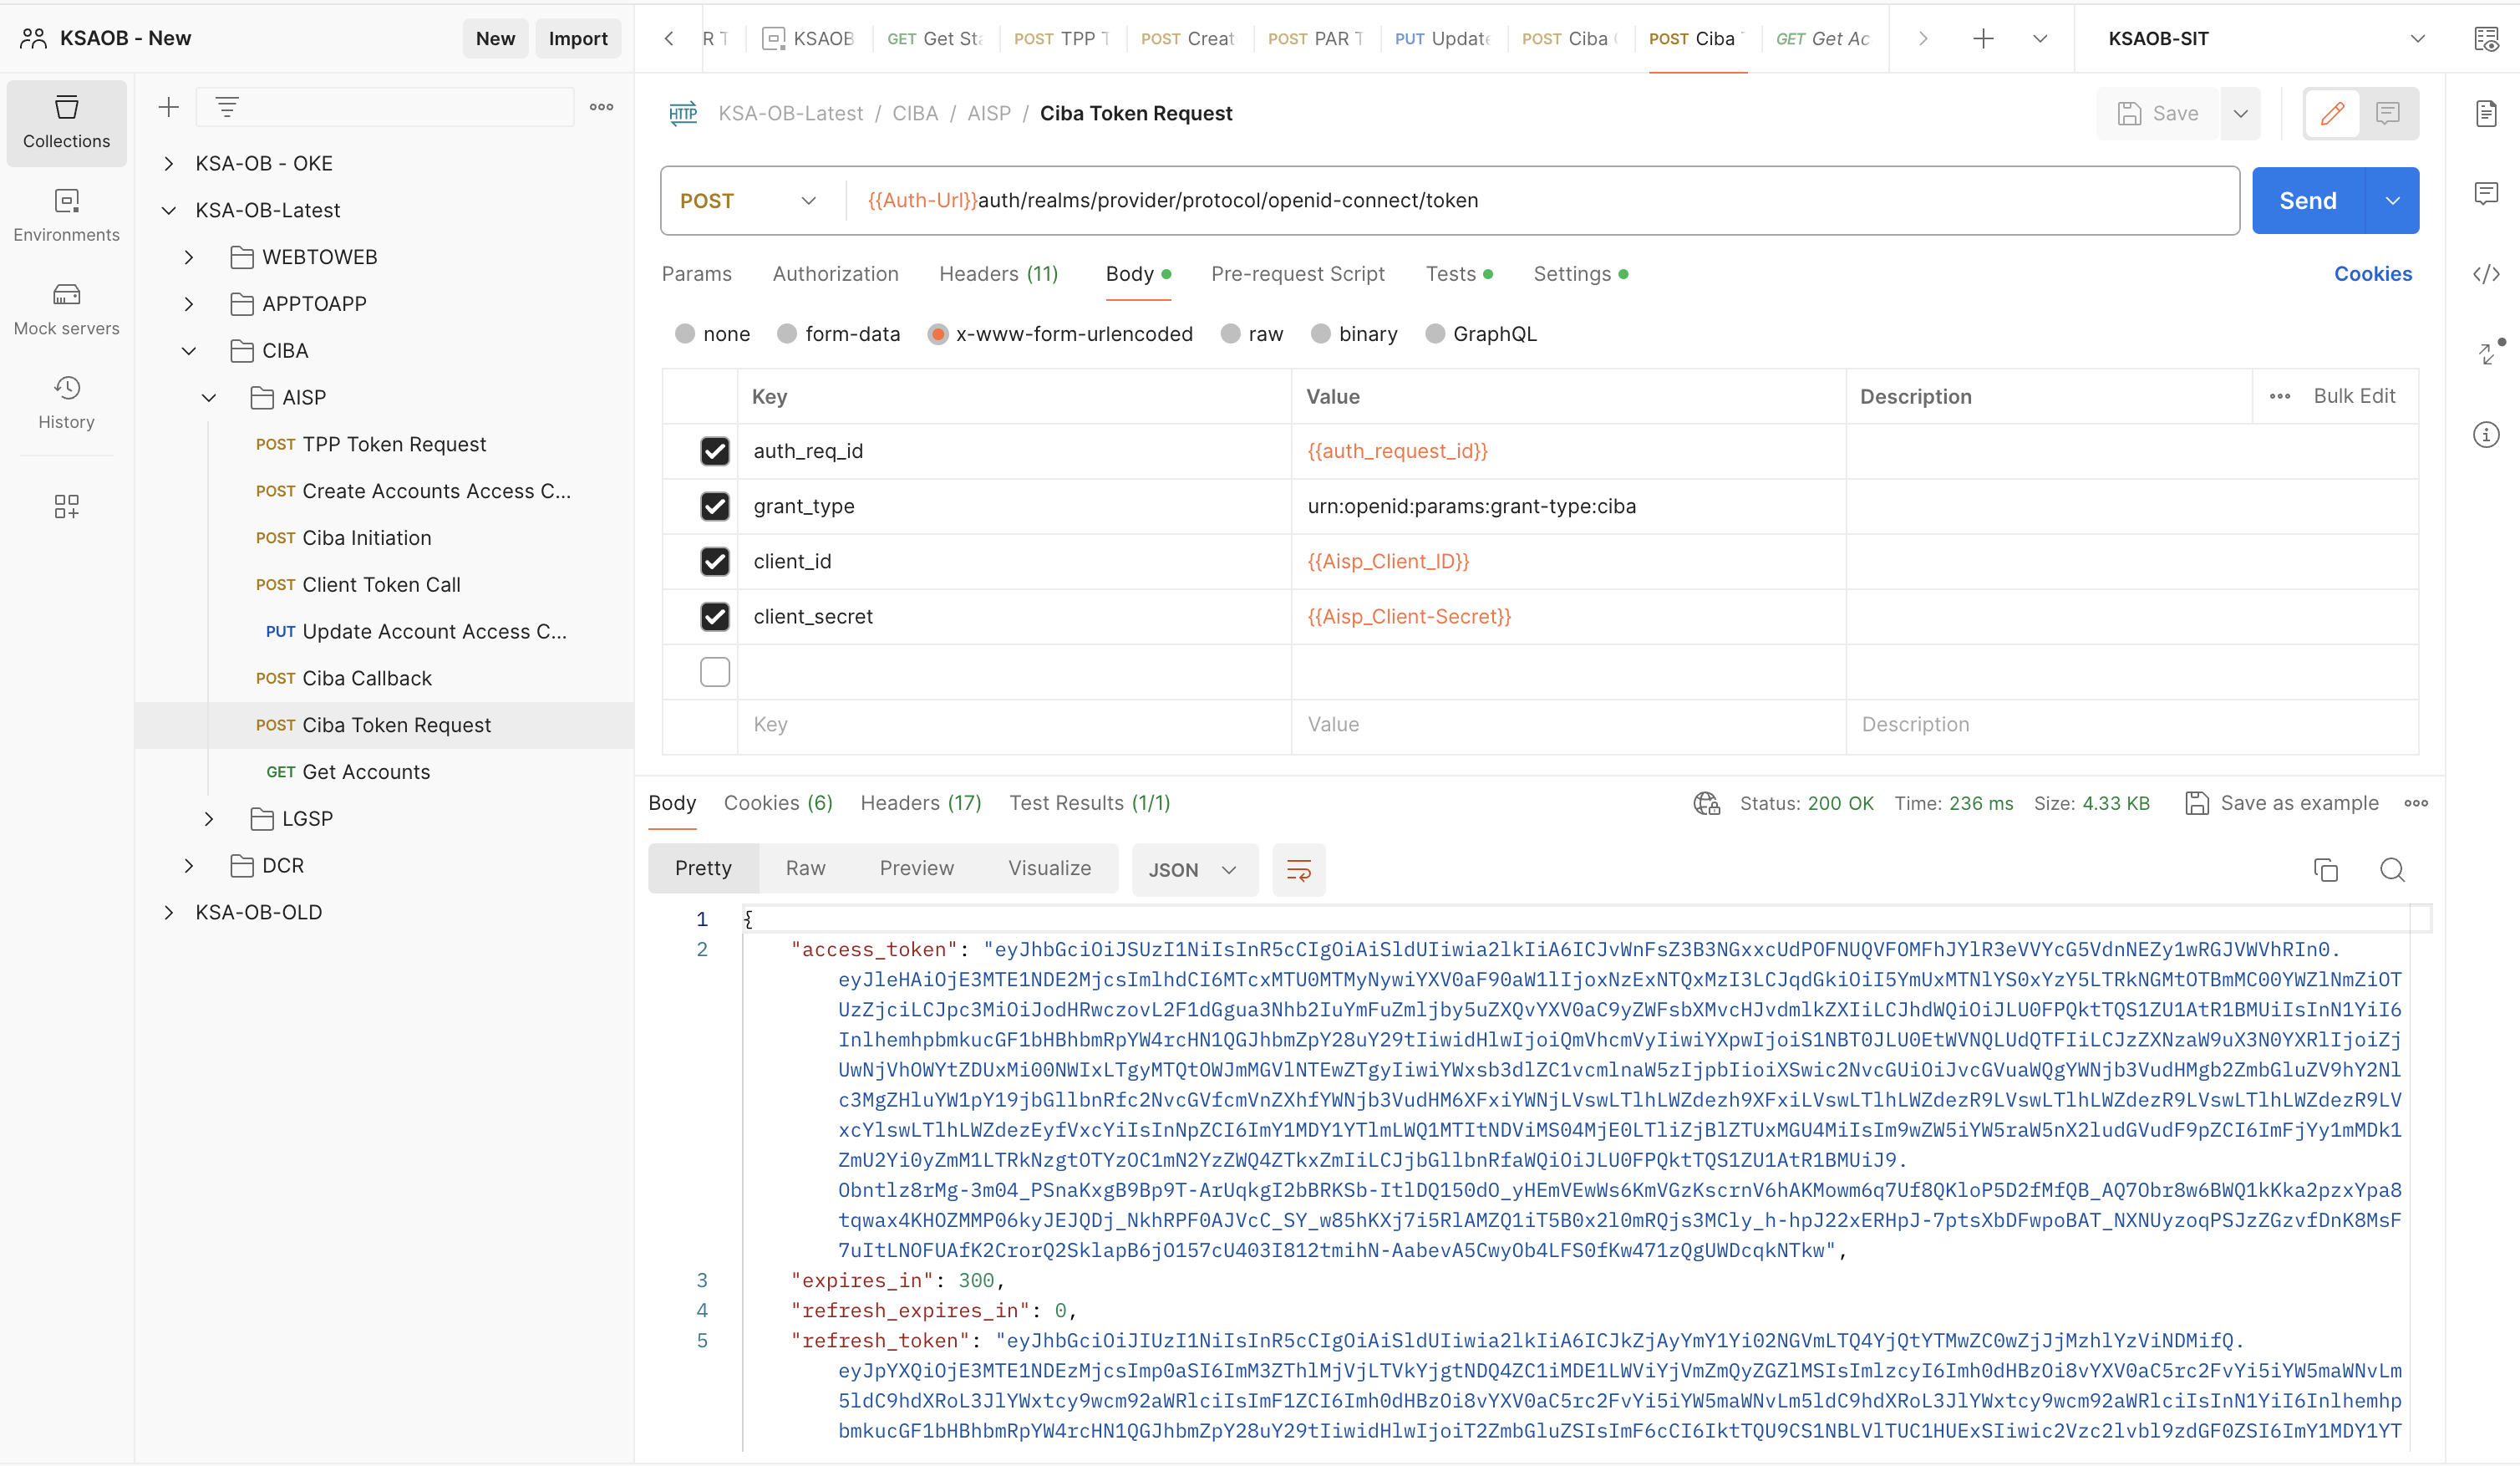
- Next you can execute the Get Accountsendpoint and the Account details will be fetched as expected.
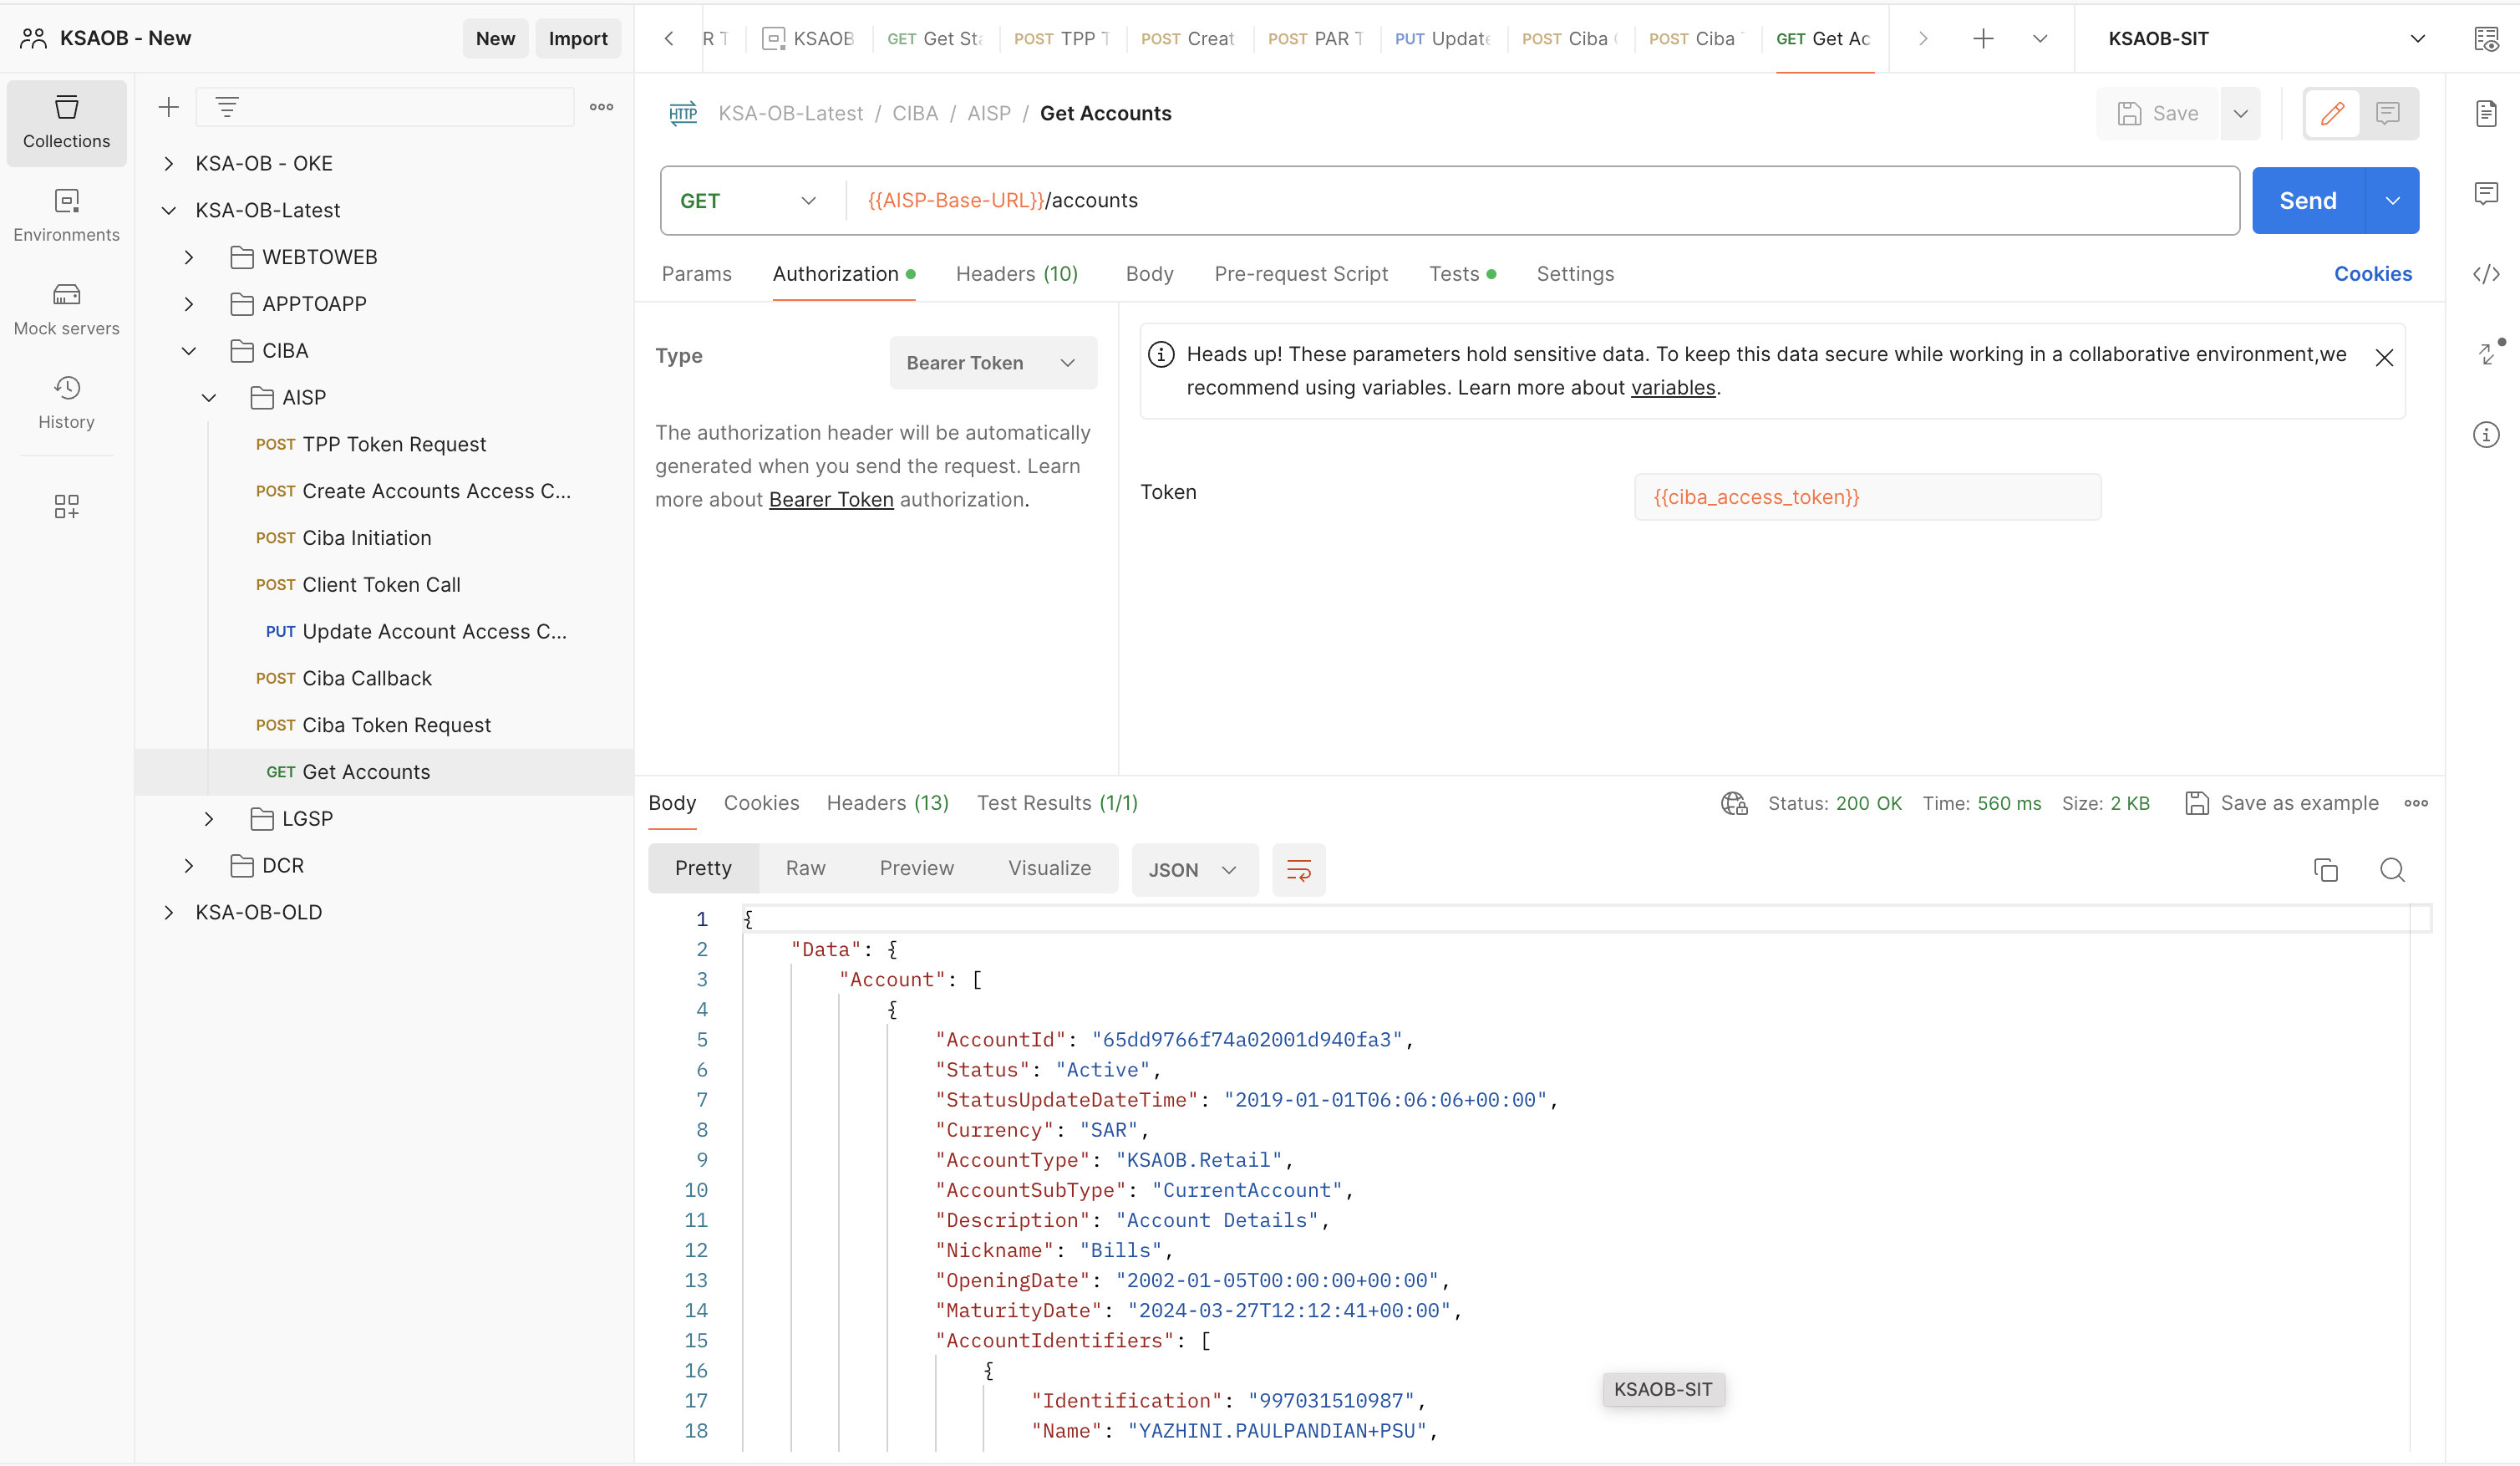
- Follow the same procedure for LGSP, by just updating the Client ID in the TPP Token RequestandCibaendpoint.
DCR
- Execute the DCRendpoint present withinDynamic Client Registrationfolder. Once executed, Client will be registered successfully. Now we can use this Client in the further endpoints.
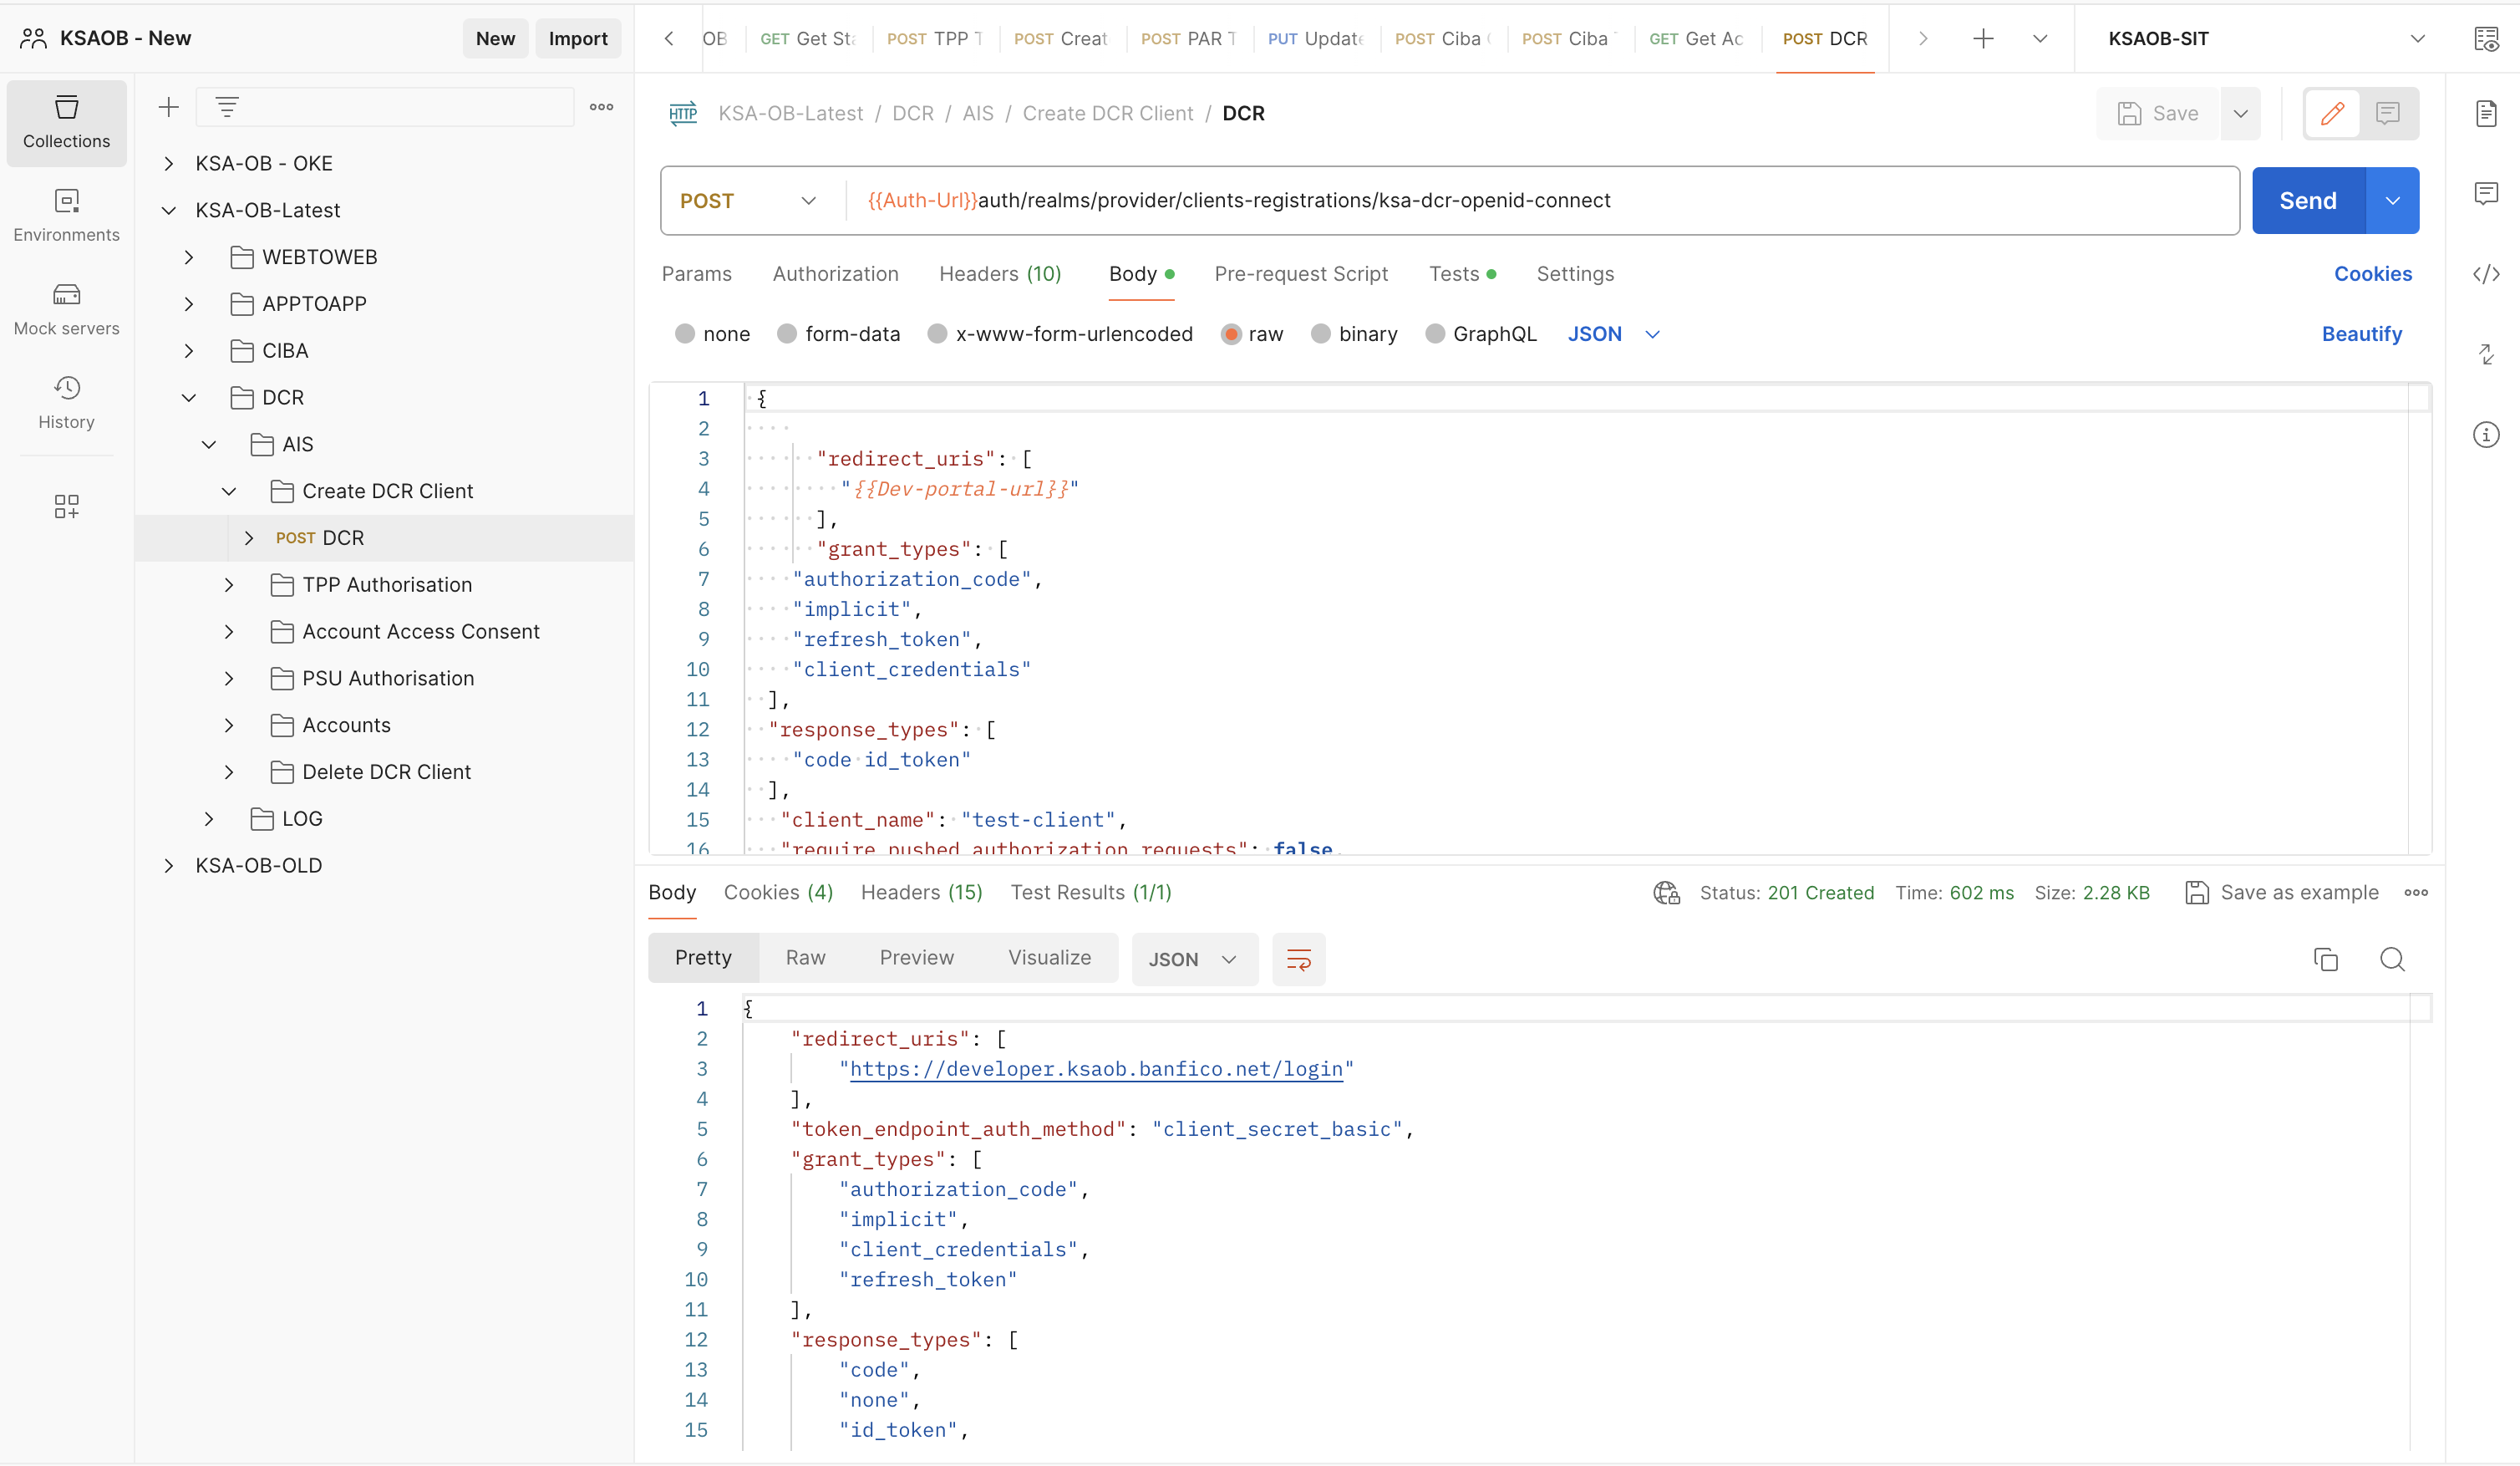
-
Execute the
TPP Token requestendpoint present within theTPP Authorisationfolder under DCR. -
Execute the
Create Accounts Access Consentendpoint present within Account Access consents folder. Now the ConsentId will be generated. You can check the Consent status using theGet Accounts Access Consentendpoint. -
Next Follow the steps 3 to 6 in AISP, to complete the PSU Authorisation. Use the
PSU Token Requestpresent within DCR folder. -
Execute the Accounts endpoint one by one.
-
Follow the same procedure for Payment and LOG endpoints, by providing the appropriate Scope value(payments and log) in the DCR endpoint to register the Client.
-
Execute the
Delete Appendpoint to delete the App created.